Account Settings
Account Settings
Every FlyWP account comes with a central place to keep your personal details accurate, lock down access with stronger security, and connect the external tools — like your Git hosting or API clients — that power your workflow. Whether you are tightening security after a team change or hooking up a new code repository, Account Settings is your starting point.
From here you can update your profile, enable two-factor authentication (a second verification step beyond your password), connect Git providers for deployment, manage OAuth (social login) connections, and generate API tokens (secret keys that let external tools talk to FlyWP on your behalf). A sidebar on the left organizes everything into clearly labeled tabs.
Sidebar Navigation
The Account Settings page is organized into the following tabs:
| Tab | What It Covers |
|---|---|
| Profile | Name, email, password, two-factor authentication, browser sessions, account deletion |
| Git Providers | Connect GitHub, GitLab, or Bitbucket for Git-based deployments |
| OAuth Connections | Manage social login connections used to sign in to FlyWP |
| API Tokens | Create and manage personal access tokens for the FlyWP API |
| Referral | Your referral link and referral activity |
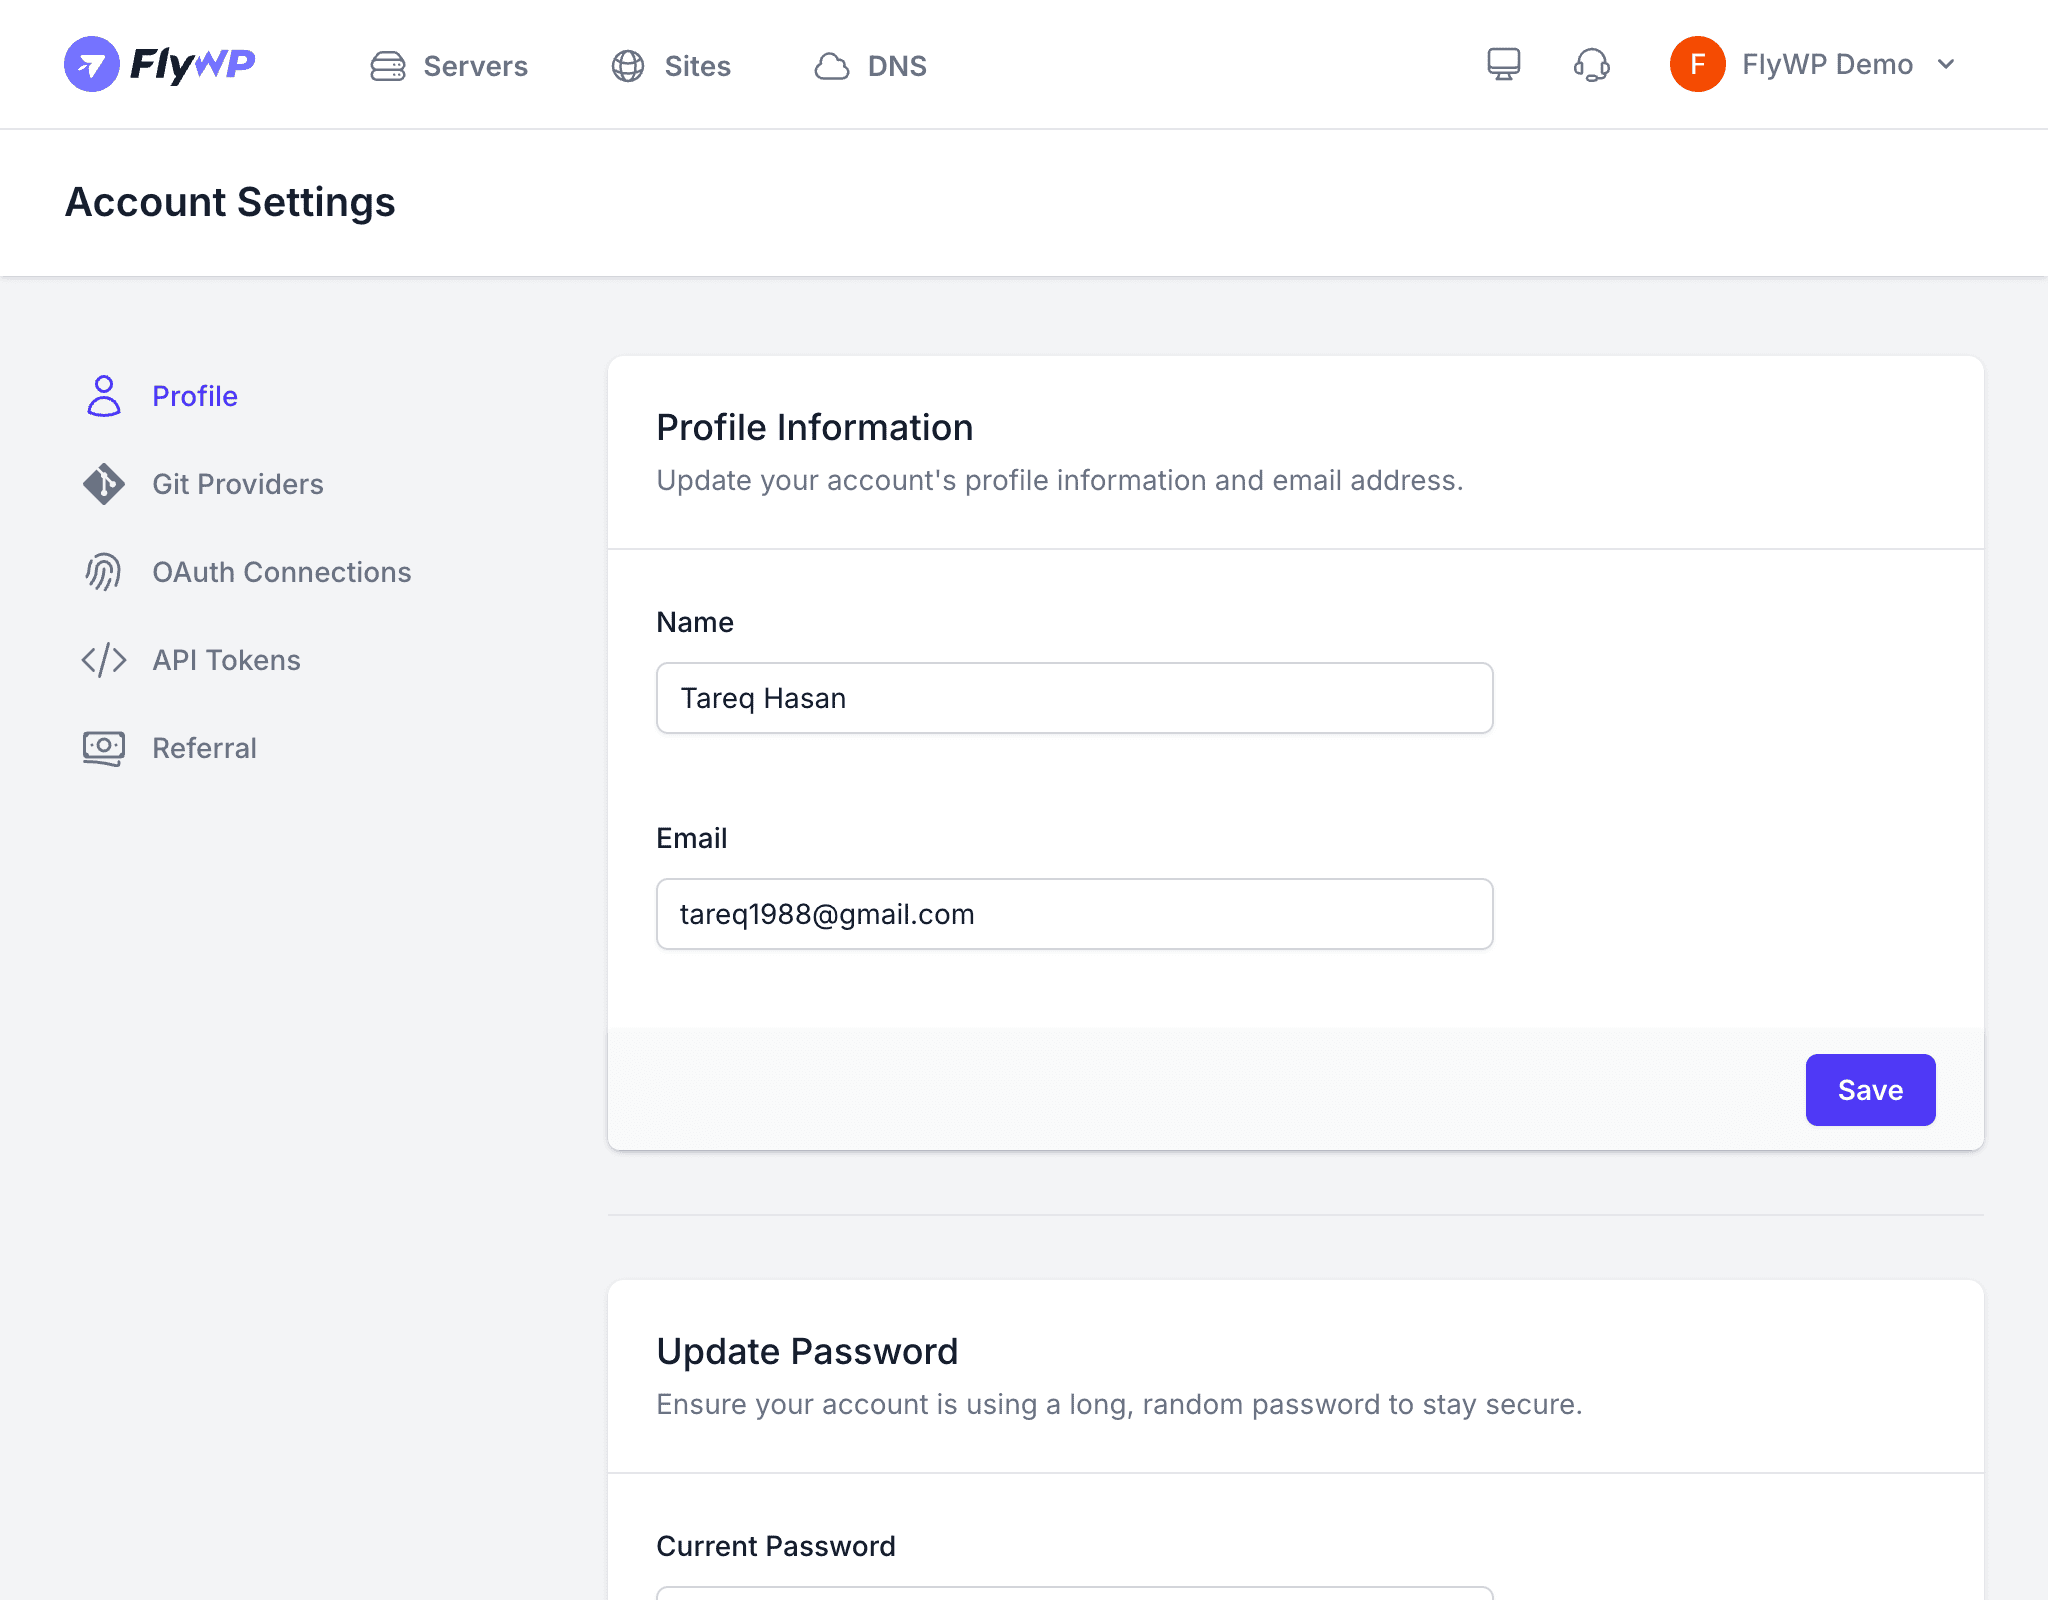
Profile
Profile Information
Your name and email address are used for account notifications, billing receipts, and password recovery. Keep your email current so you never miss an important alert.
- Navigate to Account Settings > Profile.
- Edit the Name or Email field.
- Click Save to apply the changes.
Update Password
You can change your account password at any time. FlyWP requires your current password to verify the request before applying the change.
- Enter your Current Password.
- Enter your New Password.
- Re-enter the new password in the Confirm Password field.
- Click Save.
Two-Factor Authentication
Two-factor authentication (2FA) protects your account by requiring a second form of verification — a short, time-sensitive code generated by an authenticator app like Google Authenticator or 1Password — every time you sign in. Even if someone gets hold of your password, they cannot log in without that code.
- Click Enable under the Two-Factor Authentication section.
- Scan the QR code (a scannable square pattern) with your authenticator app.
- Enter the verification code from the app to confirm setup.
- Save your recovery codes in a secure location — these let you regain access if you lose your authenticator device.
Store your recovery codes somewhere safe and separate from your phone. If you lose access to your authenticator app and do not have recovery codes, you will be locked out of your account.
Browser Sessions
The Browser Sessions section lists every device and browser where your account is currently signed in. Each entry shows the browser, operating system, IP address (the network address of the device), and the last time it was active.
If you suspect your account was left signed in on a shared or public computer, click Log Out Other Browser Sessions to sign out everywhere except your current device.
Delete Account
If you no longer need your FlyWP account, you can permanently delete it from this section.
- Click Delete Account.
- Enter your password to confirm.
- Confirm the deletion in the dialog.
Deleting your account is permanent and cannot be undone. FlyWP removes all personal data, preferences, and API tokens. Transfer ownership of any teams and servers before proceeding, or those resources may become inaccessible.
Git Providers
Connecting a Git provider (a hosted service where your code lives, such as GitHub, GitLab, or Bitbucket) lets FlyWP pull your code automatically during deployments. This connection is required if you use Git-based deployment for any of your sites.
Supported providers:
| Provider | How to Connect |
|---|---|
| GitHub | Authorize via OAuth — grants FlyWP read access to your repositories |
| GitLab | Authorize via OAuth — grants FlyWP read access to your projects |
| Bitbucket | Authorize via OAuth — grants FlyWP read access to your repositories |
To connect a provider:
- Navigate to Account Settings > Git Providers.
- Click Connect next to the provider you want to link.
- Authorize FlyWP in the provider’s OAuth flow (a permission screen on the provider’s website).
- Once authorized, the provider shows a Connected status.
You can disconnect a provider at any time by clicking Disconnect.
OAuth Connections
If you signed up or signed in using a social account — such as GitHub or Google — that connection appears here. OAuth (Open Authorization) is the standard that lets you log in with an existing account from another service without sharing your password.
- View which social login providers are currently linked to your account.
- Disconnect a provider if you no longer want to use it for sign-in.