Connecting a Server Provider
Connecting a Server Provider
FlyWP manages your WordPress servers by talking directly to your cloud hosting account. Connecting a provider takes about two minutes, and once it’s done, you can spin up new servers from the FlyWP dashboard without ever logging into your cloud console. If you’re setting up FlyWP for the first time, this is the step that unlocks everything else.
Supported Providers
FlyWP works with these cloud providers:
| Provider | Best for | Regions |
|---|---|---|
| DigitalOcean | Simplicity, global coverage | Americas, Europe, Asia, Australia |
| Vultr | Budget-friendly, wide selection | 25+ locations worldwide |
| AWS (EC2) | Enterprise, compliance needs | All AWS regions |
| Hetzner | Value for money in Europe | Germany, Finland, USA |
| Akamai (Linode) | Balanced performance | Americas, Europe, Asia |
| Custom Server | Any provider or bare metal | Anywhere |
How to Connect a Provider
To connect a provider, you’ll generate an API token (a secret key that lets FlyWP act on your behalf) inside your cloud account, then paste it into FlyWP. Here’s the full flow:
- Click your team name in the top-right corner of FlyWP
- Select Settings from the dropdown
- Click Server Providers in the left sidebar
- Click + Add Provider
- Select your cloud provider from the list
- Enter the required credentials:
- DigitalOcean: Personal Access Token
- Vultr: API Key
- AWS: Access Key ID + Secret Access Key (from AWS IAM — the identity and access management service)
- Hetzner: API Token
- Akamai: Personal Access Token
- Give the connection a recognizable name (e.g., “Production Servers” or “Client Projects”)
- Click Save
Where to Find Your API Key
Each provider stores API tokens (the authentication credentials FlyWP uses to create and control servers) in a slightly different place:
- DigitalOcean: API → Generate New Token at cloud.digitalocean.com/account/api/tokens
- Vultr: Account → API at my.vultr.com/settings/#settingsapi
- AWS: IAM → Users → Security credentials → Create access key
- Hetzner: Cloud Console → Security → API Tokens → Generate API Token
- Akamai/Linode: Profile → API Tokens → Create a Personal Access Token
Make sure your API token has read and write permissions. FlyWP needs write access to create and manage servers on your behalf.
Using a Custom Server
If your server lives somewhere not in the list above — or you have a bare metal server (a physical machine you own or rent, rather than a cloud VM) — you can use the Custom option when creating a server. Instead of API credentials, you’ll provide:
- The server’s IP address
- The SSH port (SSH is the secure remote connection protocol FlyWP uses to set up your server; the default port is 22)
- A hostname
FlyWP will connect to the server over SSH and install everything needed. Your server must be running a fresh Ubuntu installation with no pre-installed software.
See Custom Server Setup for detailed instructions.
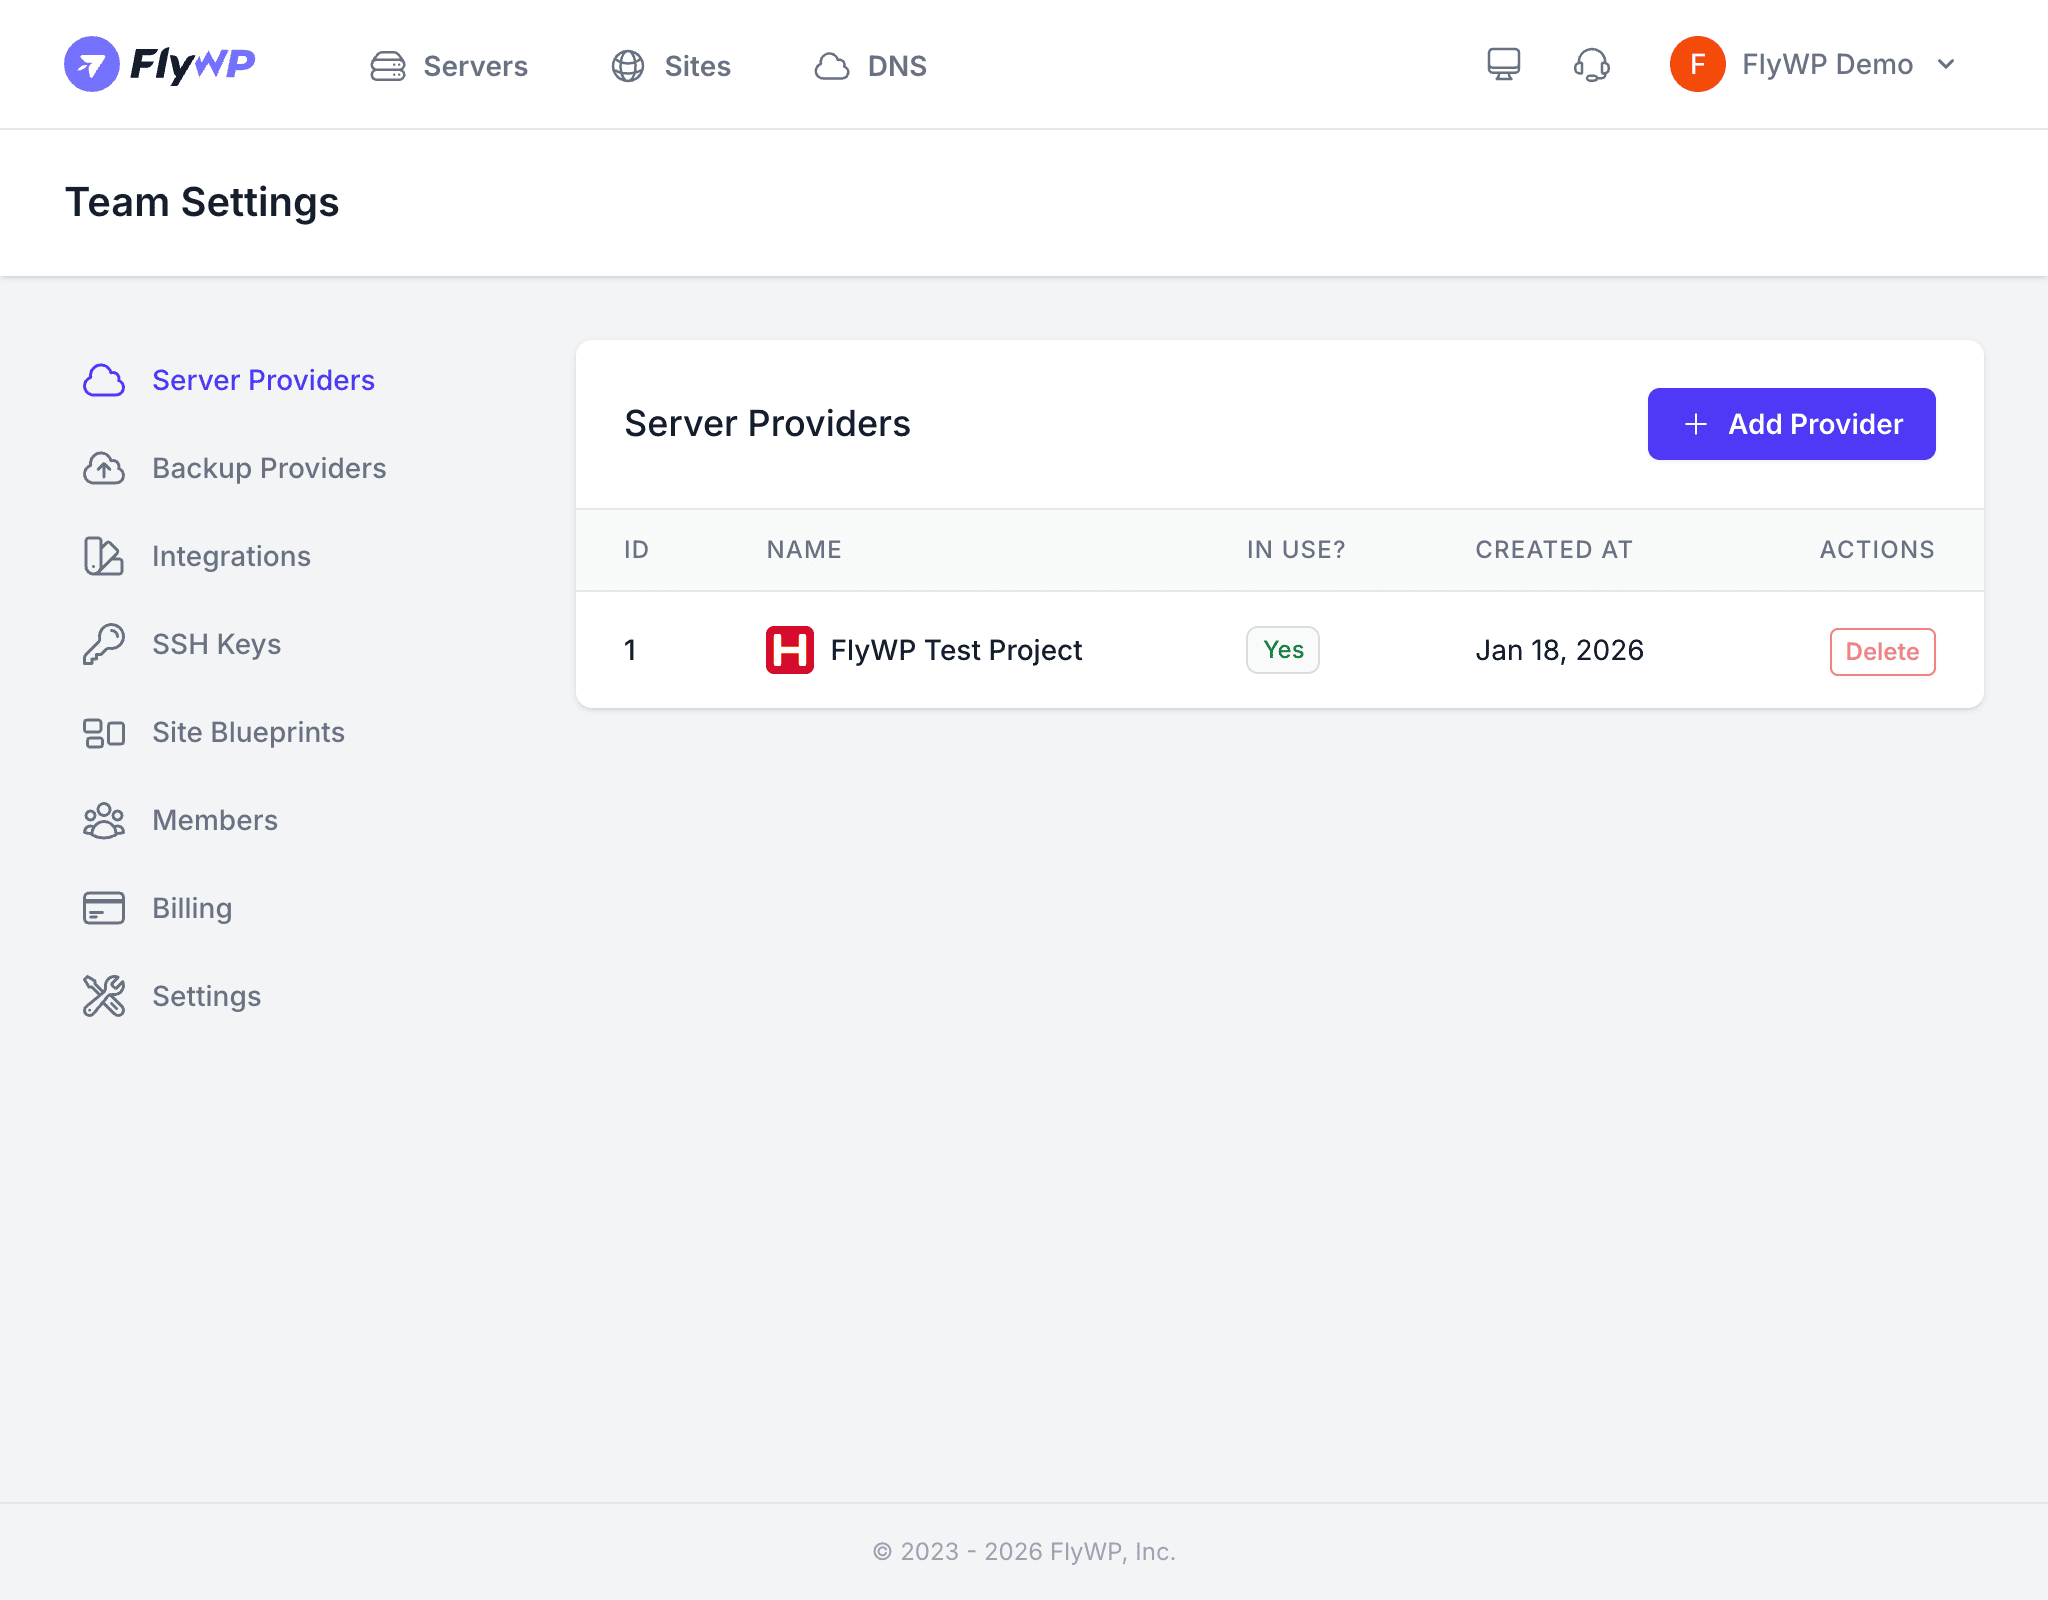
Managing Connected Providers
On the Server Providers page, you can see all your connected accounts at a glance:
- The provider name and logo
- Whether it’s currently In Use by any servers
- When it was created
- A Delete button to remove the connection