Team Members
Team Members
When you bring developers, sysadmins, or clients into a project, you need a way to give each person exactly the access they need — no more, no less. Team Members lets you invite people to your FlyWP team, assign them a role (owner, admin, or member), and restrict their access to only the specific servers or sites they should be working on.
The Members section of your team settings is where you manage who can see and touch your infrastructure. Whether you’re handing off a single WordPress site to a freelancer or bringing on a sysadmin to oversee all your servers, you control the scope of each person’s access from one place.
Inviting a Team Member
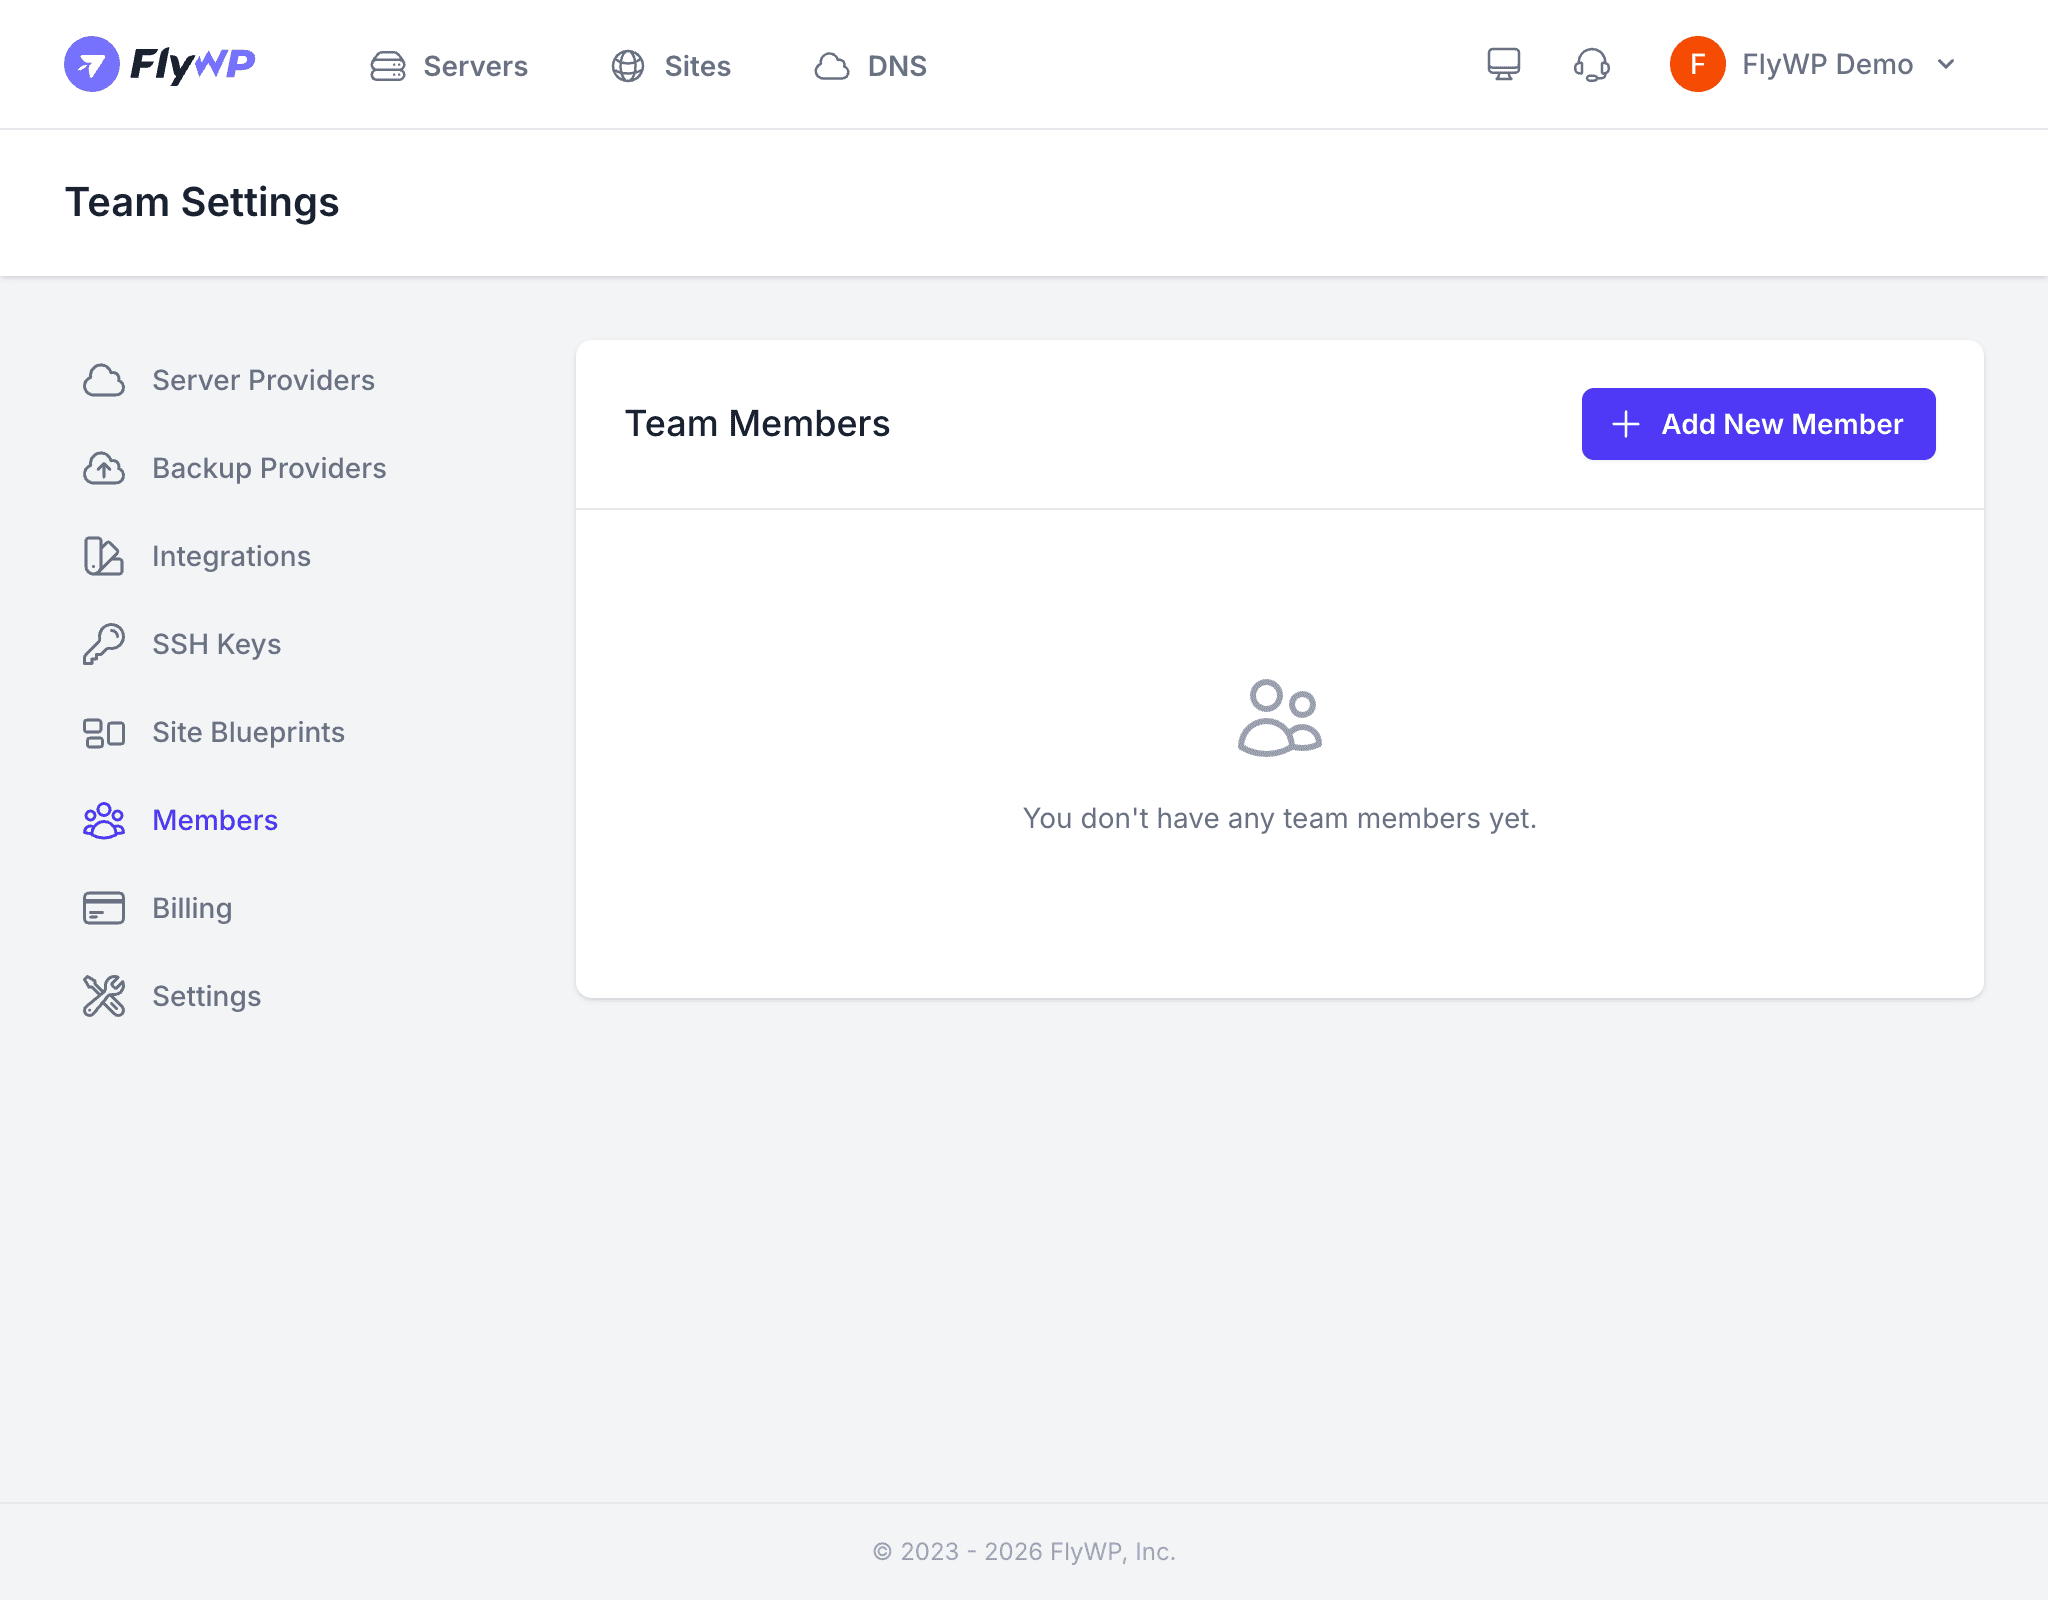
To add someone to your team, follow these steps:
- Navigate to Team Settings > Members.
- Click Invite Member.
- Enter the person’s email address.
- Select a role for the new member.
- Click Send Invitation.
FlyWP sends the invitee an email with a link to accept the invitation. If they don’t already have a FlyWP account, the link prompts them to create one before joining your team.
Roles and Permissions
FlyWP uses a role-based access system (a way of grouping permissions so each person gets only the capabilities their role requires) to control what each team member can do:
| Role | Access Level |
|---|---|
| Owner | Full control over the team, including billing, settings, and member management. There is exactly one owner per team. |
| Admin | Can manage servers, sites, providers, and team members. Cannot change billing or delete the team. |
| Member | Can access assigned servers and sites. Cannot manage team settings or invite other members. |
Assigning Server and Site Access
For members with the Member role, you can grant access to specific servers or sites rather than giving them access to everything. This is the right approach for contractors working on a single client site, or a developer responsible for only a subset of your servers.
- Click on a member’s name in the members list.
- Under Server Access, select which servers the member can manage.
- Under Site Access, select which sites the member can view and manage.
- Click Save.
Managing Existing Members
As your team changes, you may need to update roles or remove people who no longer need access.
Changing a Member’s Role
- Click on the member’s name in the list.
- Update their role from the dropdown.
- Click Save.
Removing a Member
- Click on the member’s name in the list.
- Click Remove Member.
- Confirm the removal.
FlyWP immediately revokes the removed member’s access to all team resources. Their personal FlyWP account is not affected — they simply lose access to your team.
Removing a member does not revoke any SSH keys (cryptographic credentials used for direct server login via a terminal) they may have added to individual servers. After removing a team member, review your server SSH keys to confirm they no longer have direct server access.
Best Practices
- Audit your member list regularly — remove people who no longer need access, such as contractors whose project has ended.
- Use specific server/site assignments for contractors or temporary team members rather than granting broad access.
- Keep the owner role on a trusted, always-accessible account — losing access to the owner account makes team management very difficult to recover from.