Database
Database
Every WordPress site on your server needs a database — it’s where all your content, settings, and user data live. The Database tab gives you a single place to create databases, manage who can access them, and pull up a visual interface when you need to inspect or edit data directly. Whether you’re setting up a new site or troubleshooting a data issue, this is your starting point.
phpMyAdmin Console
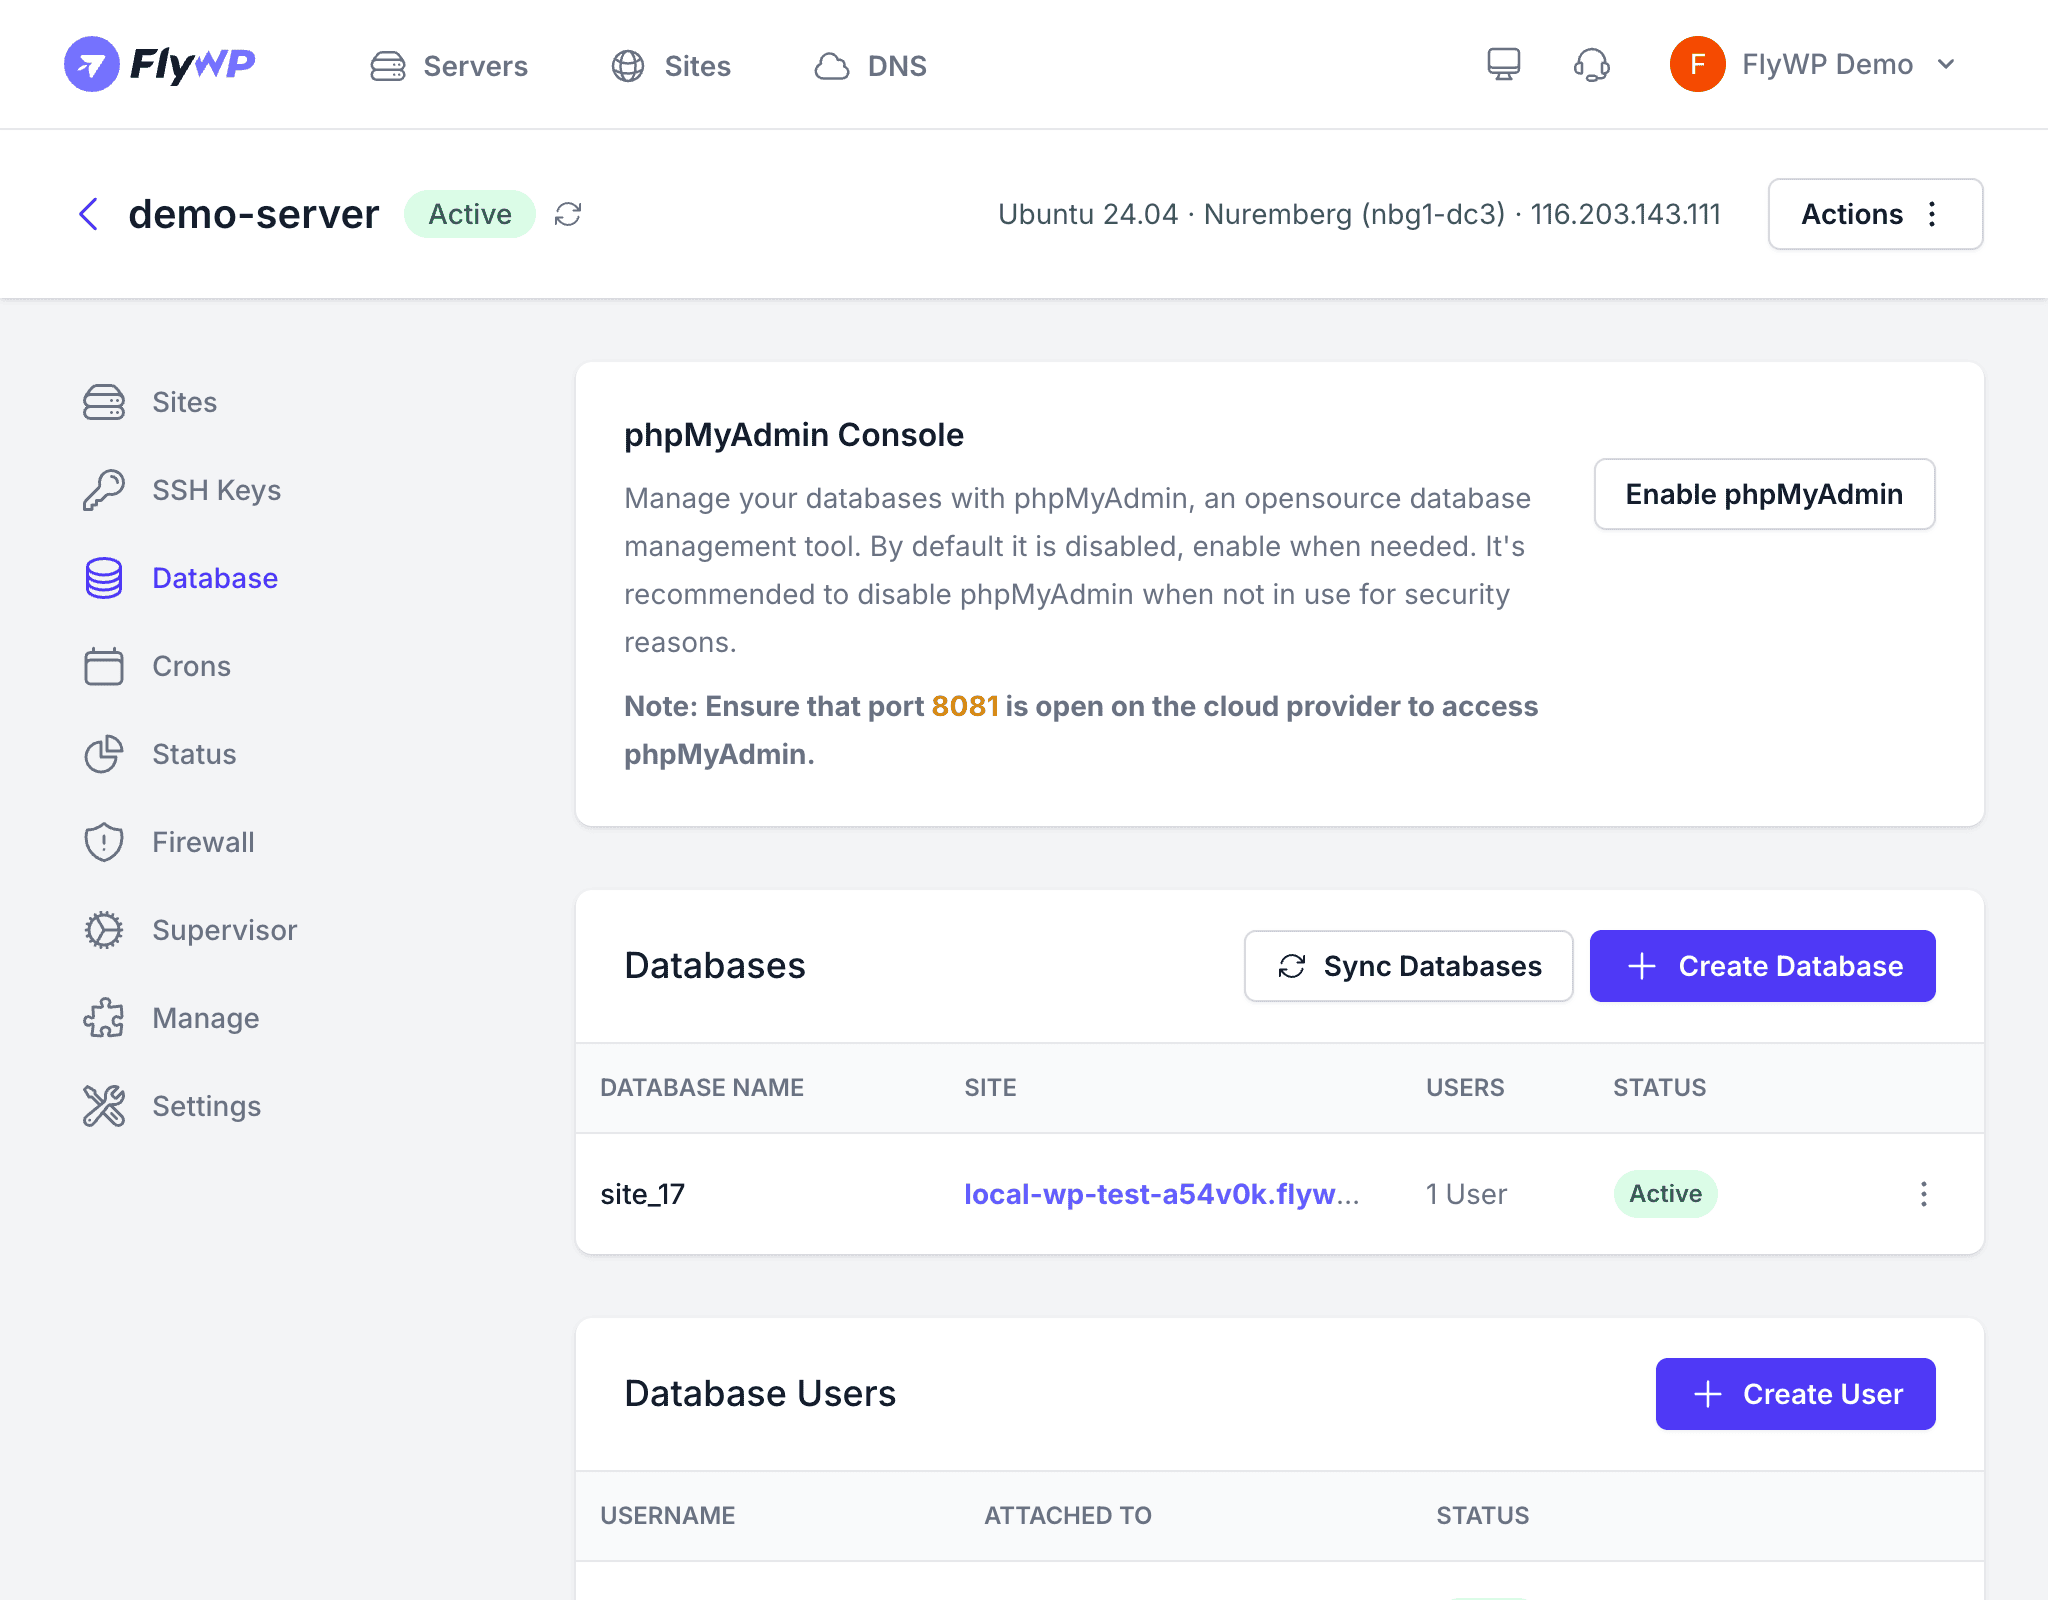
phpMyAdmin is a browser-based tool that lets you browse, query, and edit your MySQL (a popular open-source relational database system) databases without needing to use the command line. FlyWP lets you toggle it on and off with a single click.
- Click Enable phpMyAdmin to activate it.
- Once enabled, phpMyAdmin is accessible on port 8081 of your server’s IP address (e.g.,
http://your-server-ip:8081). A port is like a numbered door on your server — different services listen on different ports. - Click Disable phpMyAdmin to turn it off when you are done.
phpMyAdmin exposes a database management interface on port 8081. For security, disable phpMyAdmin when you are not actively using it. Leaving it enabled provides an additional attack surface on your server.
Databases
The Databases table lists every MySQL database on the server. Each WordPress site typically has its own database.
| Column | Description |
|---|---|
| Name | The database name |
| Linked Site | The WordPress site using this database (if any) |
| Users | Database users that have access |
| Status | Whether the database is active |
Creating a Database
- Click the Create Database button.
- Enter a database name.
- Optionally assign a database user to it.
- Click Create.
Syncing Databases
If you created databases outside of FlyWP — for example, via SSH or phpMyAdmin — FlyWP won’t automatically know they exist. Click Sync Databases to refresh the list and bring those databases into FlyWP’s dashboard.
Database Users
Each database user is a MySQL account with its own username, password, and set of permissions. Creating separate users for each site means that if one site is ever compromised, the attacker only has access to that site’s data — not every database on your server.
The Database Users table shows all MySQL users on the server:
| Column | Description |
|---|---|
| Username | The MySQL username |
| Attached Databases | Which databases this user can access |
| Status | Whether the user is active |
Creating a Database User
- Click the Create User button.
- Enter a username and password.
- Select which databases this user should have access to.
- Click Create.
Changing a User’s Password
- Click the Change Password button.
- Select the user.
- Enter the new password.
- Click Save.
Database Credentials
The Database Credentials section displays the MySQL root account details. The root account is the master administrator for all databases on the server — it can create, delete, or modify any database or user.
| Field | Description |
|---|---|
| Root Username | The MySQL root username (typically root) |
| Root Password | The root password, shown as masked dots with a copy button |
Best Practices
- Create a separate database and user for each WordPress site to isolate data and limit the impact of a compromise.
- Disable phpMyAdmin when you are not using it — it is a convenience tool, not something that should run permanently.
- Store root credentials in a secure password manager — you rarely need them, but losing them can be painful to recover from.
- Use Sync Databases after making manual changes so FlyWP’s dashboard stays accurate.