Quickstart Guide
Quickstart Guide
Within minutes, you can have a fully configured WordPress site running on your own cloud server — with SSL (the security certificate that enables HTTPS), automatic software updates, and one-click admin access. This guide walks you through the entire process so you can skip the server configuration headaches and get straight to building your site.
Before you begin
You’ll need:
- A FlyWP account (sign up at flywp.com)
- An account with a cloud provider — DigitalOcean, Vultr, AWS, Hetzner, or Akamai (Linode). Or, a fresh Ubuntu VPS (a virtual private server — a rented Linux machine in the cloud) from any provider.
- About 5-10 minutes for server provisioning
Step 1: Connect your cloud provider
FlyWP needs permission to create servers on your behalf. You grant that by adding an API token (a secret key that lets FlyWP talk to your cloud account) from your provider.
- After logging in, click your team name in the top-right corner and select Settings
- Click Server Providers in the sidebar
- Click + Add Provider
- Select your cloud provider (DigitalOcean, Vultr, AWS, Hetzner, or Akamai)
- Enter your API key or token from your cloud provider’s dashboard
- Give the connection a name (e.g., “My DigitalOcean Account”)
- Click Save
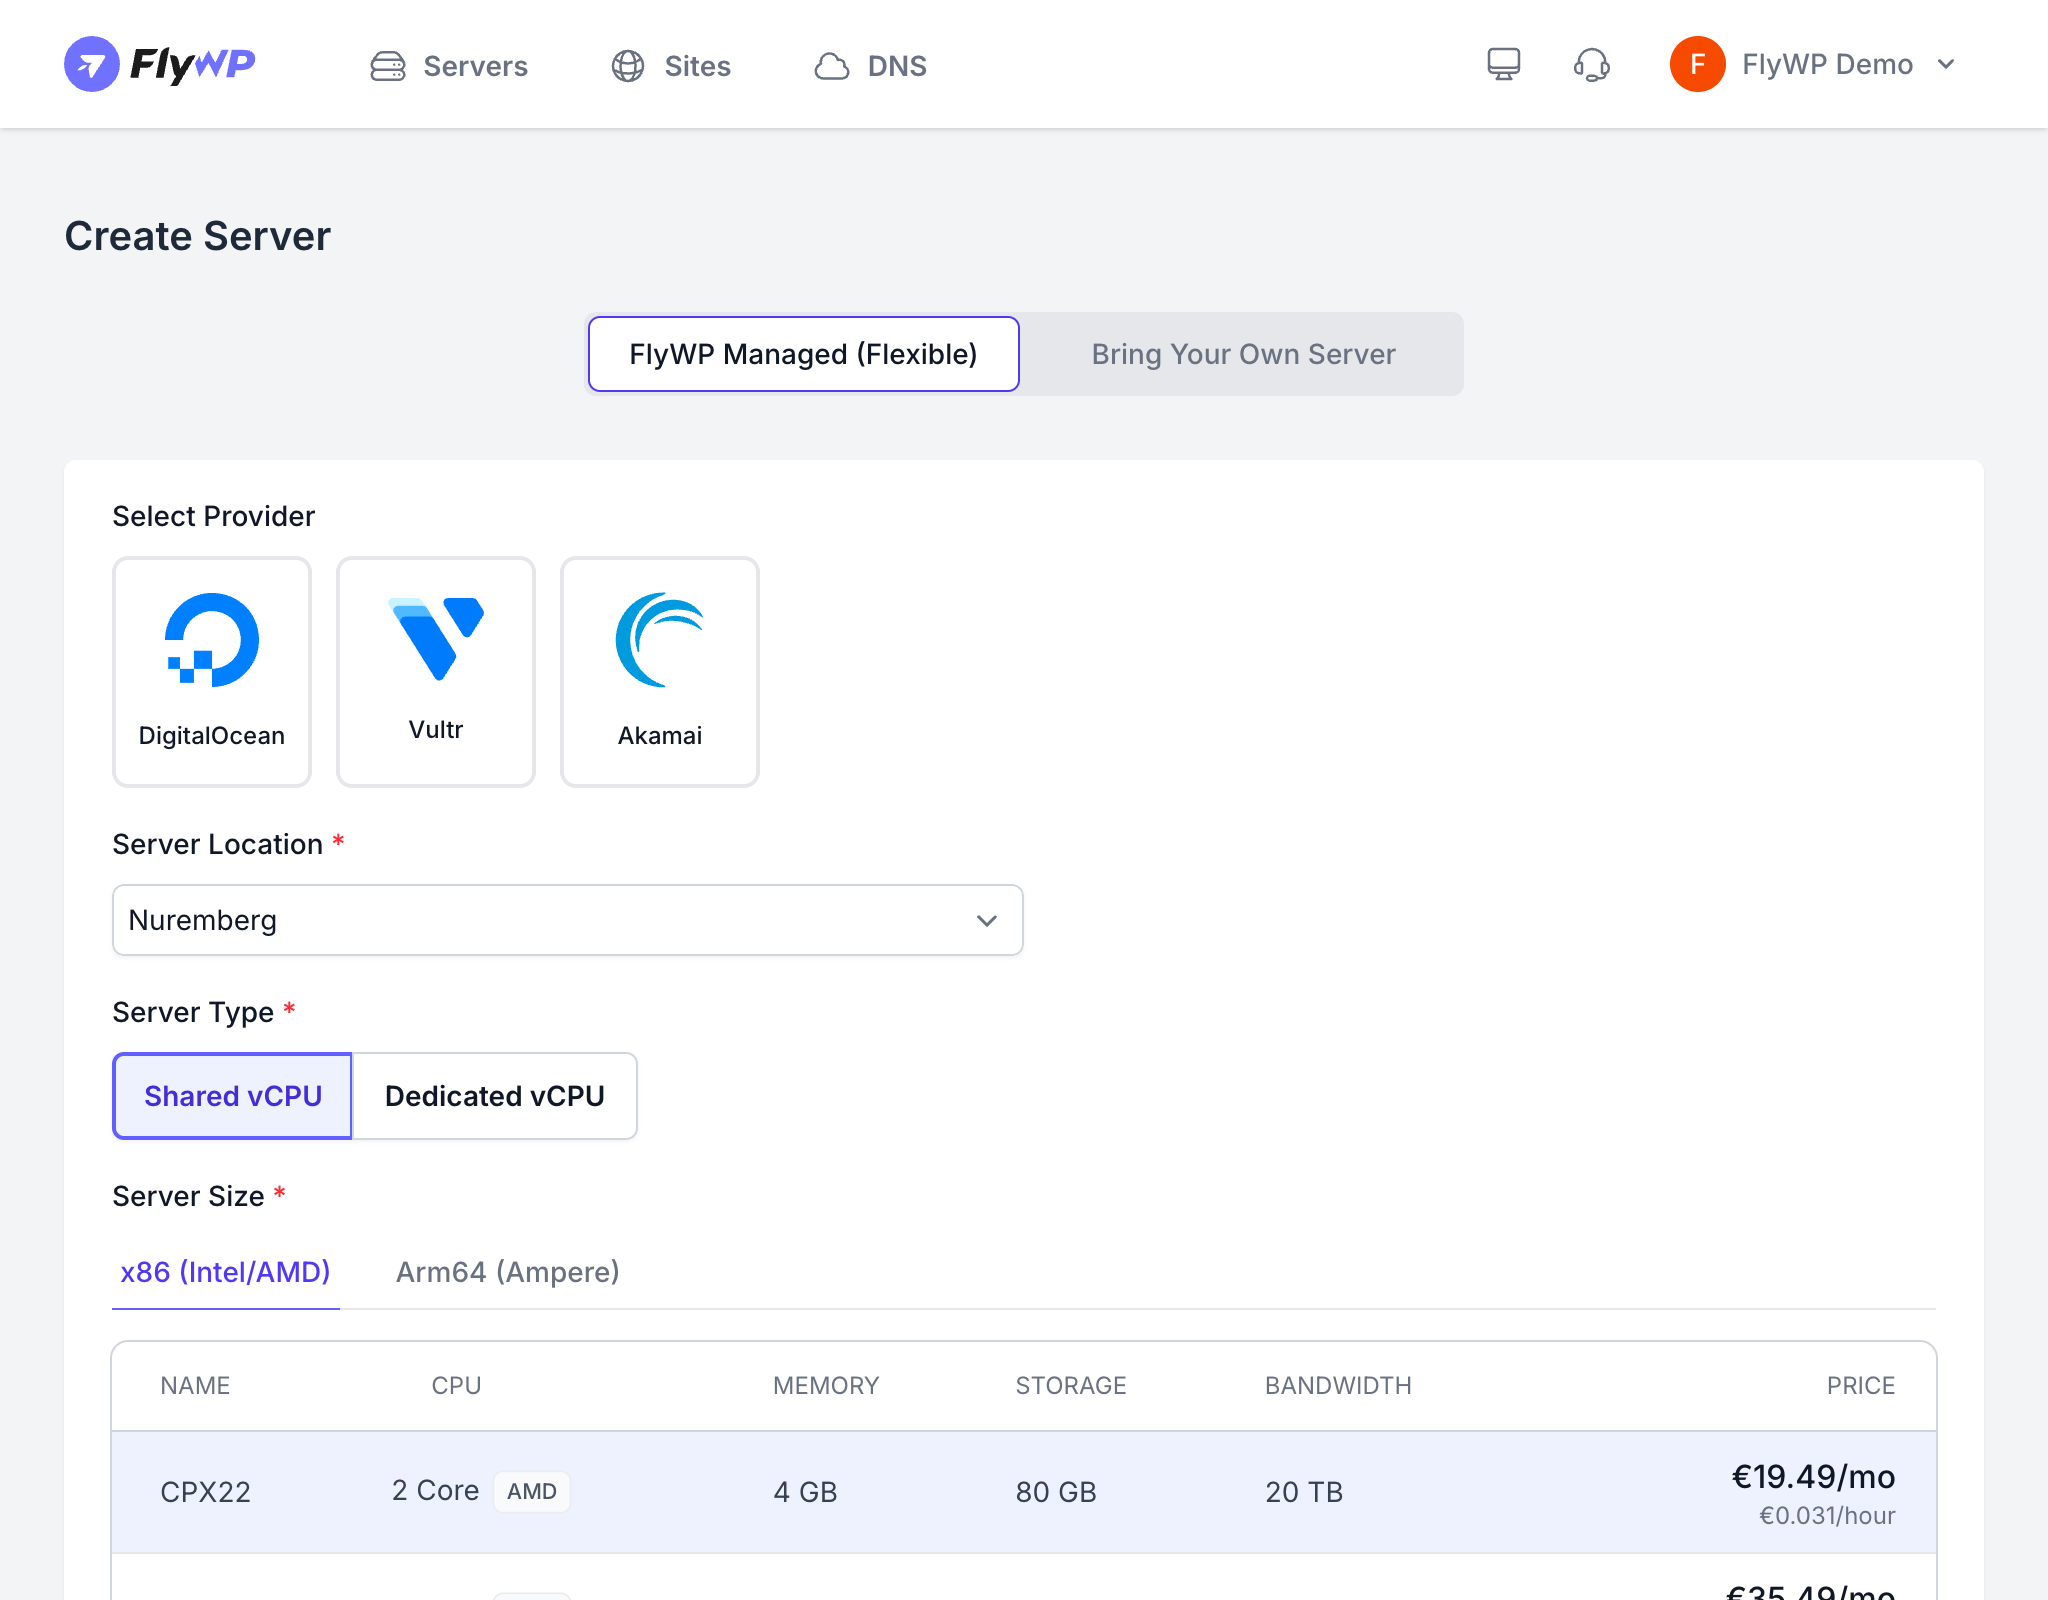
Step 2: Provision a server
With your cloud provider connected, FlyWP can spin up a server for you. Think of this as renting a computer in a data center — FlyWP handles all the software installation automatically.
- Click Servers in the top navigation
- Click + Create New Server
- Select Use My Cloud Account
- Choose your cloud provider
- Select your connected account
- Choose a Server Location close to your audience
- Pick a Server Type — Shared vCPU works well for most WordPress sites
- Select a Server Size — 2 CPU / 4 GB RAM is a good starting point
- Give your server a hostname
- Click Launch Server
FlyWP will provision your server and install everything needed: Docker (a containerization platform that keeps each site isolated), Nginx (the web server that handles incoming traffic), MySQL (the database), Redis (an in-memory data store that speeds up page loads), PHP, and SSL tooling. This takes about 3-5 minutes.
Step 3: Create your first site
Once your server shows Active status, you’re ready to add a WordPress site to it.
- Click on your server name to open it
- Click + Create New Site
- Select WordPress as the site type
- Enter your domain name (or use a free
.flywp.xyztest domain to get started) - Choose your stack — Nginx is recommended for most sites
- Fill in your WordPress admin credentials (username, password, email)
- Review the summary and click Create Site
FlyWP will create the site, set up the database, install WordPress, and provision an SSL certificate. This usually takes 1-2 minutes.
Step 4: Visit your site
Once the site shows Active status, your WordPress site is live.
- Click Visit Site to see your WordPress site running with SSL
- Click WP Admin for one-click login to your WordPress dashboard — no password needed
What’s next?
Now that your site is live, explore these features:
- Set up automatic backups to protect your data
- Configure caching to speed up your site
- Harden security with built-in firewall and protection settings
- Monitor uptime to know immediately when your site goes down
- Connect Git deployment for automated deploys from your repository