Site Blueprints
Site Blueprints
Every WordPress site you spin up probably needs the same set of plugins, a specific theme, a standard admin user, and maybe some starter content. Doing that by hand for every new site is slow and error-prone. Site Blueprints let you define that entire setup once and replay it automatically — every time you create a new site.
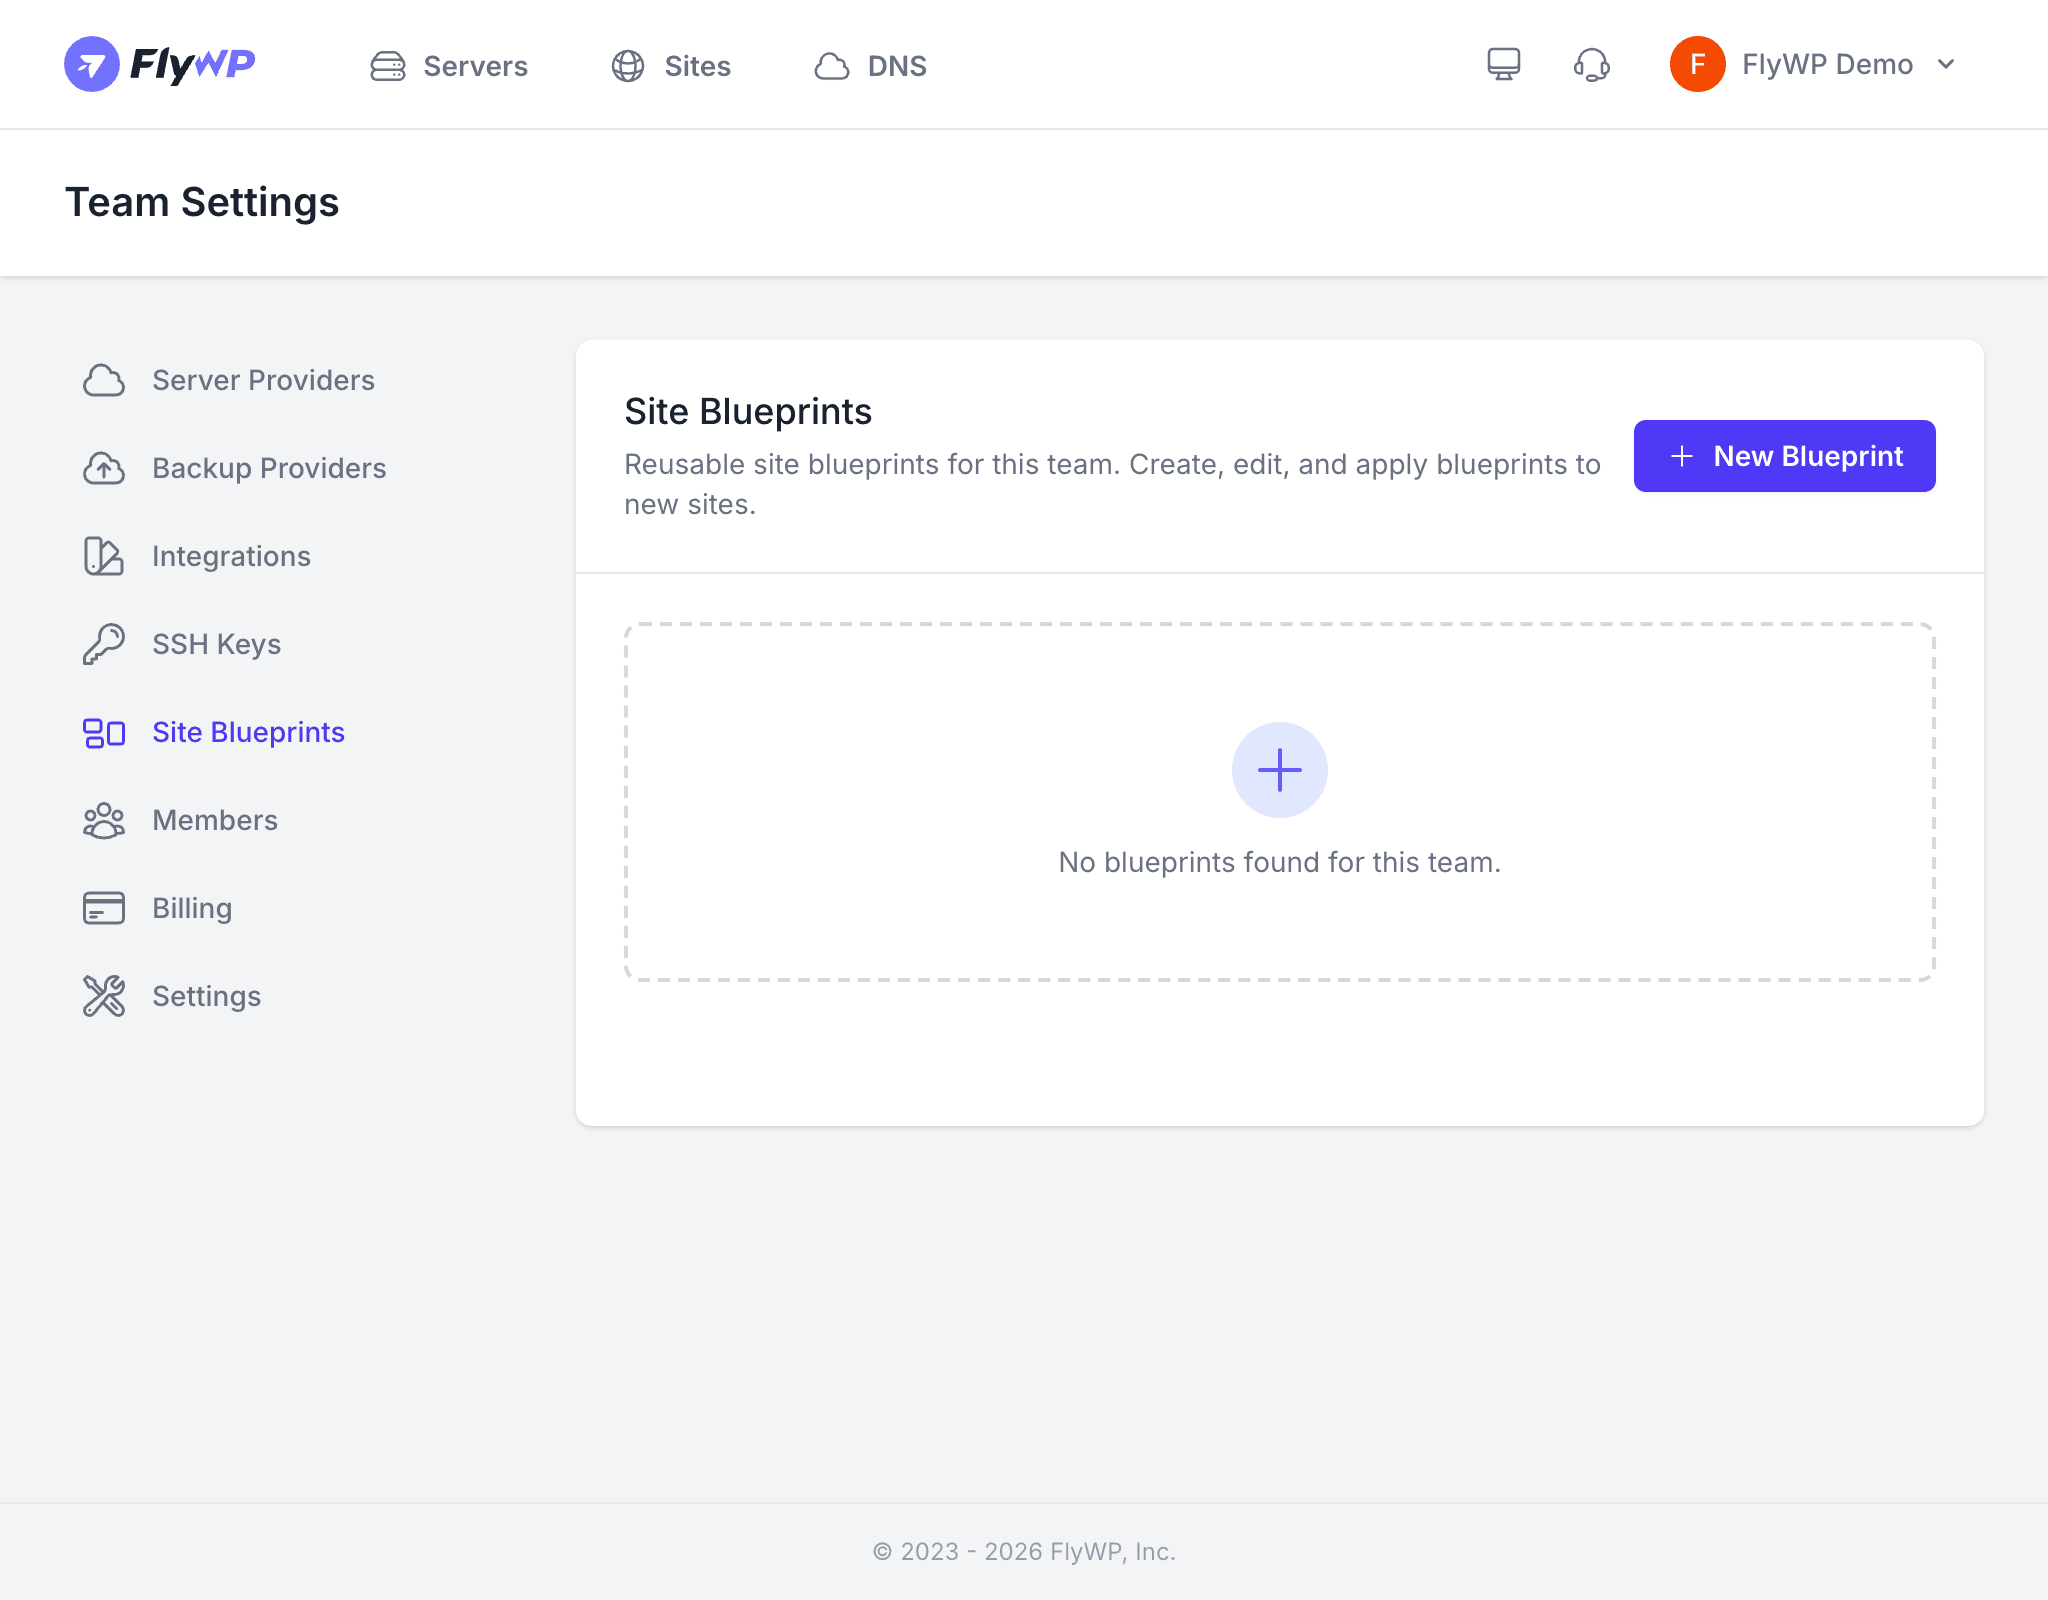
Blueprints are team-level templates. Any team member can apply them when creating a site, and you can have as many blueprints as you need for different project types.
Creating a Blueprint
- Navigate to Team Settings > Site Blueprints.
- Click New Blueprint.
- Give the blueprint a name and optional description.
- Configure each section (see below).
- Click Create.
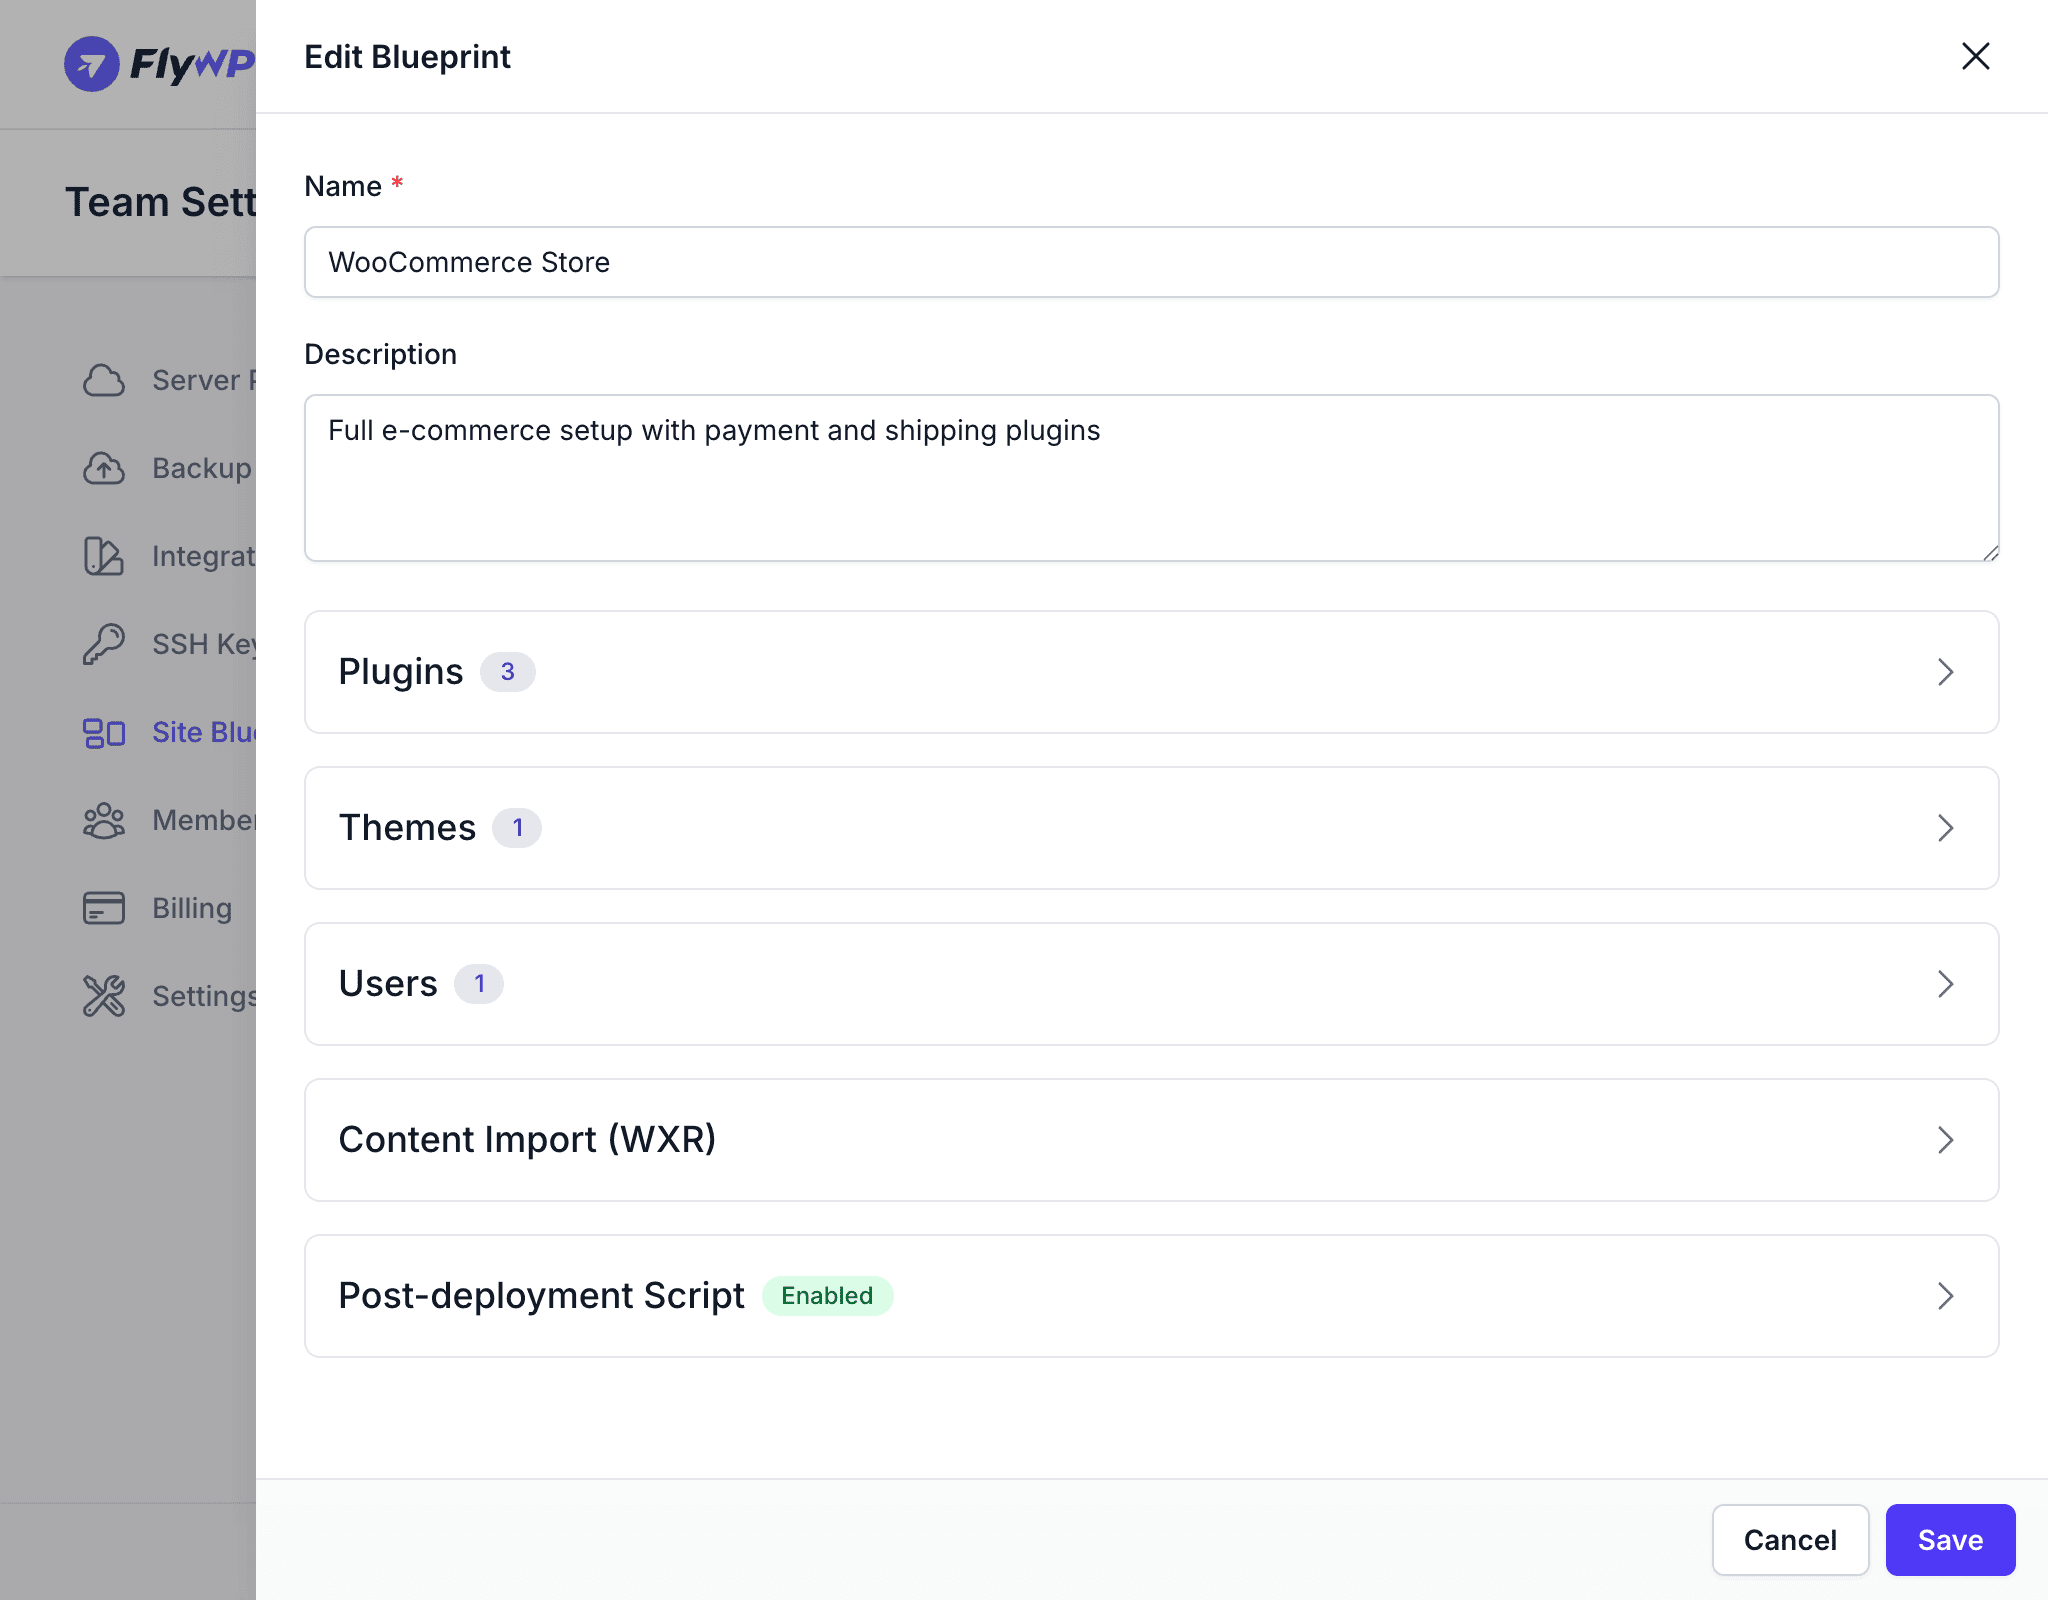
What a Blueprint Can Include
Plugins
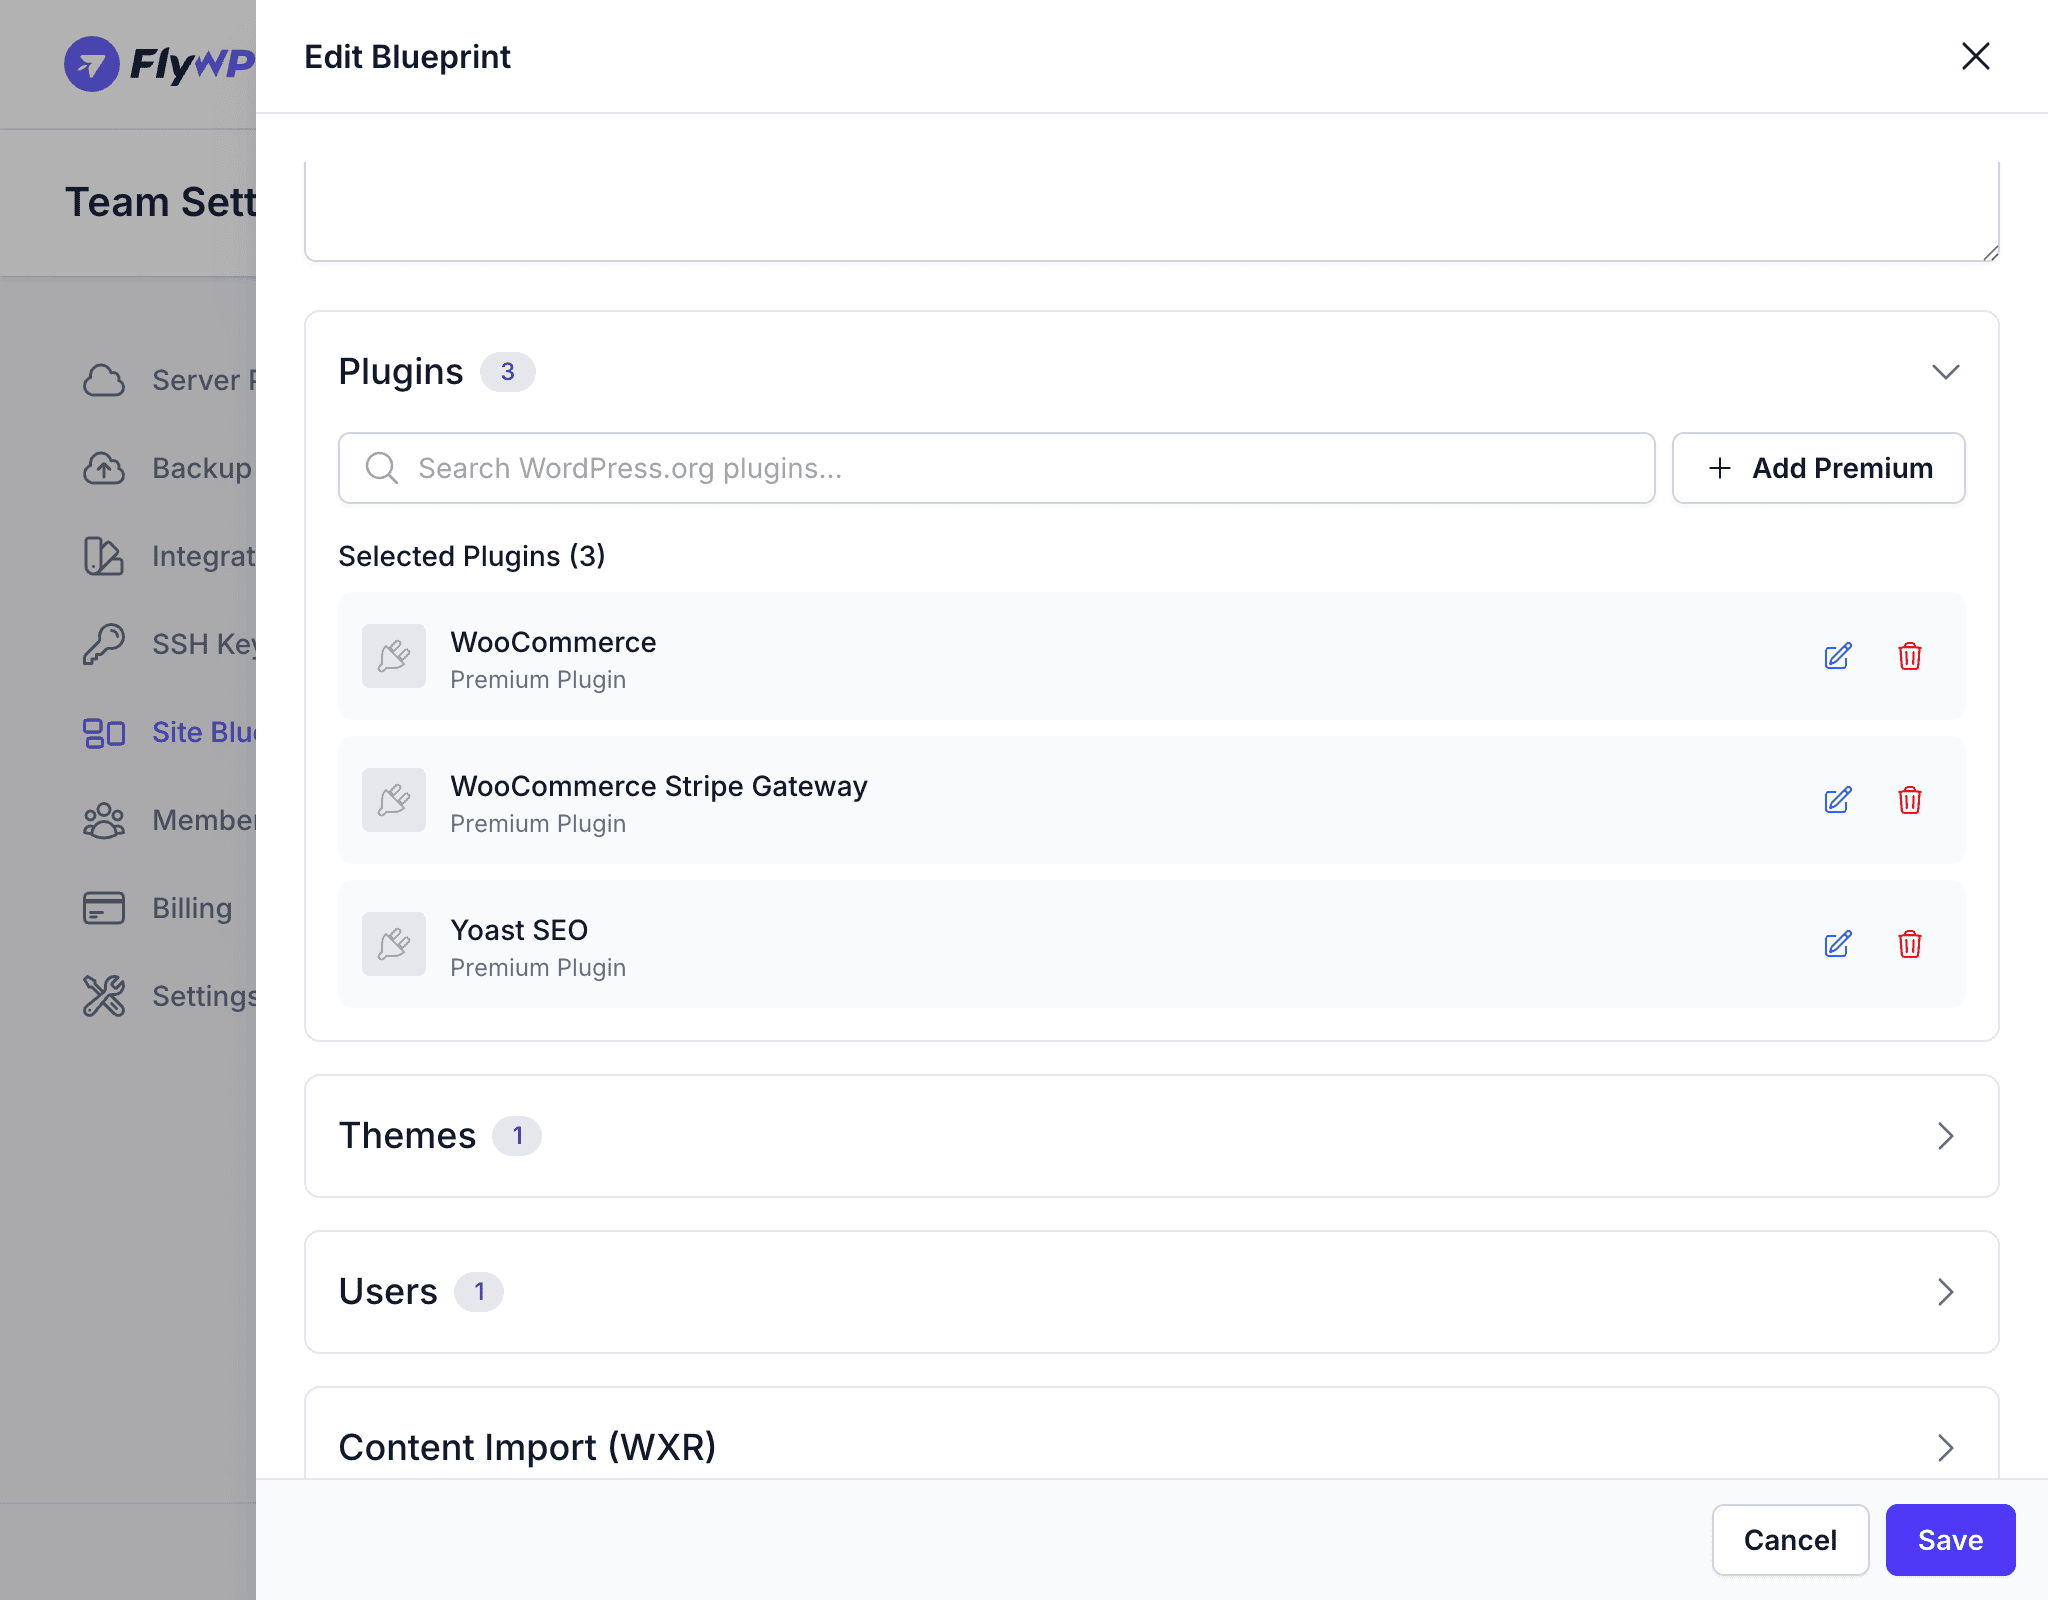
Search the WordPress.org plugin directory and add plugins to install and activate automatically. For plugins not on WordPress.org — premium or proprietary plugins — use the Add Premium option.
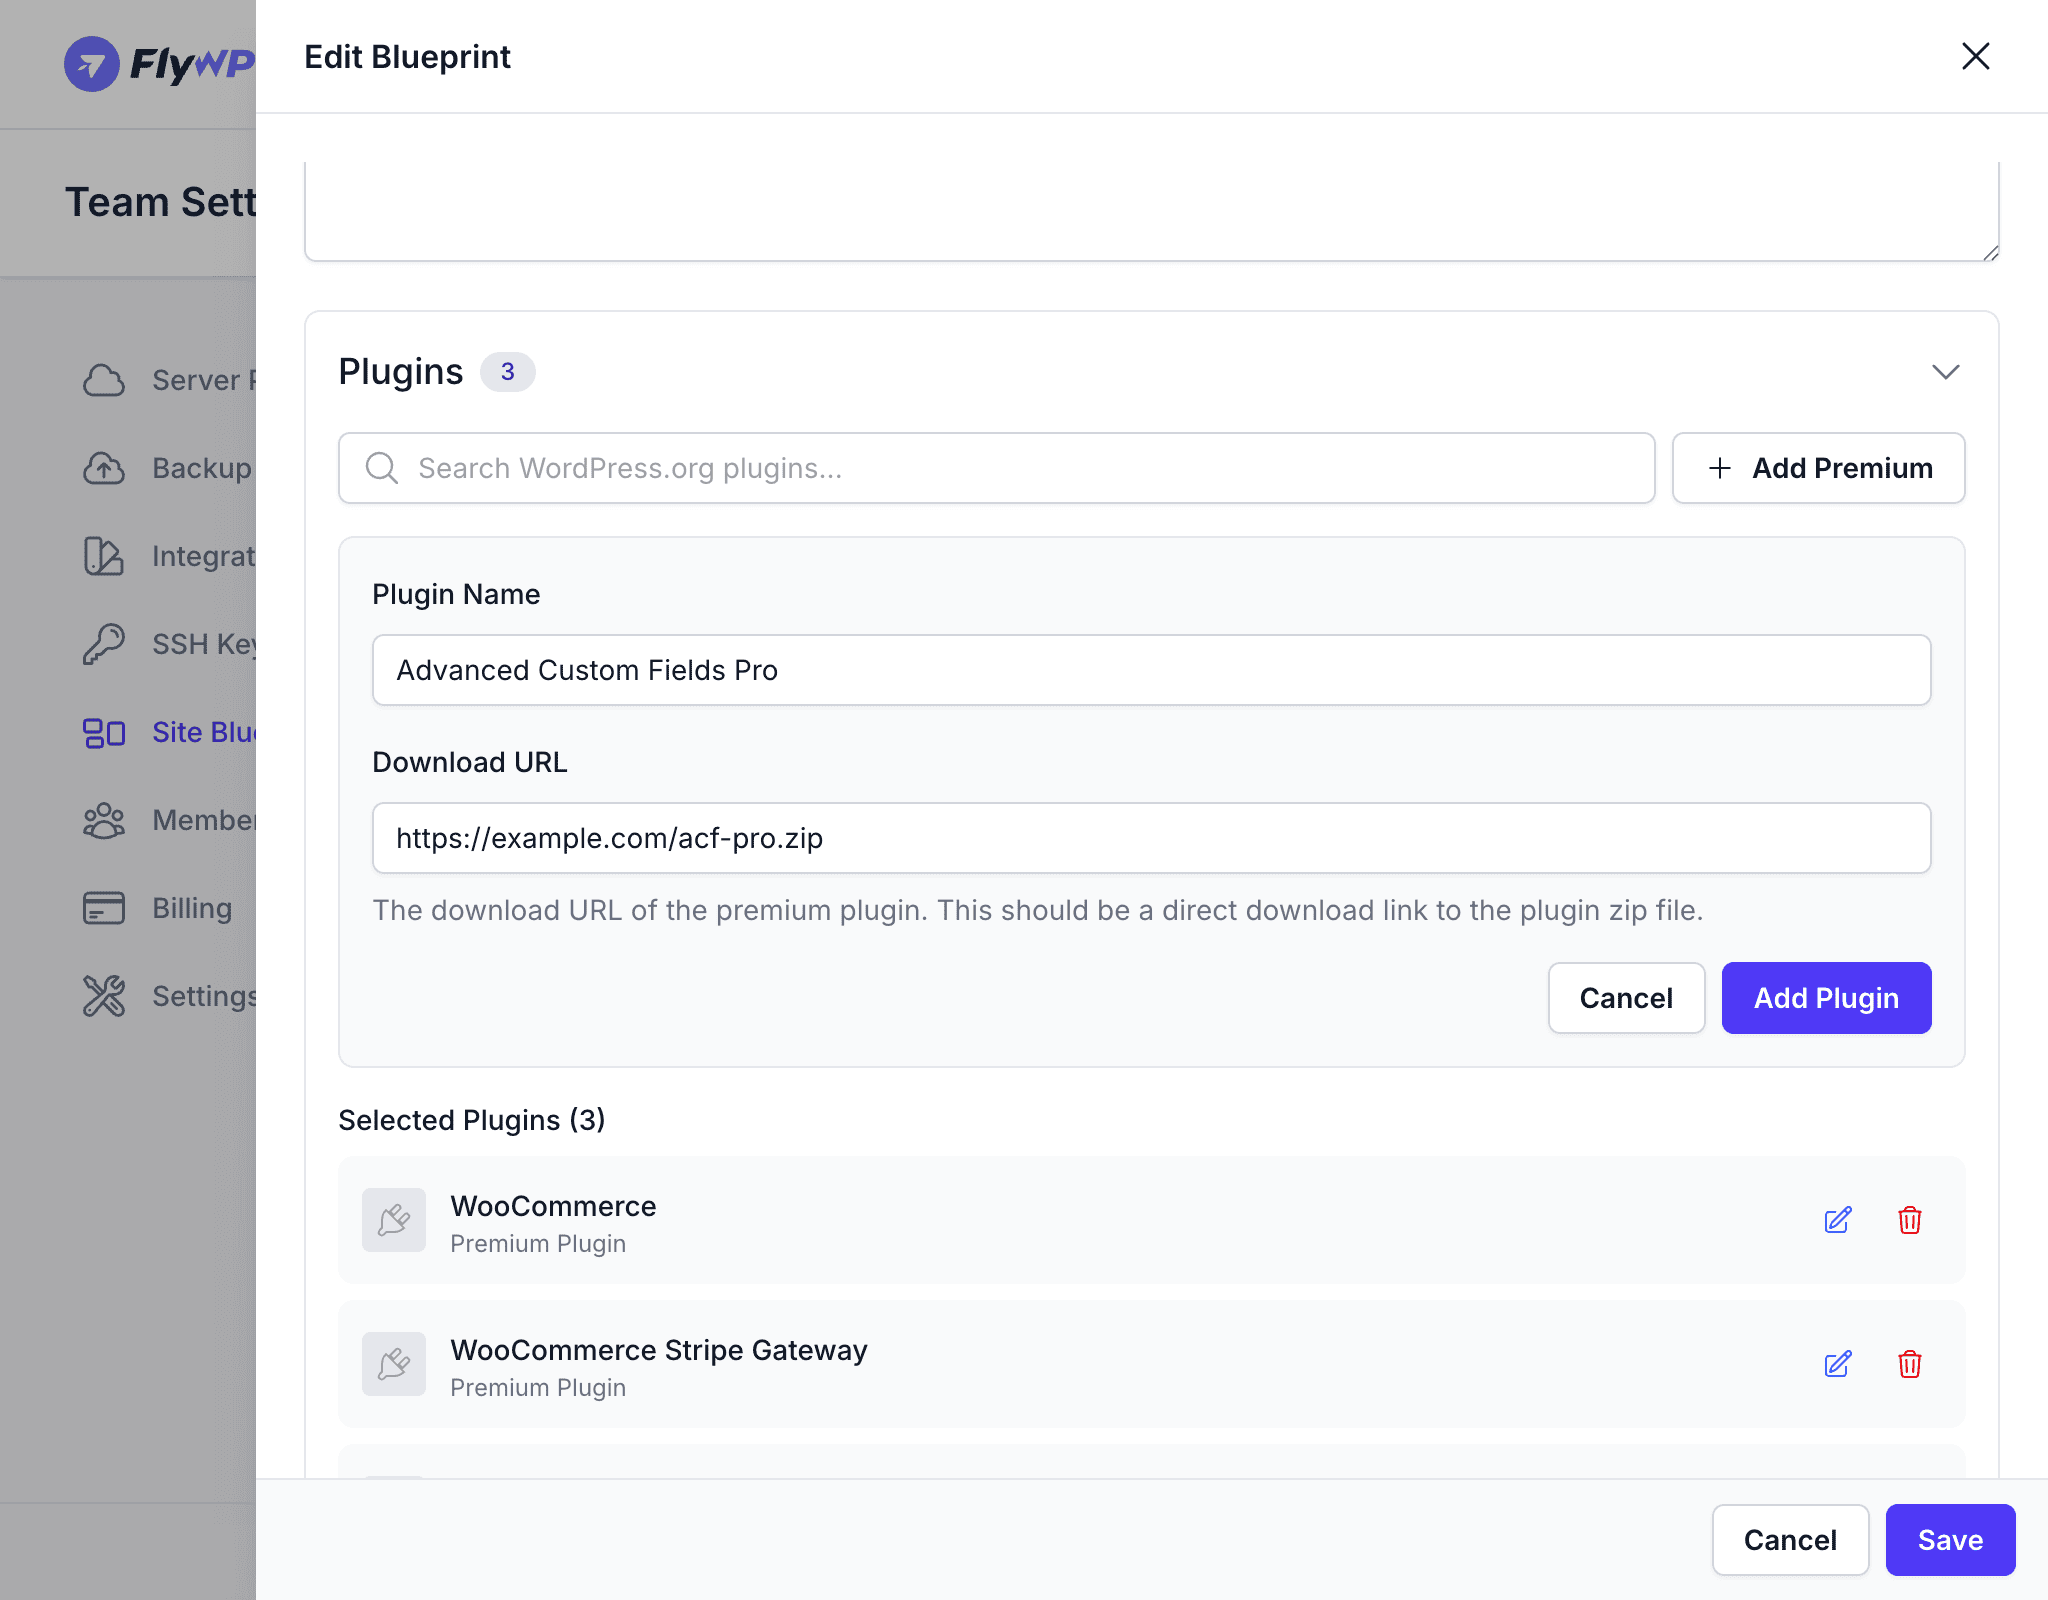
Adding a private or premium plugin:
Click Add Premium to add a plugin by name and download URL (e.g. a direct link to a .zip file from a premium plugin vendor).
The same approach applies to themes — you can mix public (WordPress.org) and private themes in the same blueprint.
Themes
Search the WordPress.org theme directory and select a theme to install and activate. For premium or custom themes, use Add Premium to provide a name and ZIP download URL — same flow as private plugins.
WordPress Users
Pre-create WordPress user accounts that will be added to every site built from this blueprint. Useful for setting up a client admin account, a shared editor, or a support user without manual steps after site creation.
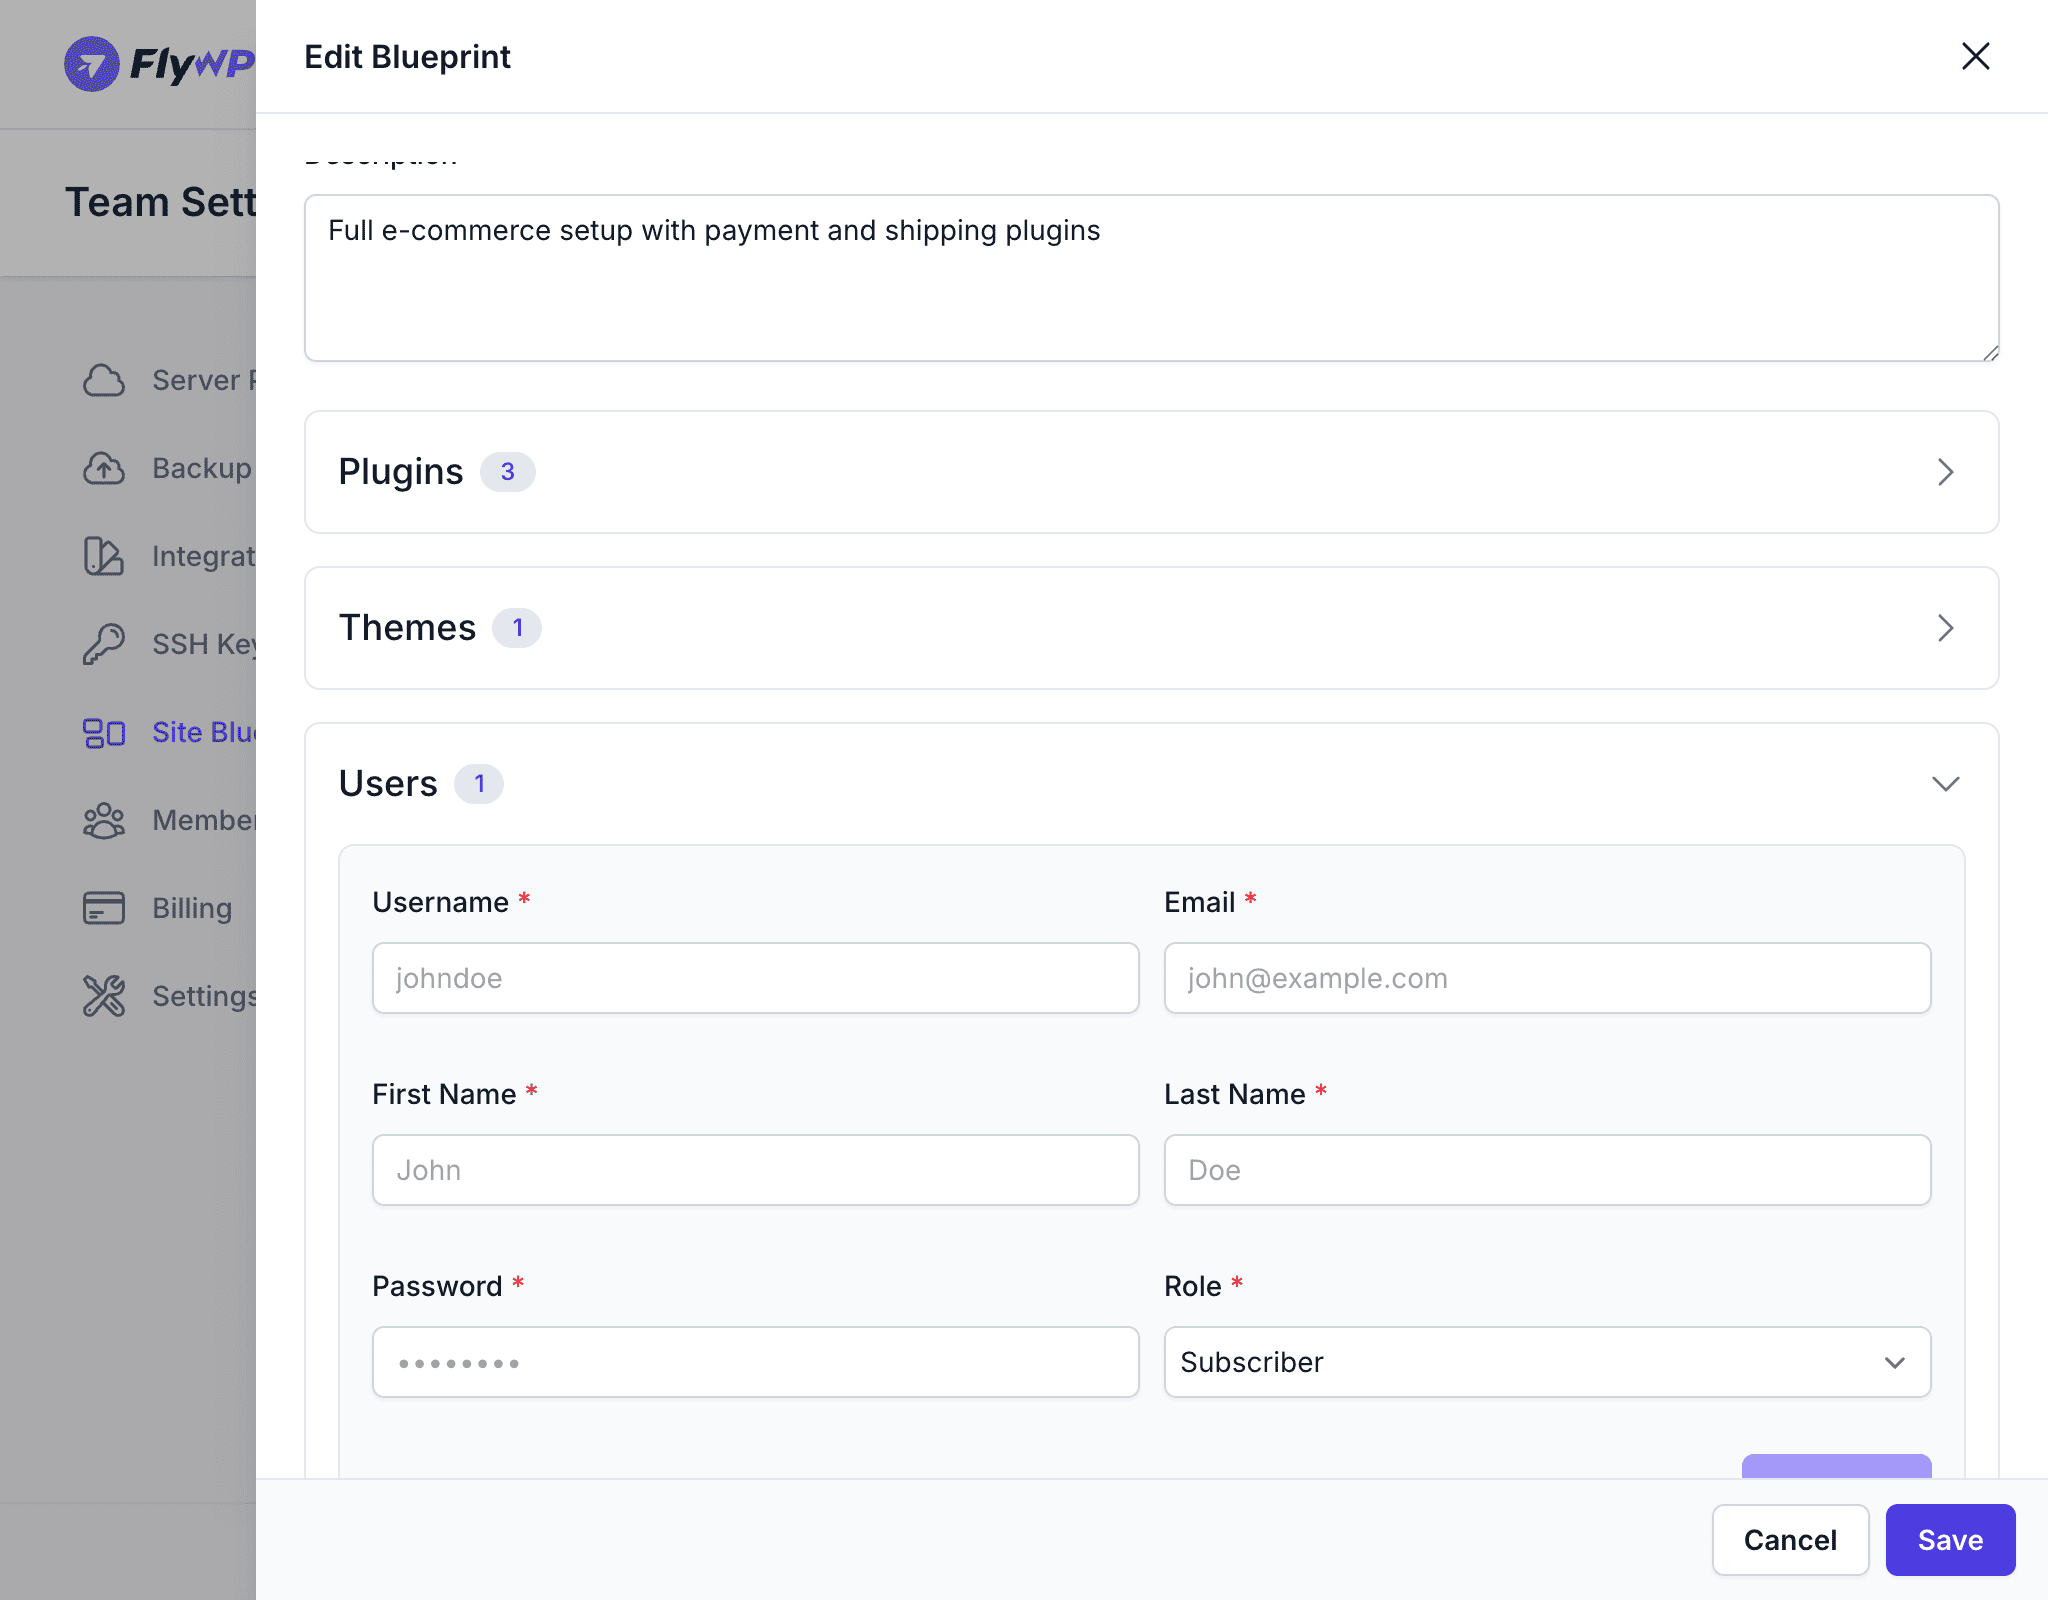
Each user requires:
| Field | Description |
|---|---|
| Username | WordPress login username |
| User’s email address | |
| First name / Last name | Display name |
| Password | Initial password for the account |
| Role | WordPress role: Administrator, Editor, Author, Contributor, or Subscriber |
You can add multiple users to a single blueprint.
Content Import (WXR)
Upload a WXR file (WordPress eXtended RSS — the standard WordPress export format) to pre-populate the site with pages, posts, menus, or any other content from an existing site. This is useful for seeding starter content like a home page, an about page, or sample products.
Post-deployment Script
Run a custom bash script immediately after WordPress is installed. This is the most powerful section — anything you can do via WP-CLI or the command line is available here.
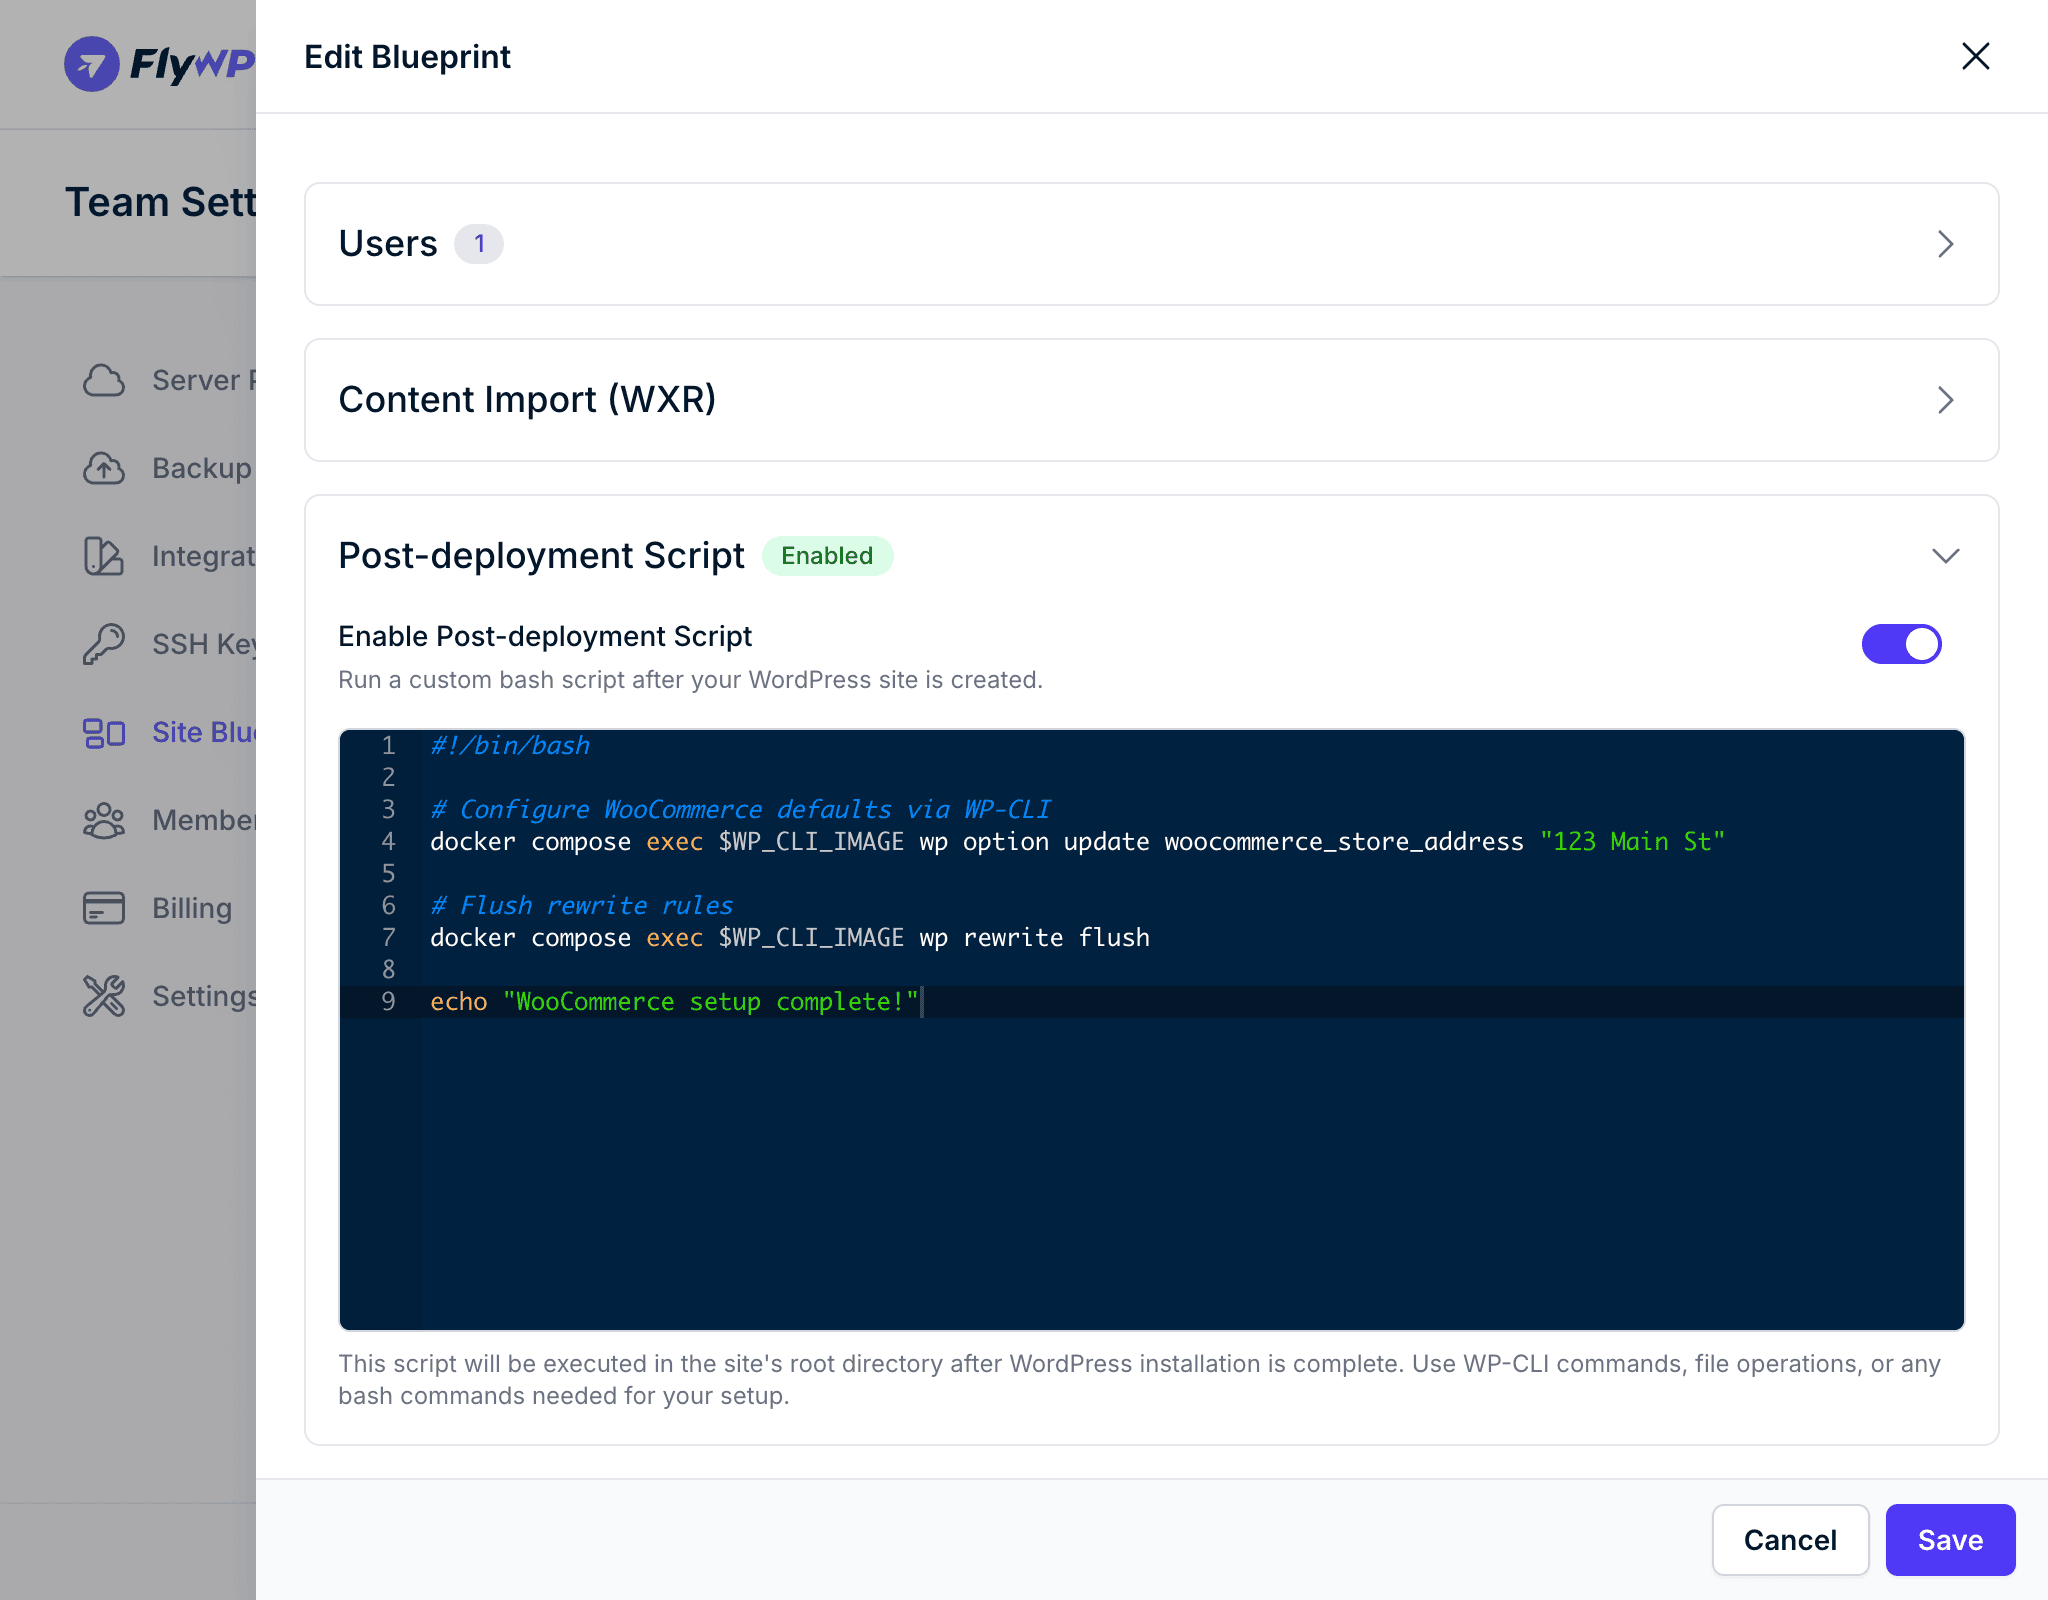
Enable the toggle to activate the script editor. The editor starts with a commented template showing common examples:
#!/bin/bash
# Install additional plugins via WP-CLIdocker compose exec $WP_CLI_IMAGE wp plugin install contact-form-7 --activate
# Update WordPress optionsdocker compose exec $WP_CLI_IMAGE wp option update blogname "My New Site"
# Create additional pagesdocker compose exec $WP_CLI_IMAGE wp post create --post_type=page --post_title="About Us" --post_status=publish
The script runs in the site’s root directory with access to WP-CLI through $WP_CLI_IMAGE. Use it to install plugins that require license key activation, configure settings that WXR import doesn’t cover, or run any custom setup logic.
Applying a Blueprint When Creating a Site
- Start the Create New Site flow.
- In the configuration step, select a Blueprint from the dropdown.
- Complete the rest of the site creation process.
FlyWP installs the plugins, activates the theme, creates the users, imports the WXR content, and runs the post-deployment script — all automatically before handing you a ready-to-use WordPress site.
Managing Blueprints
From the blueprints list you can:
- Edit — update any section of an existing blueprint
- Duplicate — copy a blueprint as a starting point for a variation
- Delete — remove a blueprint you no longer need