Advanced Plugin Management
Advanced Plugin Management
Switching between your WordPress admin and your server dashboard just to manage plugins wastes time — especially when you’re managing multiple sites. FlyWP’s Advanced Plugin Management brings plugin installs, activations, deactivations, and deletions into one place, so you can handle everything without ever opening wp-admin. It’s particularly useful when a plugin is breaking your site and you need to deactivate it fast, or when you want to install a specific older version to avoid a known compatibility issue.
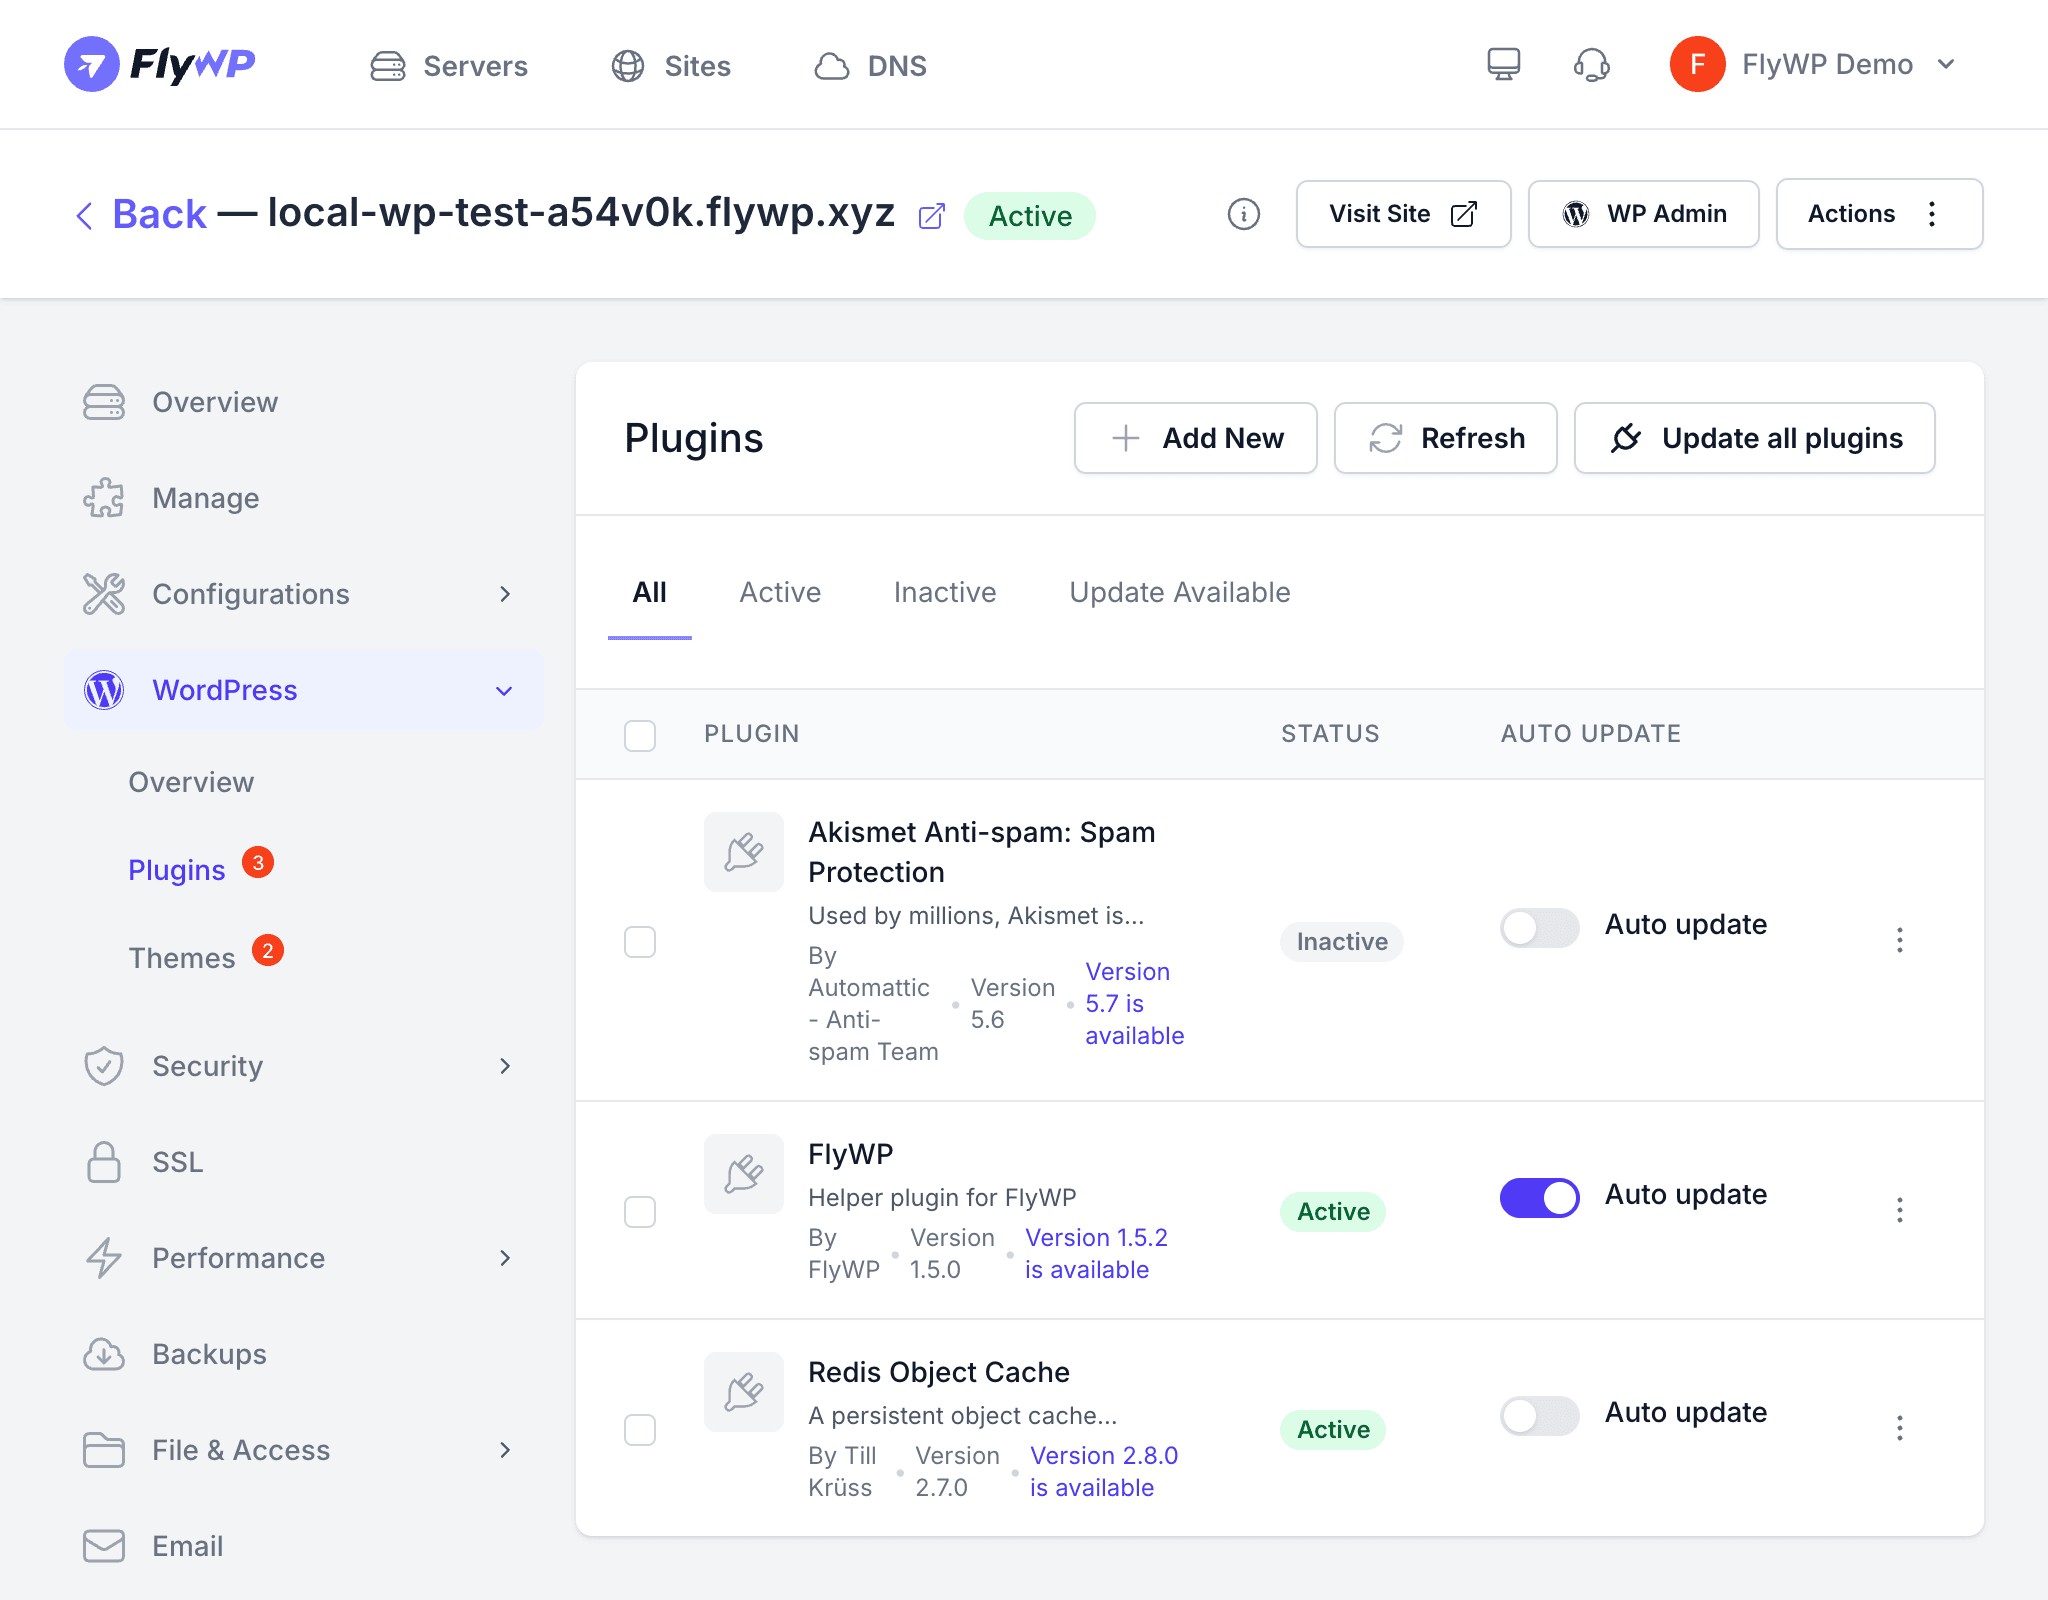
Under the hood, FlyWP runs WP-CLI (a command-line tool for managing WordPress) inside your site’s container, giving you the same power as the WordPress admin panel — plus bulk operations and version-specific installs.
Available Operations
| Operation | Description |
|---|---|
| Activate | Enable one or more plugins in bulk |
| Deactivate | Disable one or more plugins without deleting them |
| Delete | Remove plugin files from the server entirely |
| Install | Install a new plugin, optionally specifying a version |
| Toggle Auto-Update | Enable or disable WordPress auto-updates per plugin |
Activating Plugins
To activate one or more plugins at once:
- Navigate to your site’s plugin management page.
- Select the plugins you want to activate.
- Click Activate.
FlyWP activates all selected plugins in a single operation, so you don’t have to repeat the process one by one.
Deactivating Plugins
To deactivate plugins without removing them:
- Select the plugins you want to deactivate.
- Click Deactivate.
Deactivated plugins stay installed on the server. Their files remain in wp-content/plugins/ but FlyWP stops WordPress from loading them, so they execute no code.
Deleting Plugins
To permanently remove a plugin from your server:
- Select the plugins you want to remove.
- Click Delete.
- Confirm the deletion.
Deleting a plugin permanently removes its files from the server. Some plugins also store data in the database (the structured store that holds your site’s content and settings) that does not get cleaned up on deletion. If you think you might need the plugin again, deactivate it instead.
Installing a New Plugin
To install a plugin directly from WordPress.org:
- Click the Install Plugin button.
- Enter the plugin slug — the short identifier used on WordPress.org (for example,
wordfenceorwoocommerce). - Optionally enter a version number to install a specific release instead of the latest.
- Choose whether to activate the plugin immediately after installation.
- Click Install.
FlyWP downloads the plugin from WordPress.org and installs it via WP-CLI.
Managing Auto-Updates
WordPress can automatically update individual plugins whenever new versions are released. You can toggle this behavior per plugin without touching wp-admin:
- Find the plugin in the list.
- Click the Auto-Update toggle.
- WordPress respects your choice immediately — enabled means automatic updates, disabled means you control the timing.
| Auto-Update State | Behavior |
|---|---|
| Enabled | WordPress installs new versions as soon as they are released |
| Disabled | Updates only happen when you manually trigger them |
How It Works Under the Hood
All plugin operations run via WP-CLI (a command-line interface for WordPress) inside your site’s container. FlyWP sends the command, waits for the result, and surfaces a success or error response in the dashboard. You get the same power as running commands directly on the server — without needing SSH access (the secure protocol normally used to connect to a remote server through a terminal).
Troubleshooting
- Installation fails — Check that the plugin slug is correct and the plugin exists on WordPress.org. Also verify the server has enough disk space.
- Activation fails — The plugin may have unmet PHP or WordPress version requirements. Check the server logs for specific error messages.
- Delete fails — File permission issues can prevent deletion. Verify that the web server user has write access to
wp-content/plugins/.