Create a Website with OpenLiteSpeed
Create a Website with OpenLiteSpeed
If you want your WordPress site to load faster out of the box — with a caching engine (software that stores pre-built pages so the server doesn’t rebuild them for every visitor) built directly into the web server — OpenLiteSpeed is worth considering. It pairs especially well with the free LiteSpeed Cache plugin for WordPress, giving you page caching, image optimization, and more without juggling multiple tools. This guide walks you through creating a WordPress site on FlyWP using the OpenLiteSpeed stack.
Why Choose OpenLiteSpeed?
OpenLiteSpeed gives you several advantages for WordPress hosting:
- Built-in caching engine — Works natively with the LiteSpeed Cache plugin for WordPress, one of the most powerful caching solutions available
- .htaccess support — Compatible with WordPress plugins that rely on
.htaccess(Apache-style configuration files) rules, unlike Nginx - HTTP/3 and QUIC — Built-in support for the latest web protocols, which can improve page load times for visitors
- Low resource usage — Efficient memory and CPU usage comparable to Nginx
Prerequisites
Before creating a site with OpenLiteSpeed, you need:
- An active server provisioned with a provider that supports OLS
- A domain name pointed to your server’s IP address (optional — test domains work too)
Provider compatibility for OpenLiteSpeed:
| Provider | OLS Support |
|---|---|
| Vultr | Yes |
| AWS (EC2) | Yes |
| Akamai (Linode) | Yes |
| Hetzner | Yes |
| DigitalOcean | No (Nginx only) |
OpenLiteSpeed is not available on DigitalOcean servers. If you need OLS, provision your server with Vultr, AWS, Akamai, or Hetzner. OLS is also not available for Bedrock/Git-based WordPress installations.
Step 1: Start the Site Creation Wizard
Navigate to your server’s dashboard and click + Create New Site, then select WordPress. The multi-step wizard will guide you through domain, configuration, installation, and summary steps.
Step 2: Domain Configuration
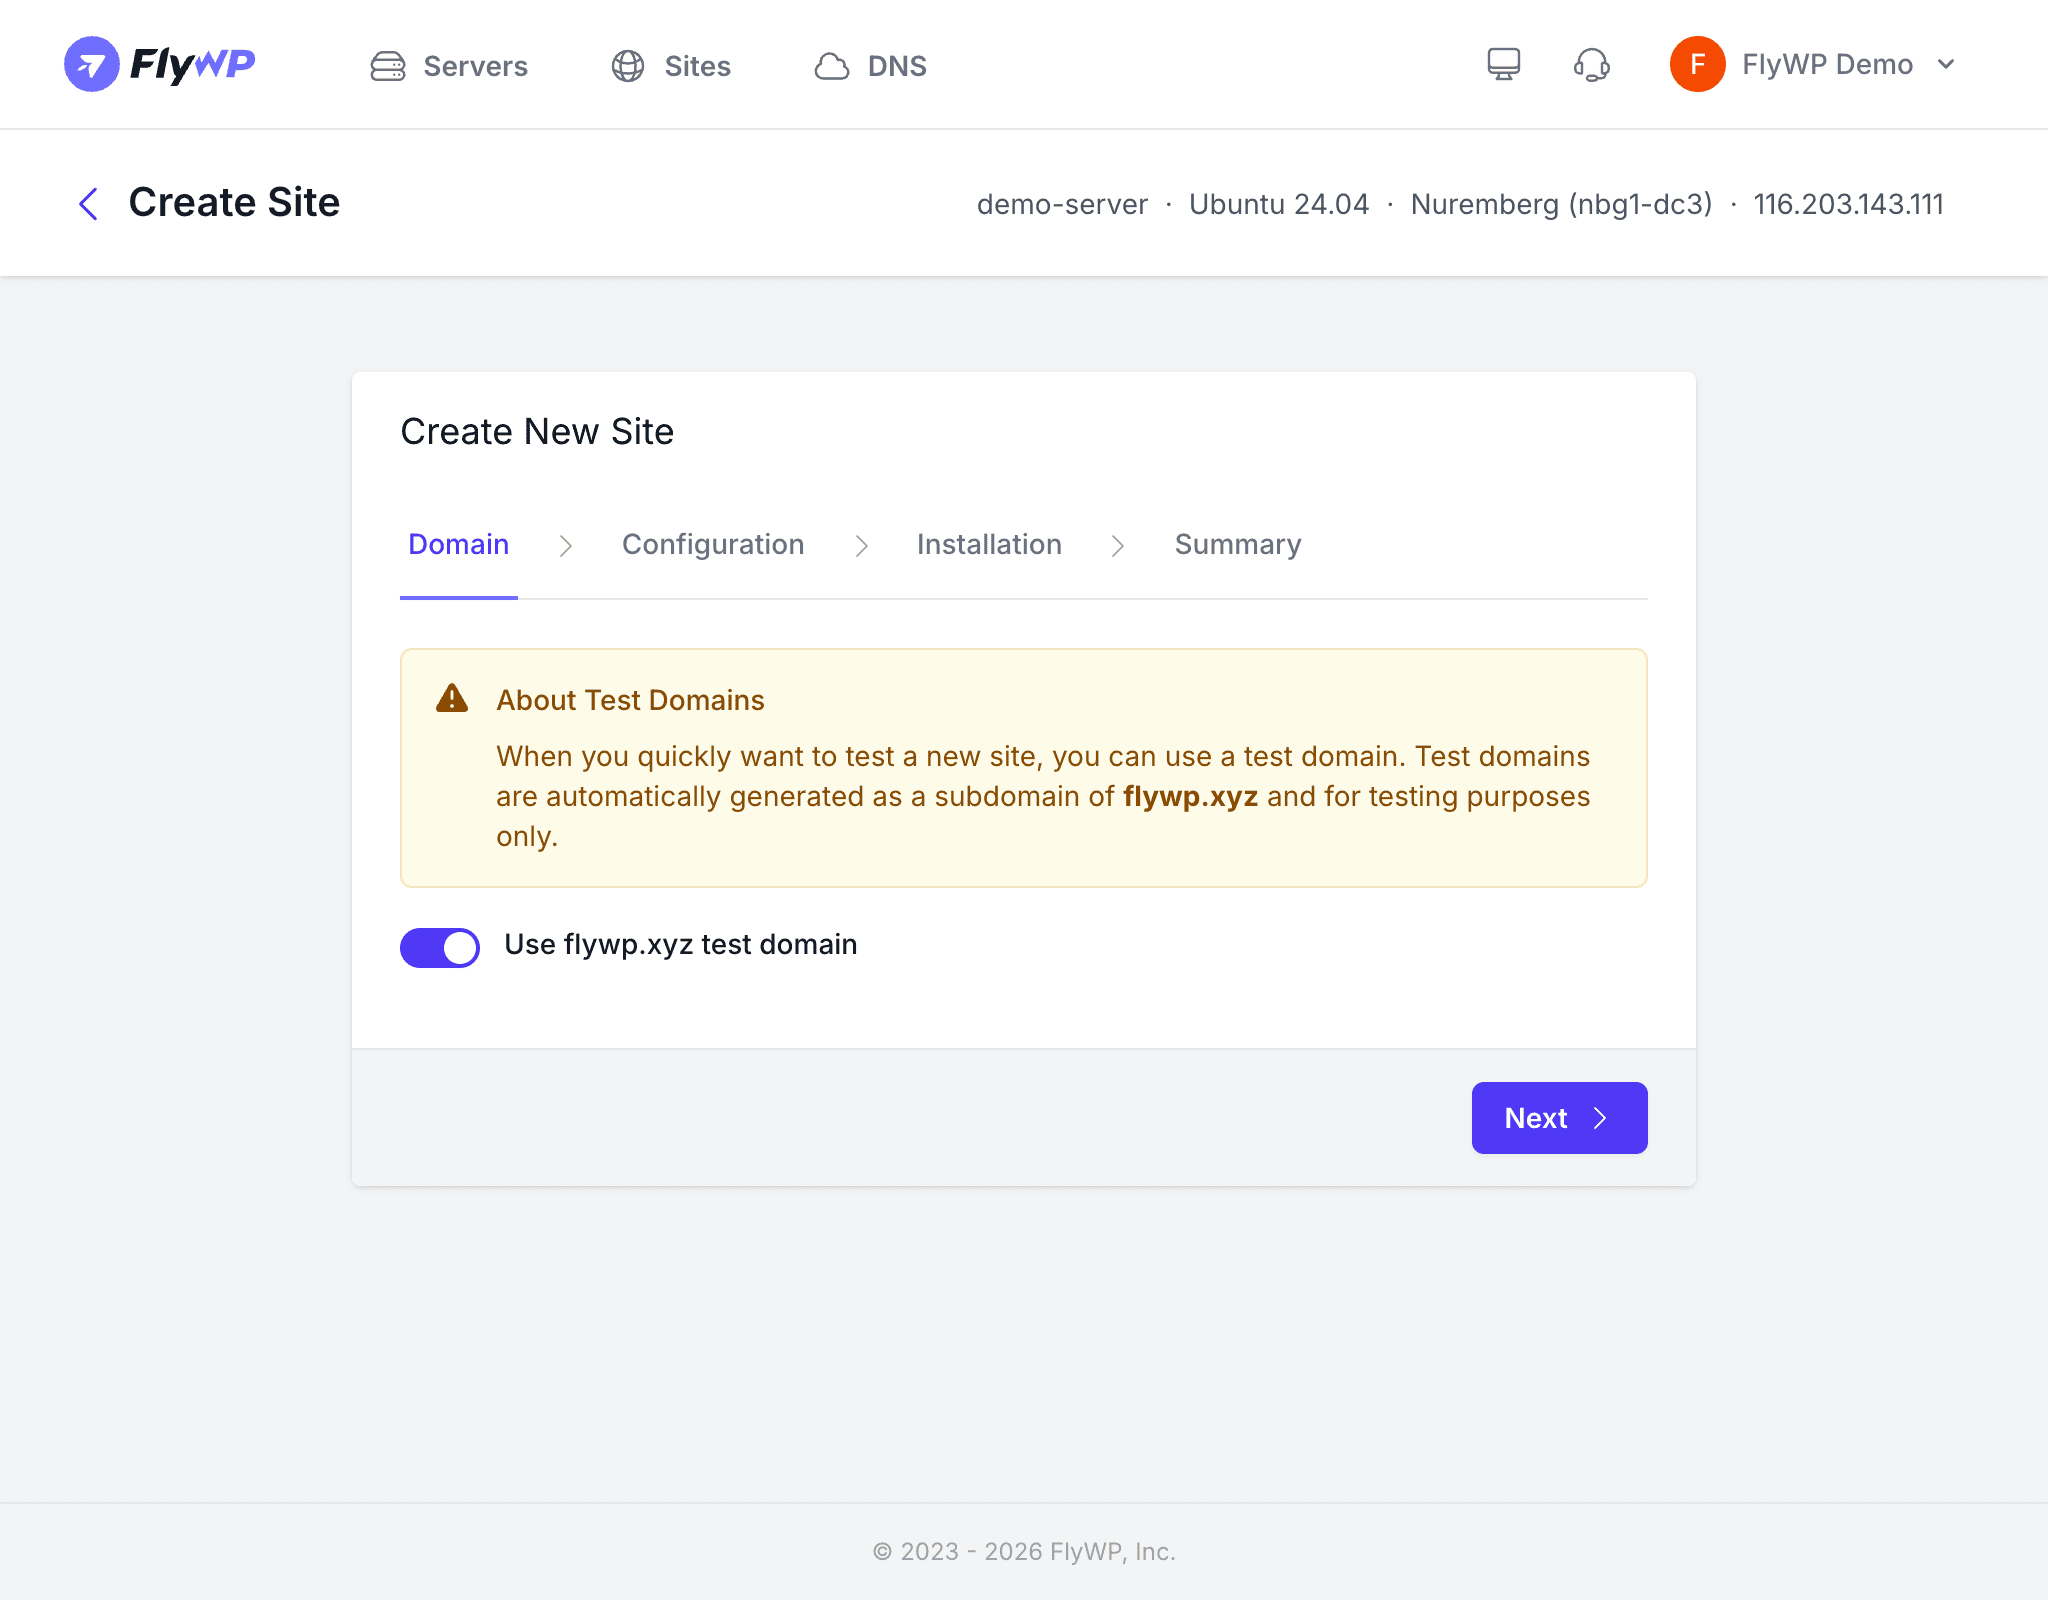
Set up your site’s domain:
- Custom domain — Enter your domain (e.g.,
example.com). Make sure the DNS A record (the setting that points your domain name to a server IP address) points to your server’s IP address. - Test domain — Use a free
.flywp.xyzsubdomain to get started without configuring DNS.
Optional settings:
- Add Cloudflare DNS Record — Automatically create a DNS record if you have Cloudflare (a DNS and CDN provider) connected to FlyWP.
- Enable HTTPS — Provision a free Let’s Encrypt SSL certificate (the technology that enables the padlock icon and encrypted connections in browsers). The domain must resolve to your server first.
Step 3: Server Stack and PHP Version

Select OpenLiteSpeed as your server stack on the configuration step.
Choose your PHP version from the available options for OLS:
| PHP Version | Available for OLS |
|---|---|
| 8.4 | No |
| 8.3 | Yes (recommended) |
| 8.2 | Yes |
| 8.1 | Yes |
| 8.0 | No |
| 7.4 | Yes (legacy only) |
OpenLiteSpeed supports a narrower range of PHP versions than Nginx. PHP 8.0 and 8.4 are not available for OLS. If you need those specific versions, use the Nginx stack instead.
External database — Toggle this if you want to connect to a database hosted outside this server. For most setups, the built-in database works well.
Step 4: WordPress Installation Details
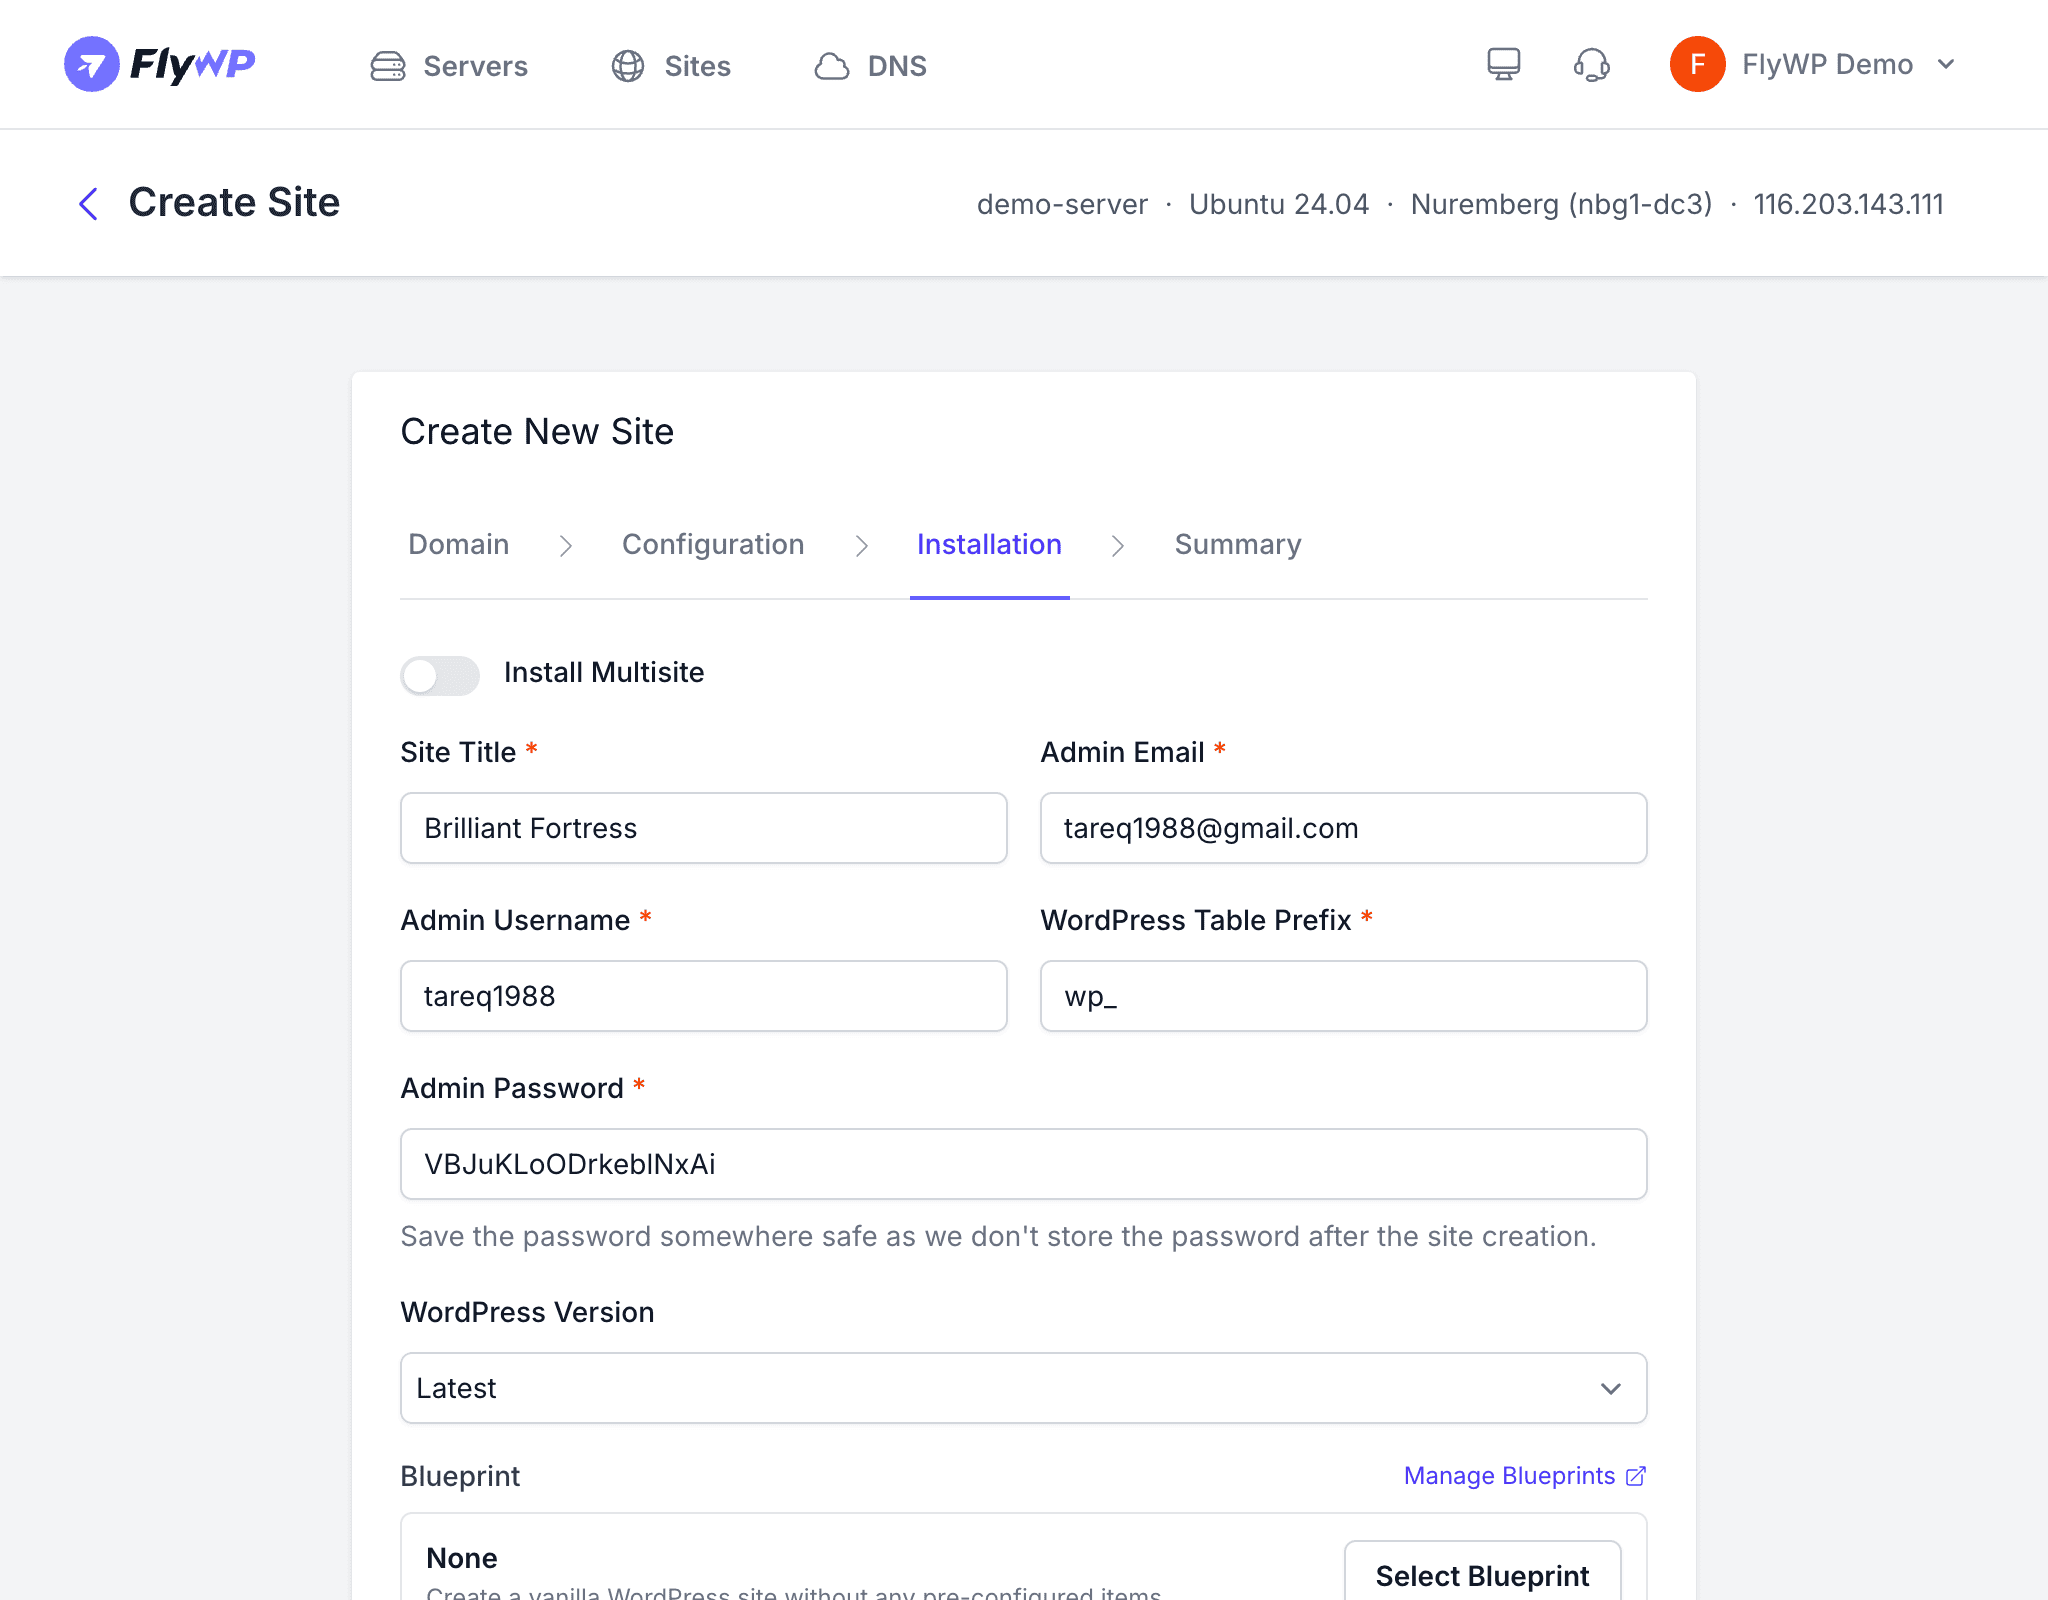
Configure your WordPress installation:
- Install Multisite — Enable WordPress Multisite (a feature that lets one WordPress installation power multiple websites) if needed. Leave off for standard single-site setups.
- Site Title — Your website name (changeable later).
- Admin Email — For WordPress notifications and password recovery.
- Admin Username — Pick a unique name. Avoid “admin” for security.
- WordPress Table Prefix — Defaults to
wp_. Customize if sharing a database with another site. - Admin Password — An auto-generated strong password is provided. Replace it with your own if preferred.
- WordPress Version — Select Latest or a specific version.
- Site Blueprint — Optionally apply a pre-configured blueprint with plugins, themes, and settings pre-installed.
- Enable Full Page Cache — Recommended. On OLS, this works alongside the LiteSpeed Cache system for maximum performance.
Step 5: Review and Create
Review all your settings on the summary page and click Create Site.
FlyWP will then:
- Create an isolated Docker container (a self-contained environment) for your site
- Set up a MySQL database (the database system WordPress uses to store your content) and user
- Install WordPress with your admin credentials
- Configure OpenLiteSpeed with optimized WordPress settings
- Provision an SSL certificate (if HTTPS was enabled)
- Enable page caching (if selected)
Site creation typically takes 1-2 minutes.
LiteSpeed Cache for WordPress
One of the biggest advantages of running OpenLiteSpeed is its tight integration with the LiteSpeed Cache plugin for WordPress. After your site is created:
- Install and activate the LiteSpeed Cache plugin from the WordPress plugin repository
- The plugin communicates directly with the OpenLiteSpeed server for cache management
- Features include page cache, object cache (stores frequently repeated database queries in memory), image optimization, CSS/JS minification, and CDN support
When to Choose OLS vs Nginx
| Consideration | Nginx | OpenLiteSpeed |
|---|---|---|
| PHP version range | 7.4 - 8.4 | 7.4, 8.1 - 8.3 |
| .htaccess support | No | Yes |
| Provider support | All providers | All except DigitalOcean |
| Bedrock/Git sites | Yes | No |
| Built-in cache engine | No (uses FastCGI cache) | Yes (LiteSpeed Cache) |
| Community adoption | Larger | Growing |
What Happens Next
Once your site shows Active status:
- Visit Site — See your live WordPress site
- WP Admin — Use magic login to access the WordPress dashboard
- Install the LiteSpeed Cache plugin to take full advantage of the OLS caching engine
- Configure backups, security, and monitoring from the site dashboard