Amazon EC2
Amazon EC2
If you already have an AWS account — or want the flexibility and global reach that Amazon’s infrastructure provides — connecting EC2 to FlyWP lets you spin up servers in 19 regions worldwide without ever touching the AWS console again. FlyWP handles provisioning, configuration, and ongoing server management, so you get the power of AWS without the complexity.
Prerequisites
Before connecting AWS to FlyWP, make sure you have:
- An AWS account with access to the IAM console.
- A dedicated IAM user (IAM, or Identity and Access Management, is AWS’s system for controlling who can do what inside your account) with EC2 management permissions.
- The IAM user’s Access Key ID and Secret Access Key — the two-part credential AWS uses to identify your account programmatically.
Do not use your AWS root account credentials. Always create a dedicated IAM user with only the permissions FlyWP needs. This follows AWS security best practices and limits exposure if credentials are ever compromised.
Connecting AWS to FlyWP
Once you have your IAM credentials ready, adding AWS as a provider takes under a minute.
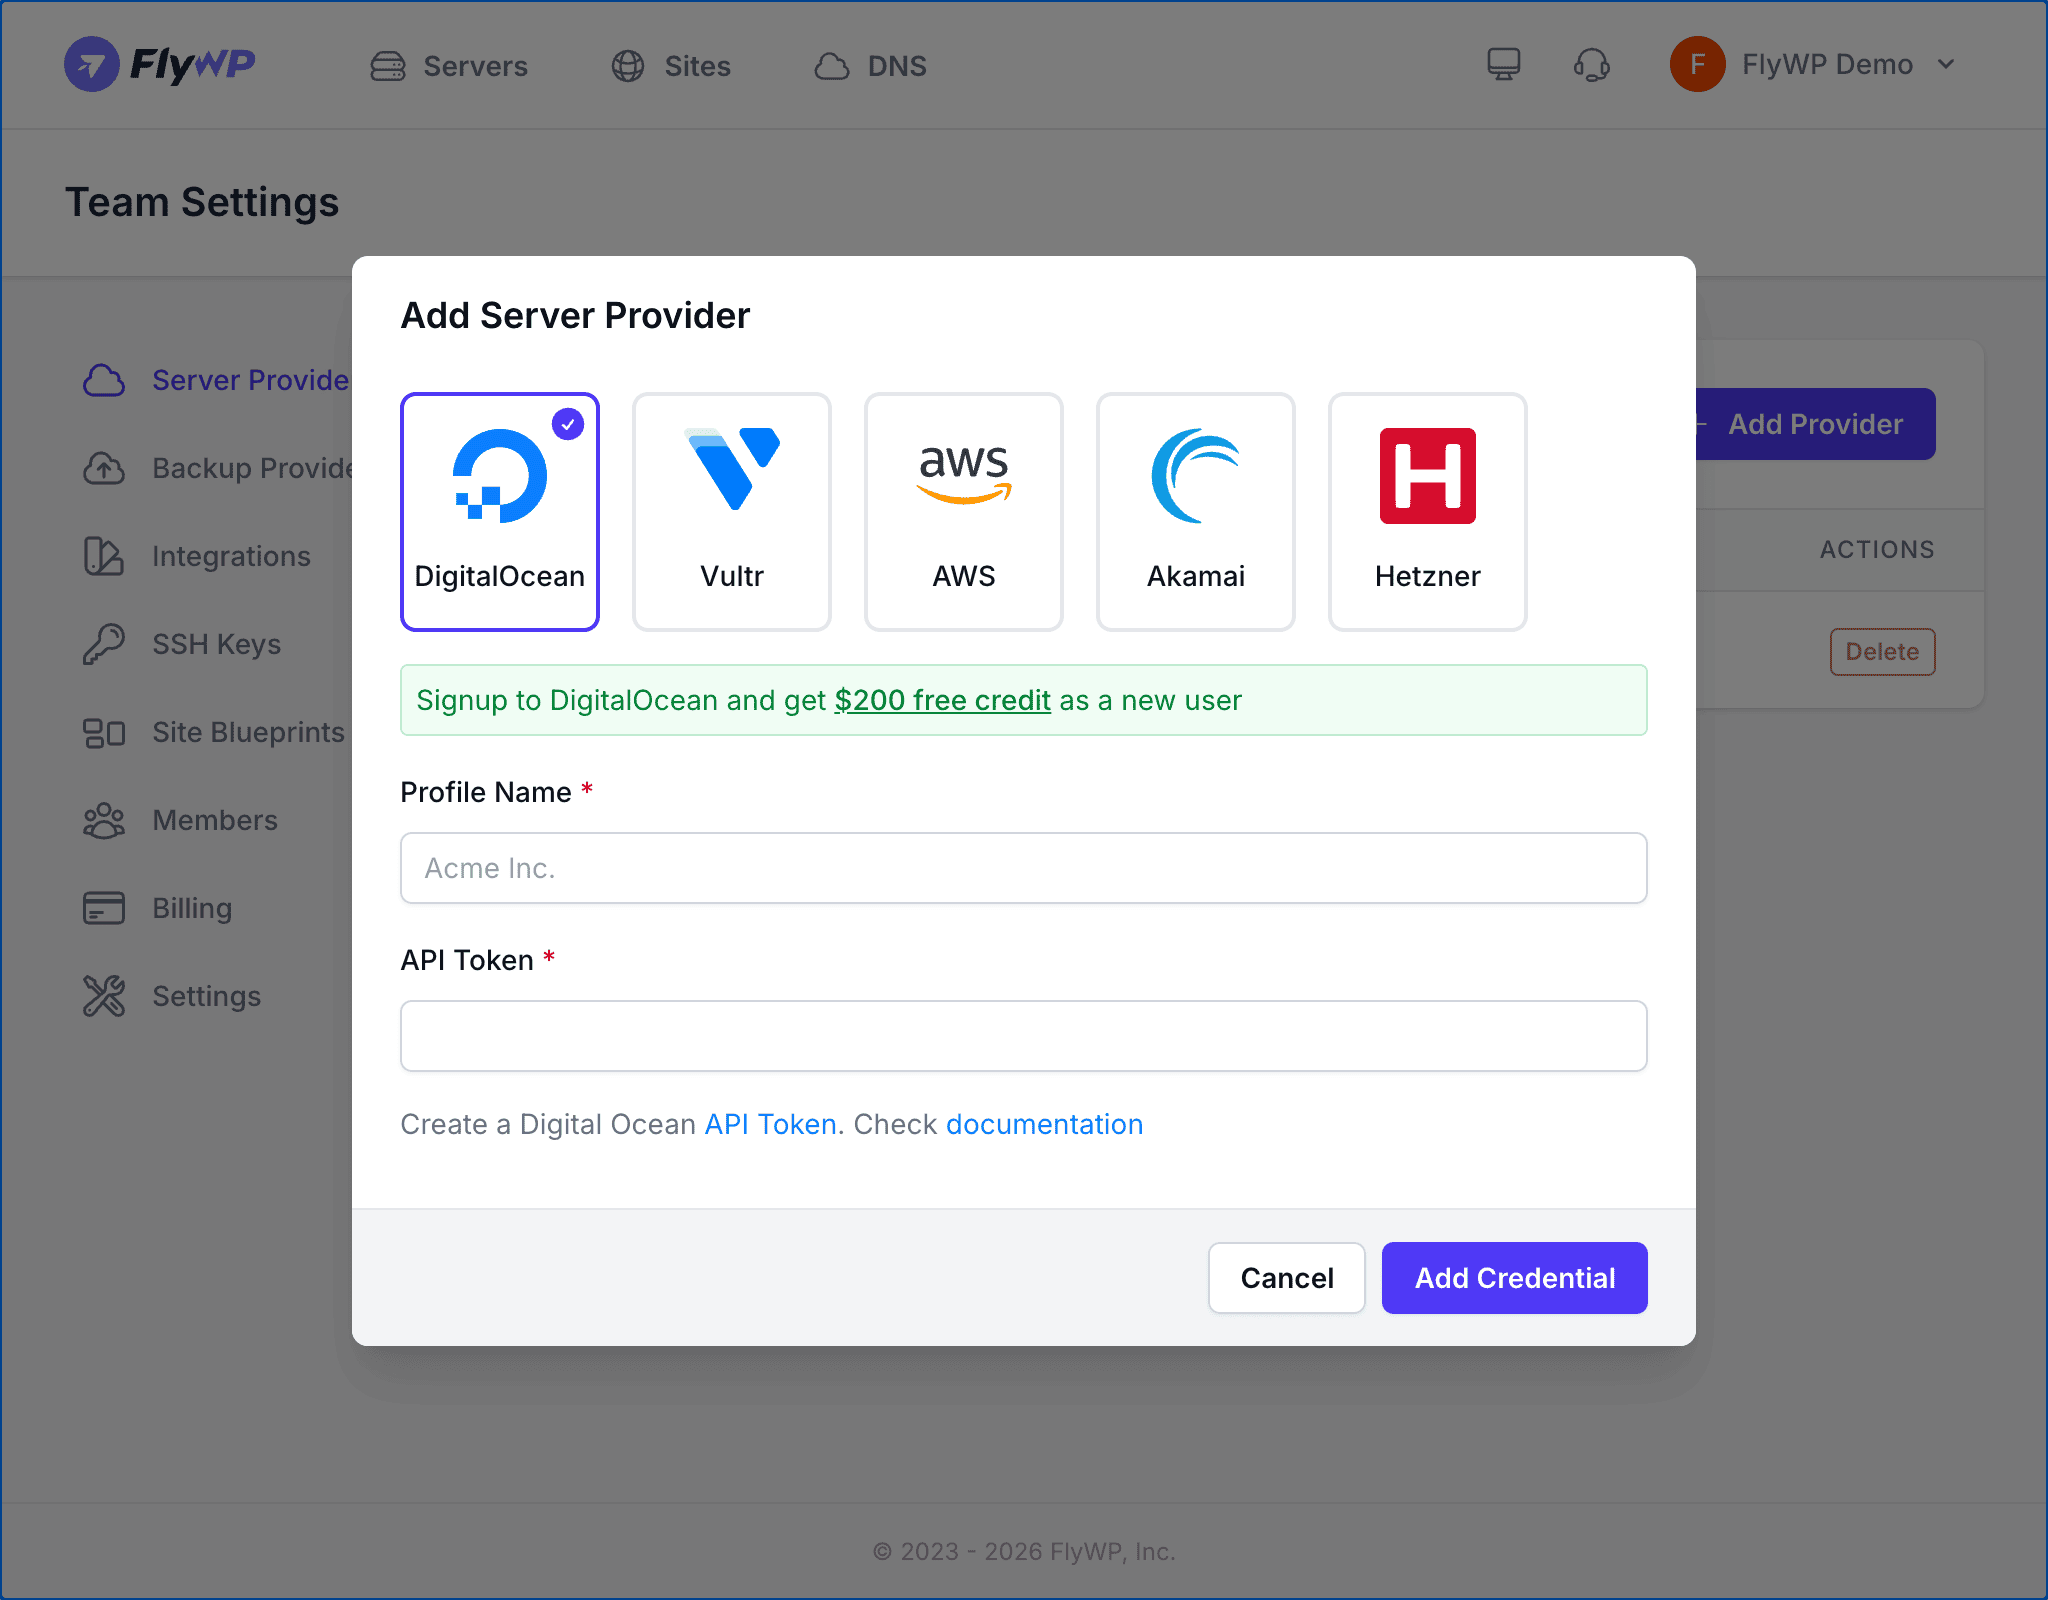
- Navigate to Team Settings > Server Providers.
- Click Add Provider.
- Select the AWS icon from the provider list.
- Enter a Profile Name for this connection (e.g.,
AWS Production). This must be unique within your team and can be up to 80 characters. - Enter your Access Key ID in the first field.
- Enter your Secret Access Key in the second field.
- Click Add Credential.
FlyWP validates both credentials with the AWS API before saving. If either value is incorrect or the IAM user lacks sufficient permissions, you will see an error message.
Getting Your API Credentials
Step 1: Create a Dedicated IAM User
- Log in to the AWS Management Console.
- Navigate to IAM > Users and click Create user.
- Enter a username like
flywp-server-manager. - Under Permissions, attach the AmazonEC2FullAccess managed policy. This grants FlyWP the ability to create, manage, and terminate EC2 instances on your behalf.
Step 2: Generate Access Keys
- Open the IAM user you created.
- Go to the Security credentials tab.
- Under Access keys, click Create access key.
- Select Third-party service as the use case.
- Copy both the Access Key ID and the Secret Access Key.
Step 3: Store Your Credentials Securely
AWS displays the Secret Access Key only once, at the moment of creation. Download the .csv file or copy both values immediately. If you lose the secret key, you will need to generate a new access key pair.
Available Server Options
When creating a server through FlyWP with AWS, you can choose from the following EC2 (Elastic Compute Cloud) instance types and configurations.
Instance Types
| Instance Family | Category | Best For |
|---|---|---|
| T2 | General Purpose (Burstable) | Development, staging, and low-traffic sites |
| T3 | General Purpose (Burstable) | Production sites with variable workloads |
| C5 | Compute Optimized | High-traffic sites and CPU-intensive workloads |
Regions
AWS offers 19 regions worldwide, including locations across North America, Europe, Asia Pacific, South America, and the Middle East. Choose a region geographically close to your target audience — this reduces network latency (the delay between a visitor’s request and the server’s response) and improves page load times.
Web Server Stack
AWS servers provisioned through FlyWP support both Nginx and OpenLiteSpeed web server stacks. Nginx is a widely used, battle-tested option; OpenLiteSpeed can offer performance advantages for certain WordPress configurations.
Pricing
AWS uses a pay-as-you-go pricing model — you pay only for the compute time you use. EC2 instance costs vary by instance type, region, and usage. AWS bills you directly through your AWS account; FlyWP does not add any markup to infrastructure costs.