Migrate from Other Hosting
Migrate from Other Hosting
Moving a WordPress site to a new host is one of the most stressful tasks in web management — broken links, missing files, and database mismatches are all common pitfalls. FlyWP’s automatic migration removes that stress by handling the entire move for you: files, database, URL replacements, and configuration updates, all in one automated process. If your site is currently on shared hosting, cPanel, Kinsta, WP Engine, or any other WordPress host, this is the fastest path to FlyWP.
You install a small plugin on your existing (source) site, generate a migration key, and paste it into FlyWP. From there, FlyWP takes over — no manual file transfers or database exports needed.
Step 1: Install the FlyWP Migrator Plugin
- Log in to the WordPress admin of the site you want to migrate.
- Go to Plugins > Add New and search for FlyWP Migrator.
- Install and activate the plugin.
- Navigate to the FlyWP Migrator menu item in the admin sidebar.
Once activated, the plugin generates a migration key — a base64-encoded string (a compact, URL-safe format for bundling data) that contains your site URL, site type, and database table prefix along with a secret token.
Step 2: Copy the Migration Key
The migration key appears on the plugin’s settings page. Copy the entire key to your clipboard.
Step 3: Start the Migration in FlyWP
With your migration key copied, head over to FlyWP and set up the destination site:
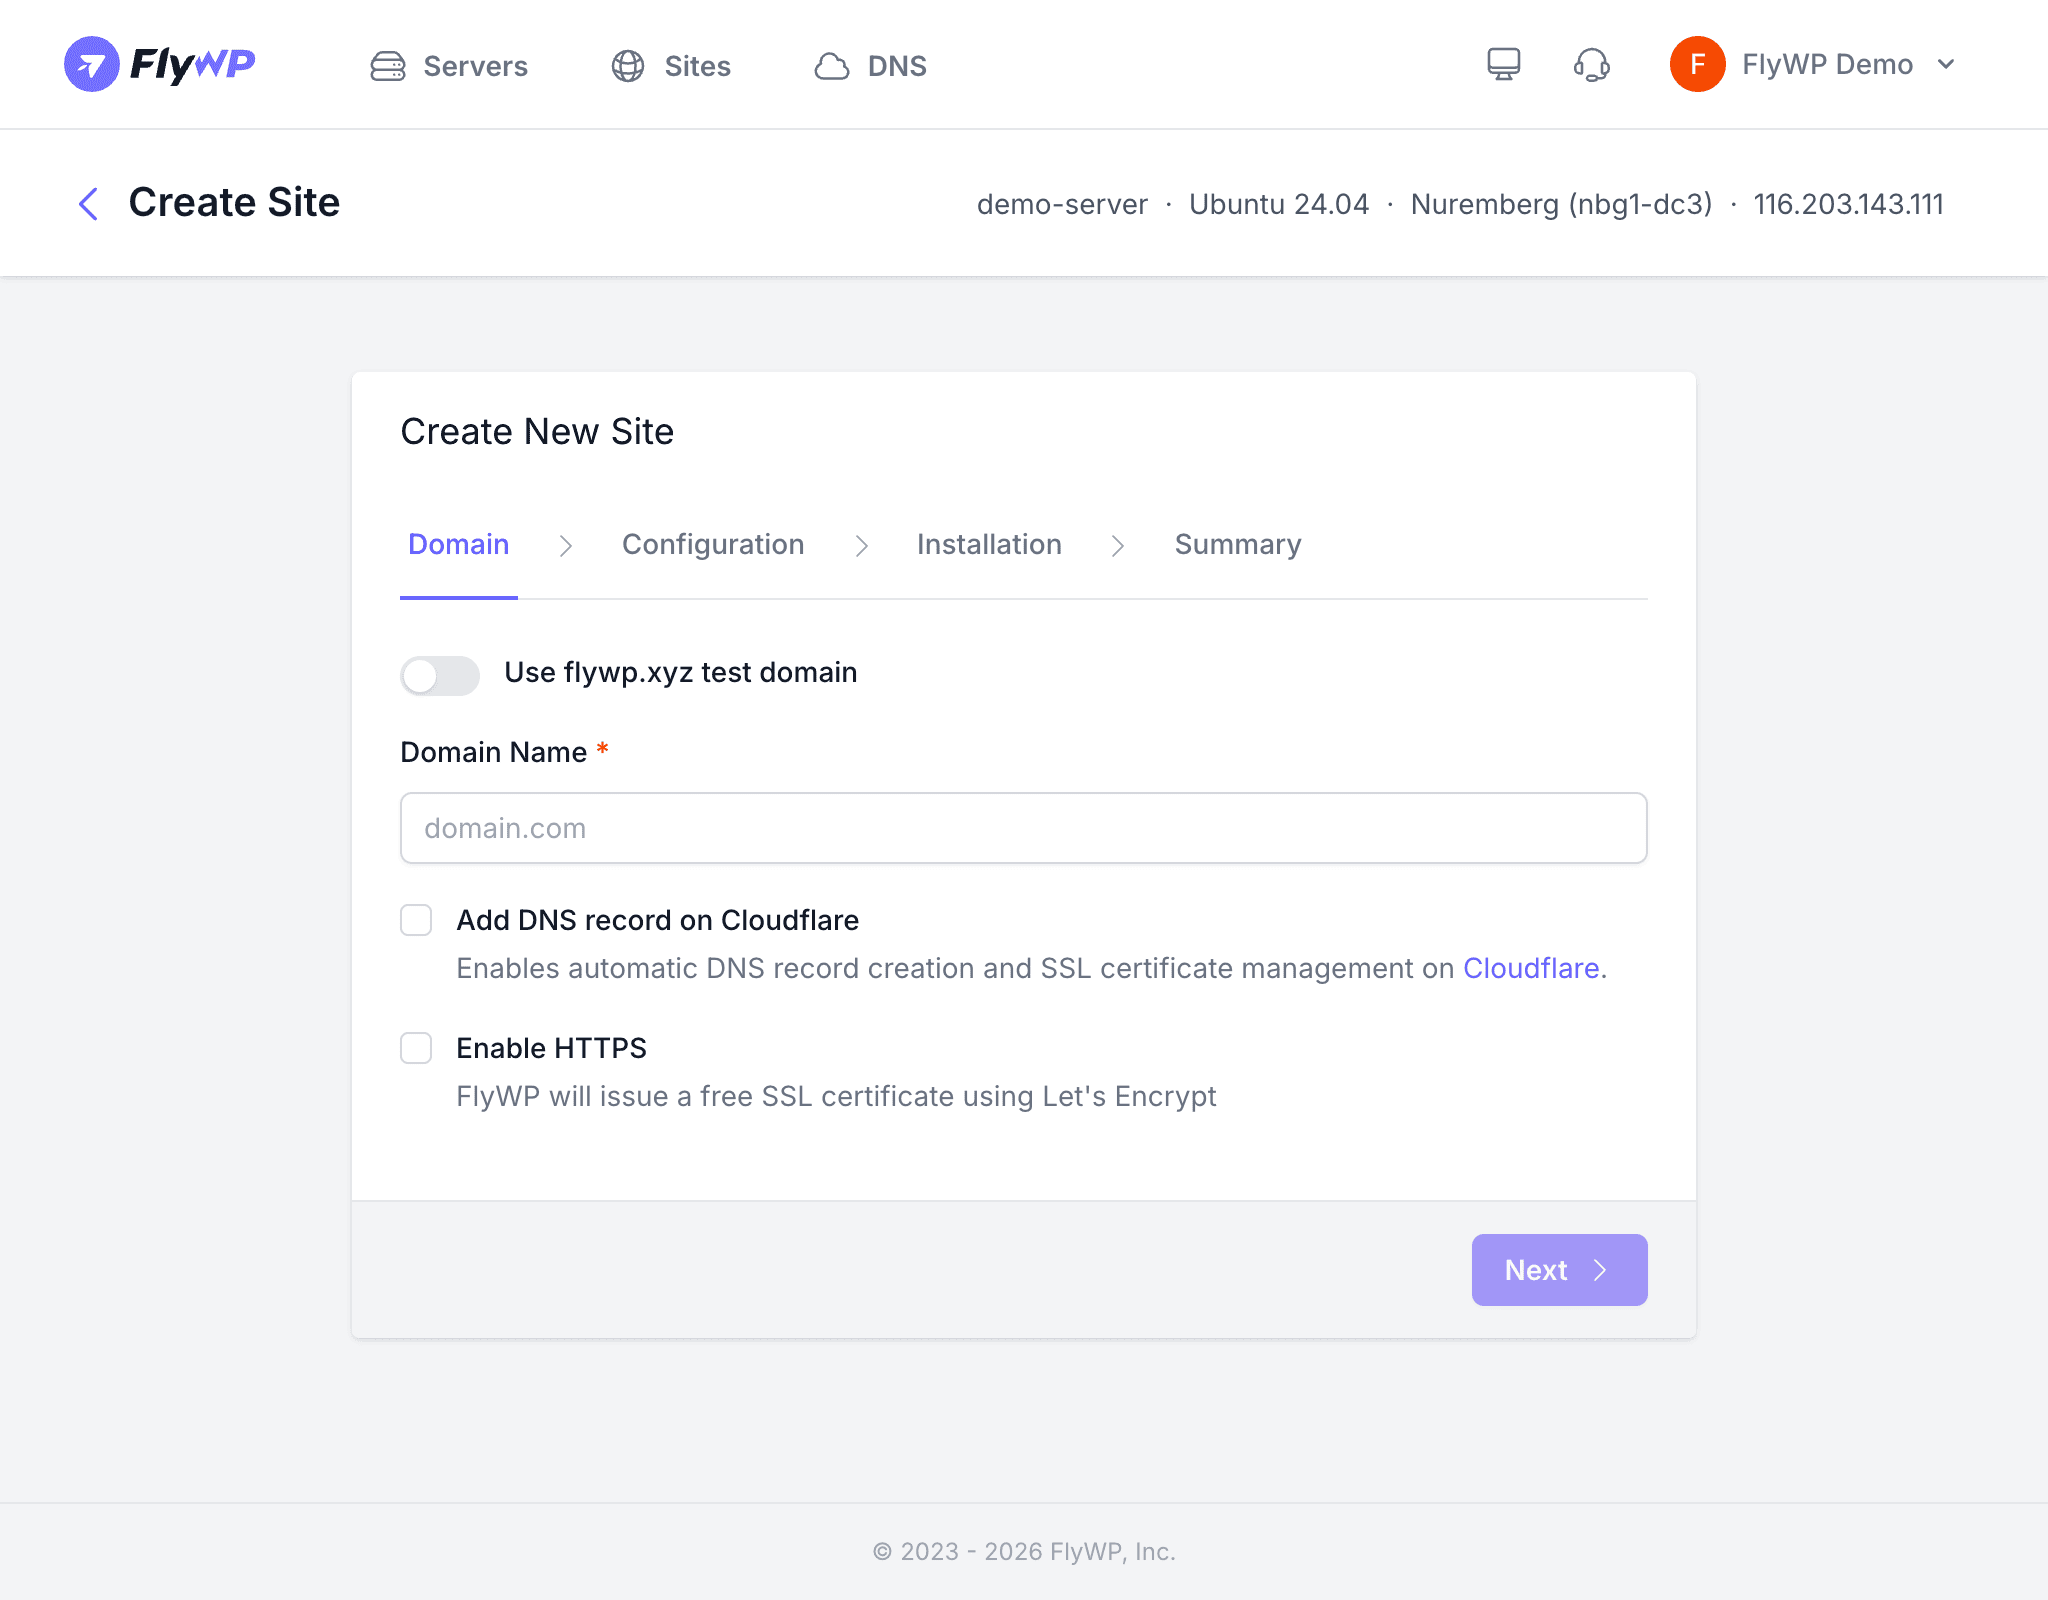
- In FlyWP, navigate to your server and click Create New Site.
- Select Migrate as the site type.
- Choose the Automatic tab.
- Paste the migration key into the input field.
- FlyWP verifies the key by contacting your source site’s REST API (WordPress’s built-in interface for exchanging data between systems).
Verification
When you paste the key, FlyWP contacts your source site to confirm the connection and pull in basic site details. You’ll see a summary like this before the migration starts:
| Detail | Description |
|---|---|
| Username | The WordPress admin username |
| The admin email address | |
| Site Title | The name of the site |
| Site Type | Standard WordPress or Multisite |
| PHP Version | The PHP version running on the source |
| WordPress Version | The installed WordPress version |
| Database Size | The approximate size of the database |
Verification results are cached (temporarily saved) for 60 minutes, so refreshing the page won’t trigger a second call to your source site.
Step 4: Run the Migration
Once you’ve confirmed the details look correct, click Create Site to start the migration. FlyWP will:
- Create the new site on your server.
- Download all files from the source (plugins, themes, uploads) in parallel with the database export.
- Export the database on the source site, download the dump, and import it on the new server.
- Replace URLs in the database to match your new domain.
- Update
wp-config.php(WordPress’s main configuration file) with the new database credentials. - Run health checks to verify the site loads correctly.
Progress is tracked in real time on the dashboard, so you can watch each step complete.
Retry and Cancel
If something goes wrong mid-migration, you have two options:
- Retry — If a specific task fails, click Retry to re-run just that step without starting over.
- Cancel — Click Cancel Migration to stop the process entirely.
Post-Migration Cleanup
After verifying your migrated site works correctly on FlyWP, wrap up with these final steps:
- Update your domain’s DNS (Domain Name System — the system that points your domain to a server) to point to the new FlyWP server.
- Deactivate and delete the FlyWP Migrator plugin on the source site.
- Optionally, delete the old site from your previous host once you’re confident everything is running smoothly.