DNS Manager
DNS Manager
Switching between FlyWP and another dashboard just to update a DNS record breaks your flow. The DNS Manager brings DNS control directly into FlyWP, so you can point domains, add verification records, and configure mail routing without ever leaving the panel. If your domain is on Cloudflare, this is your one-stop shop for every DNS change your site needs.
The DNS Manager provides a unified interface for viewing and editing DNS records on domains connected through your Cloudflare integration. You can add, edit, and delete records for any domain managed by your Cloudflare account, all from the FlyWP dashboard.
Prerequisites
Before you can use the DNS Manager, you need:
- A Cloudflare integration connected in your Team Integrations settings.
- At least one domain managed by that Cloudflare account.
Navigating the DNS Manager
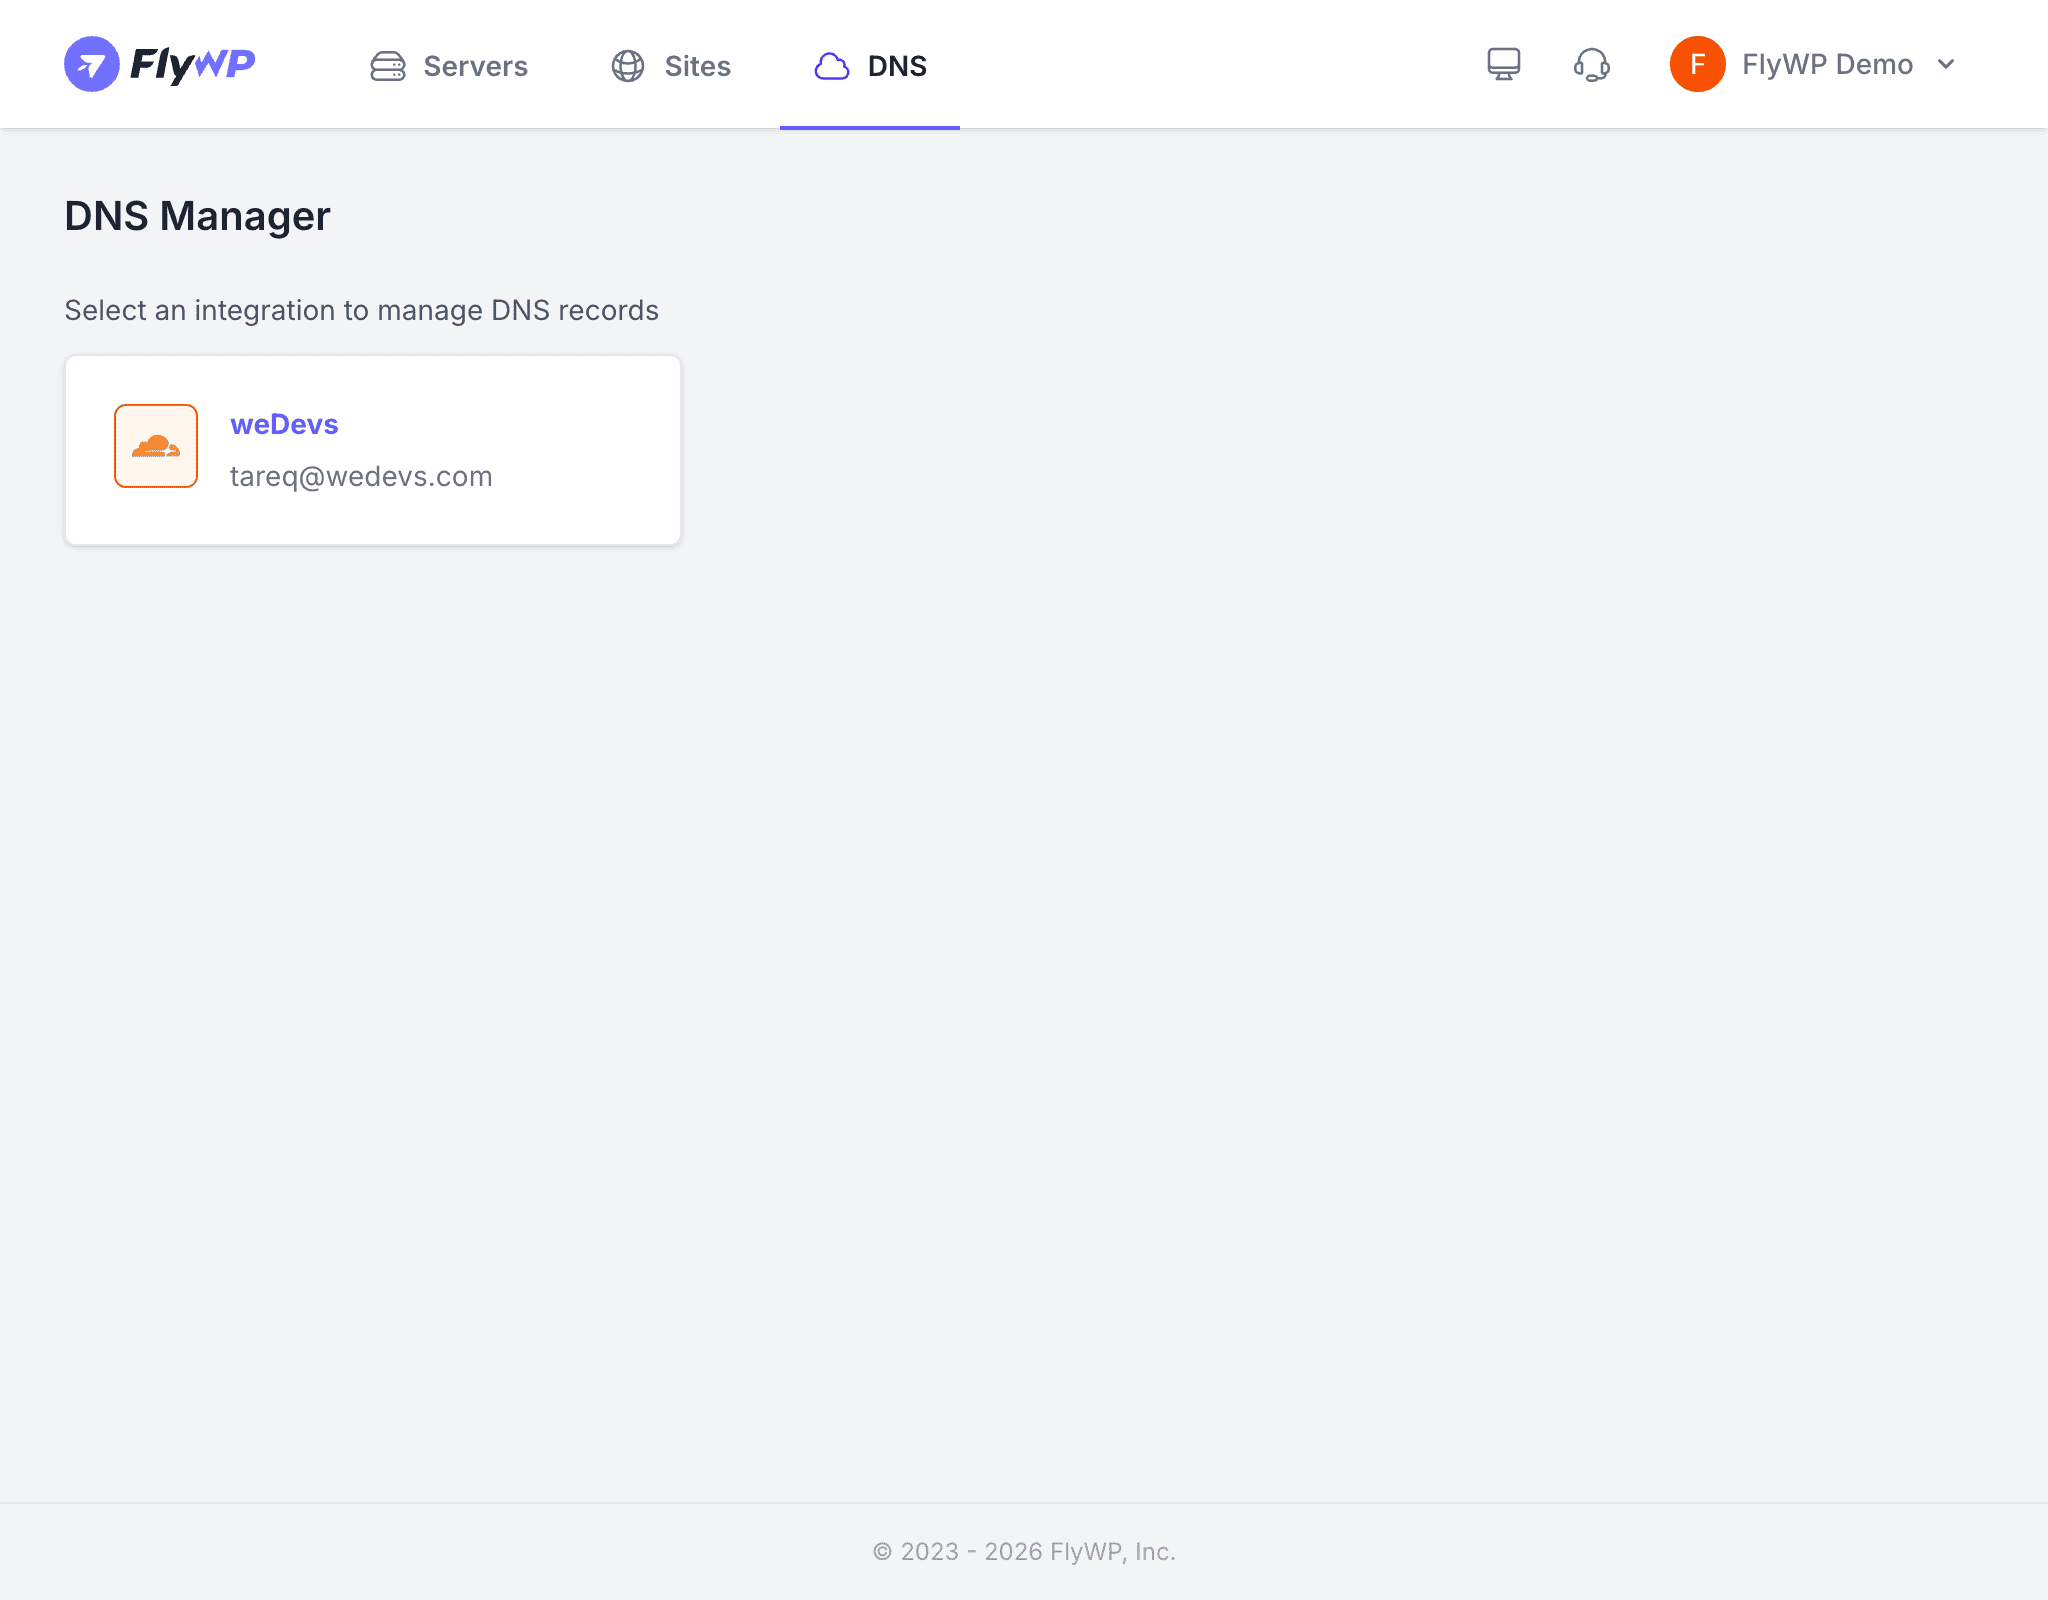
Selecting an Integration
If you have multiple Cloudflare integrations connected, use the integration dropdown at the top of the page to choose which Cloudflare account to browse.
Browsing Domains
Once you select an integration, the DNS Manager displays all domains (zones — Cloudflare’s term for a domain and all its subdomains) under that Cloudflare account. Click on a domain to view its DNS records.
Viewing DNS Records
The records table shows all DNS entries for the selected domain:
| Column | Description |
|---|---|
| Type | The record type (A, AAAA, CNAME, MX, TXT, etc.) |
| Name | The hostname or subdomain (e.g., @, www, mail) |
| Content | The record value (e.g., an IP address, hostname, or text string) |
| TTL | Time to Live — how long (in seconds) DNS resolvers (the servers that look up domain names) should cache this record before checking for updates |
| Proxy | Whether the record routes through Cloudflare’s network (orange cloud) or resolves directly to your server (gray cloud) |
| Actions | Edit or delete the record |
Managing DNS Records
Adding a Record
- Click Add Record.
- Select the record type from the dropdown.
- Enter the name (subdomain or
@for the root domain). - Enter the content (the value the record points to).
- Set the TTL (use Auto for most cases).
- Choose whether to proxy the record through Cloudflare.
- Click Save.
Editing a Record
- Click the Edit button next to the record you want to change.
- Update the fields as needed.
- Click Save.
Deleting a Record
- Click the Delete button next to the record.
- Confirm the deletion.
Deleting DNS records can make your site, email, or other services unreachable. Double-check before removing any record, especially A, CNAME, and MX records.
Common Record Types
| Type | Purpose | Example |
|---|---|---|
| A | Points a domain to an IPv4 address (the standard numeric address format) | example.com → 192.0.2.1 |
| AAAA | Points a domain to an IPv6 address (the newer, longer address format) | example.com → 2001:db8::1 |
| CNAME | Points a subdomain to another hostname instead of an IP address | www → example.com |
| MX | Directs incoming email to the correct mail server | example.com → mail.provider.com |
| TXT | Stores arbitrary text data, commonly used for email authentication (SPF, DKIM) and domain ownership verification | v=spf1 include:_spf.google.com ~all |
Automatic DNS Configuration
When you create a new site in FlyWP and the domain is managed by a connected Cloudflare account, FlyWP automatically creates the DNS records needed to point the domain to your server. This typically includes:
- An A record pointing the root domain to your server’s IP address
- A CNAME record pointing
wwwto the root domain
This automation means you don’t have to touch DNS at all for straightforward site setups — FlyWP handles it for you.