Backup Providers
Backup Providers
Your server going down should never mean your data is gone for good. By connecting an external cloud storage service as a backup provider, FlyWP sends your site backups to a location completely separate from your server — so you can restore from a clean copy even if the worst happens. Set this up once at the team level, then reuse it across any site you manage.
Supported Providers
FlyWP supports both S3-compatible object storage services (where files are stored as discrete objects in a “bucket” — think of it like an organized folder in the cloud) and consumer cloud file storage services.
| Provider | Storage Type |
|---|---|
| Amazon S3 | Object storage (AWS) |
| Backblaze B2 | Object storage |
| DigitalOcean Spaces | S3-compatible object storage |
| Wasabi | S3-compatible object storage |
| Google Drive | Cloud file storage |
| Dropbox | Cloud file storage |
| pCloud | Cloud file storage |
Adding a Backup Provider
To add a new provider, you will need credentials from the storage service you want to connect. The exact credentials vary by provider — see the table in the next section.
- Navigate to Team Settings > Backup Providers.
- Click Add Provider.
- Select the storage provider from the list.
- Enter a name for this connection (something recognizable, like “Backblaze Production”).
- Fill in the required credentials for that provider.
- Click Save.
Credentials by Provider
| Provider | Required Fields |
|---|---|
| Amazon S3 | Access Key ID, Secret Access Key, Region, Bucket Name |
| Backblaze B2 | Application Key ID, Application Key, Bucket Name |
| DigitalOcean Spaces | Access Key, Secret Key, Region, Bucket Name |
| Wasabi | Access Key, Secret Key, Region, Bucket Name |
| Google Drive | OAuth authorization (connect via Google sign-in) |
| Dropbox | OAuth authorization (connect via Dropbox sign-in) |
| pCloud | OAuth authorization (connect via pCloud sign-in) |
For S3-compatible providers, you generate an Access Key (a username/password pair for API access) inside your storage provider’s dashboard, then paste those values into FlyWP.
Using a Backup Provider
Once connected, the provider becomes available as a storage destination inside each site’s backup settings. FlyWP does not automatically start backing up to it — you assign it per site.
- Go to any site’s Backups tab.
- Configure the backup schedule.
- Select the connected backup provider as the storage destination.
- Save the backup configuration.
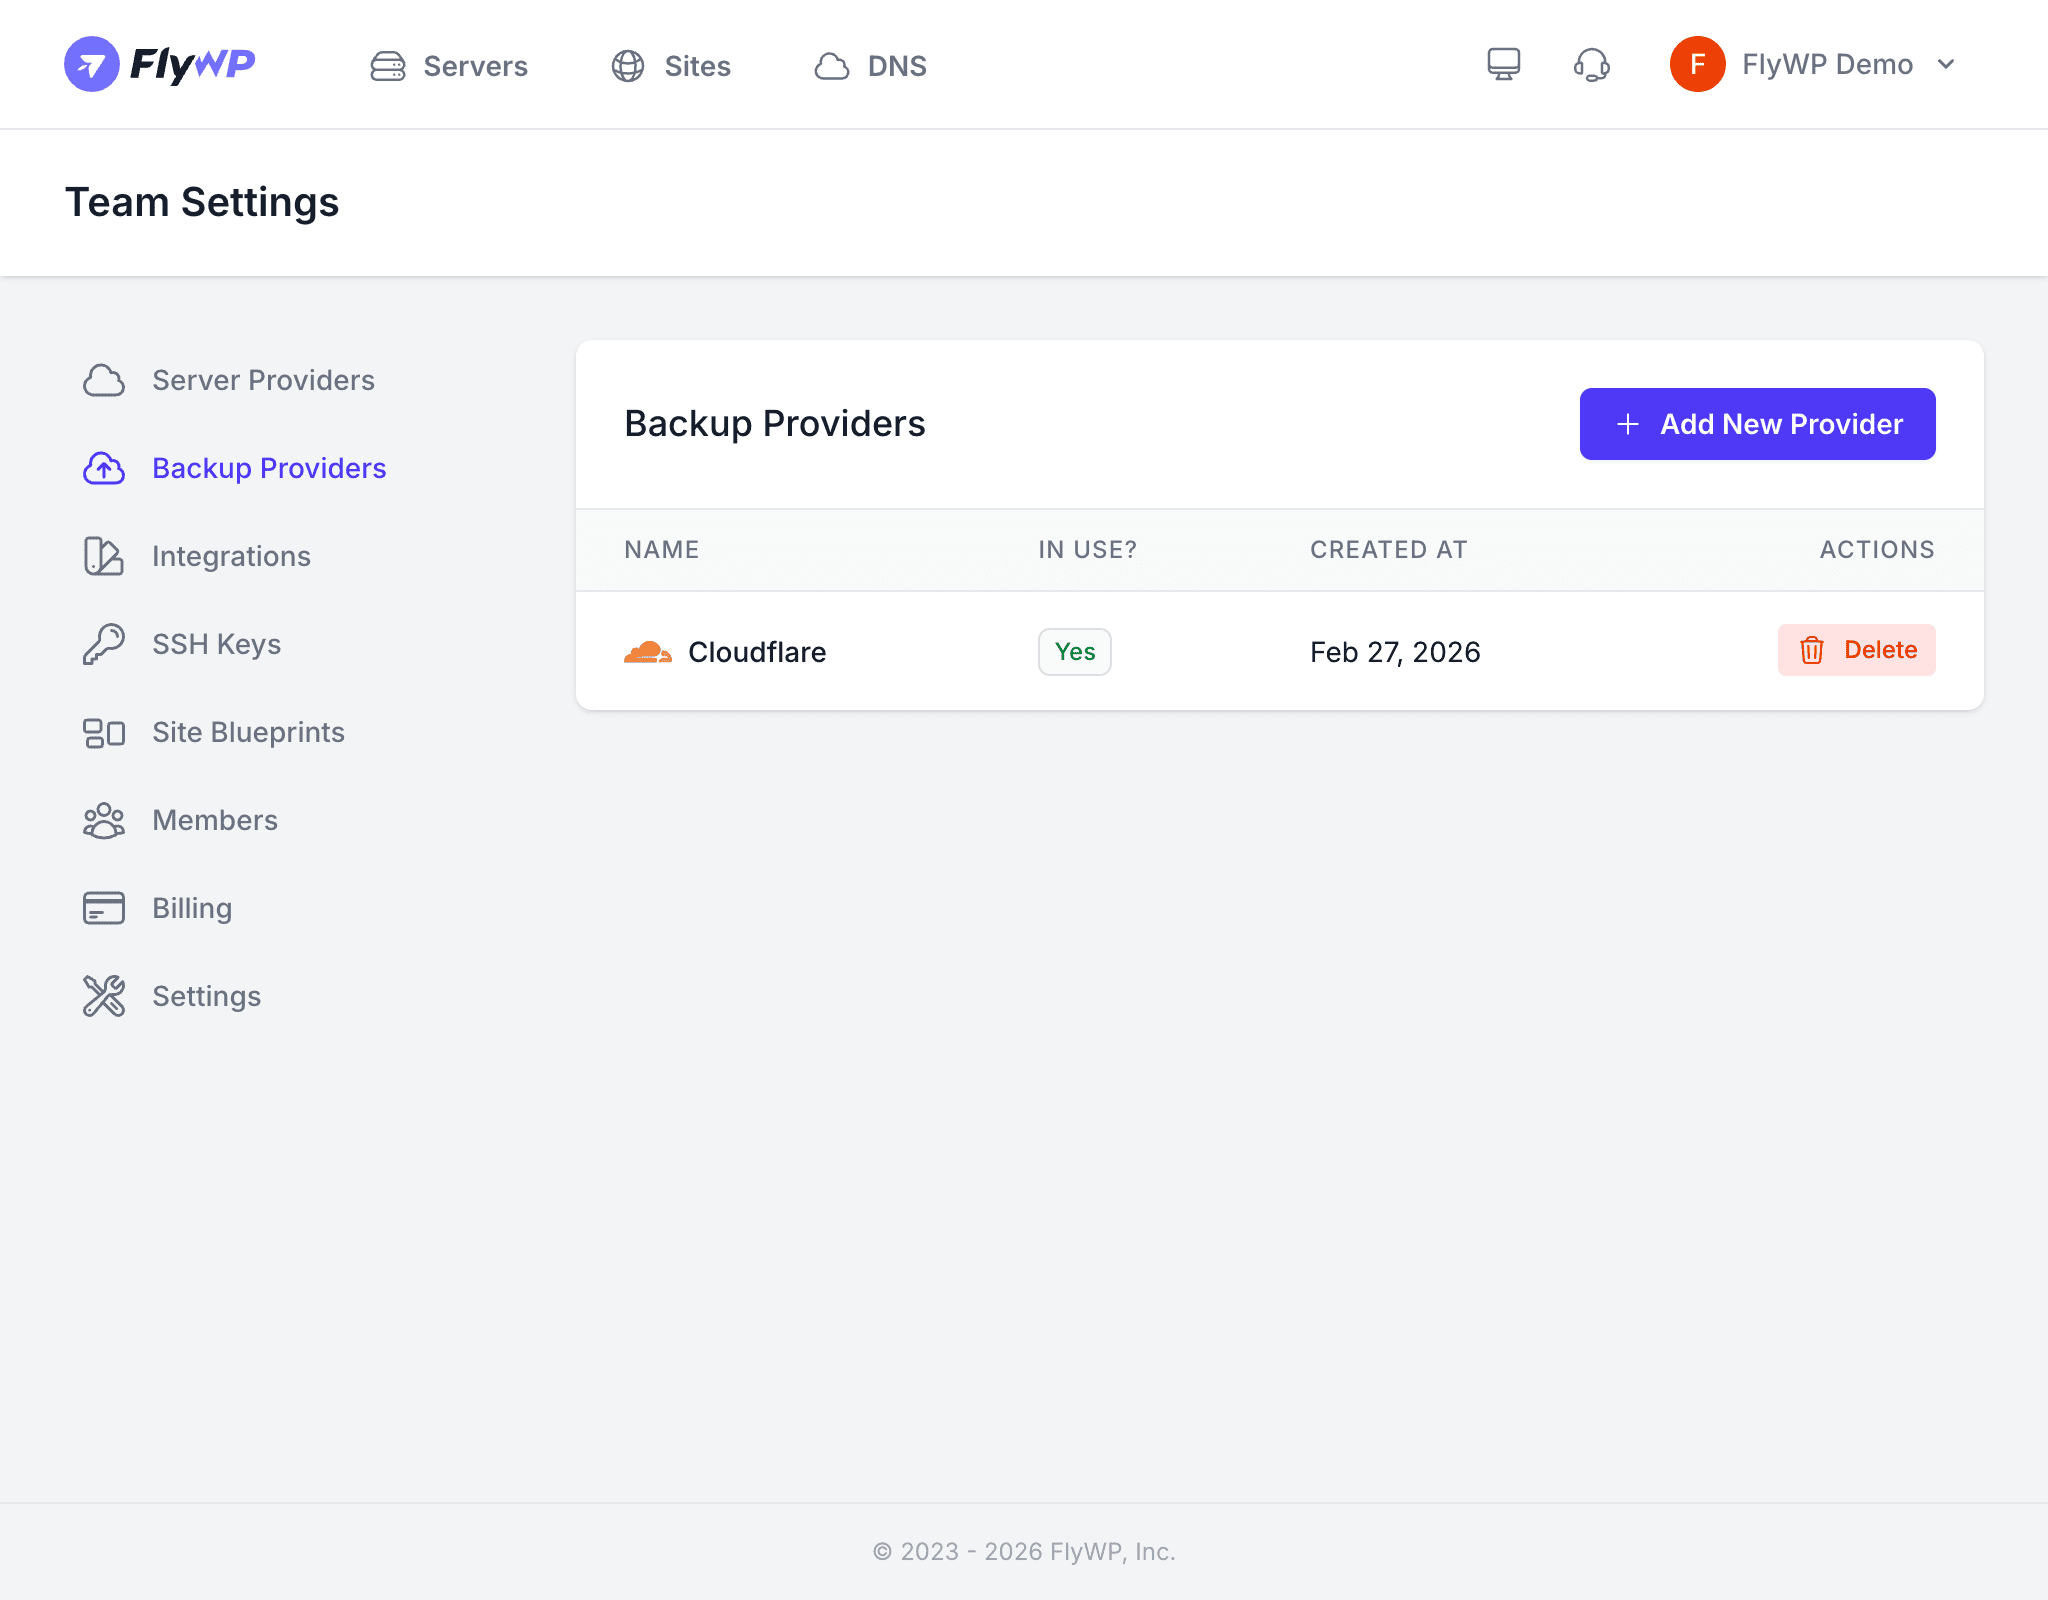
Managing Backup Providers
The backup providers table shows all connected storage accounts with their name, provider type, creation date, and a delete action. You can connect multiple providers and assign different ones to different sites.
Deleting a Backup Provider
Click Delete to remove a provider connection from your team account.
Deleting a backup provider does not delete the backup files already stored on that service. However, any sites configured to use that provider will no longer be able to create new backups or restore from it until you assign a different provider. Update your site backup settings before deleting a provider connection.
Best Practices
- Use a dedicated storage bucket or folder for FlyWP backups to keep things organized and avoid mixing them with other files.
- Test a restore after setting up your first backup to confirm everything works end to end — you do not want to discover a problem when you actually need to recover.
- Consider geographic diversity — storing backups in a different region than your server adds an extra layer of resilience if an entire data center goes offline.